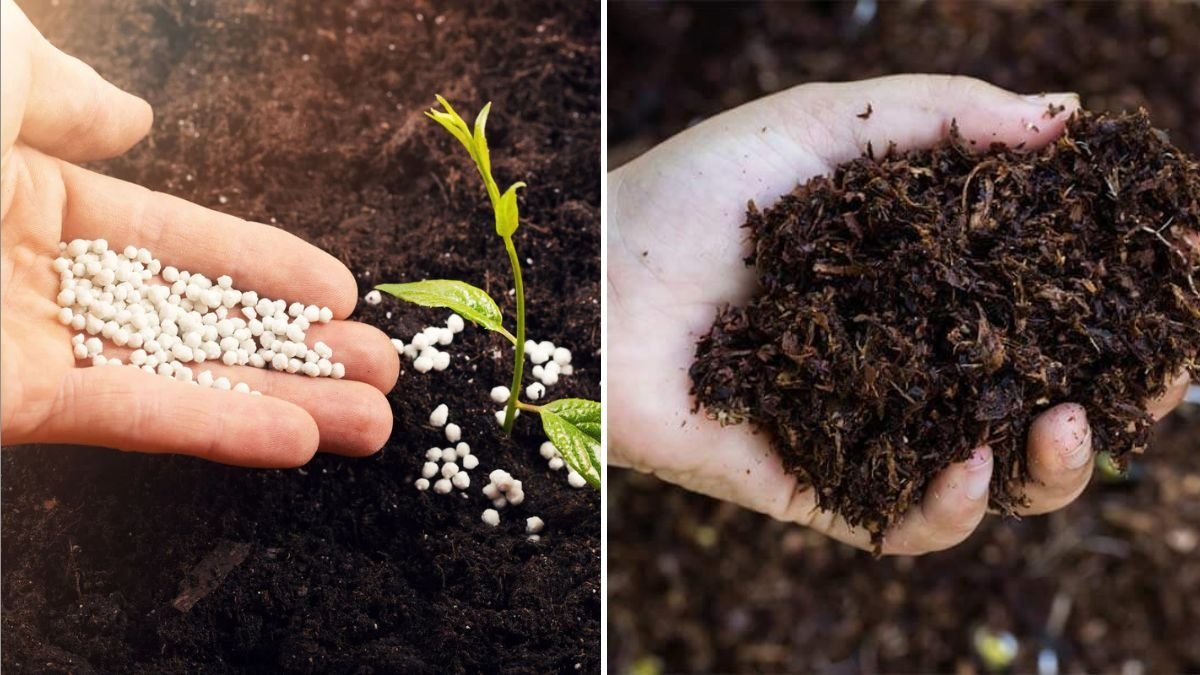
Organic gardening has grown immensely in popularity as more people embrace sustainable, eco-friendly practices. One of the cornerstones of healthy, thriving plants is fertilizer. While store-bought fertilizers are convenient, they often contain chemicals that can harm soil health and the environment over time. Fortunately, making your own organic fertilizer at home is simple, cost-effective, and beneficial for your garden.
In this guide, we will cover how to make organic fertilizer at home, including ingredients, methods, application tips, and the benefits of using homemade solutions.
Step 1: Understand the Benefits of Organic Fertilizer

Organic fertilizers provide essential nutrients to plants without harmful chemicals:
- Nutrient-Rich: Supplies nitrogen (N), phosphorus (P), and potassium (K) along with trace minerals.
- Soil Health: Encourages beneficial microorganisms and improves soil structure.
- Eco-Friendly: Reduces chemical runoff and supports sustainable gardening.
- Cost-Effective: Uses household waste and garden materials.
- Long-Term Fertility: Gradually releases nutrients, enhancing soil quality over time.
Tip: Organic fertilizers work slowly but promote sustainable, resilient gardens.
Step 2: Gather Ingredients
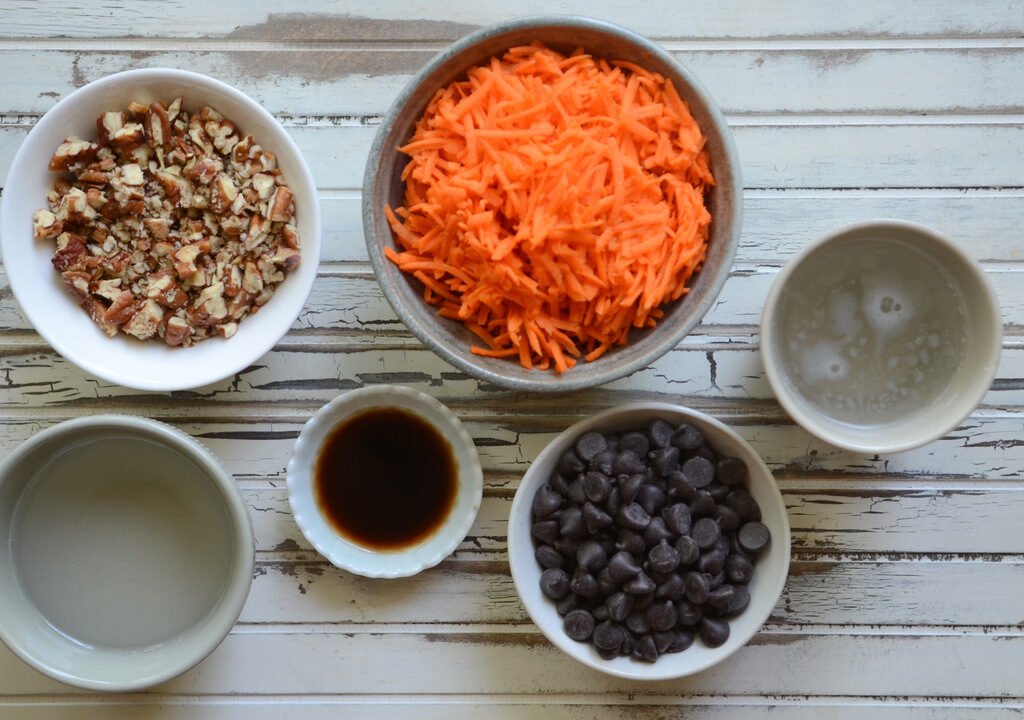
The beauty of homemade fertilizers is that many ingredients are already available in your kitchen or garden:

Common Ingredients:
- Kitchen Scraps: Vegetable peels, fruit scraps, eggshells, coffee grounds, and banana peels.
- Garden Waste: Grass clippings, fallen leaves, and plant trimmings.
- Animal Waste: Well-composted cow, chicken, or rabbit manure.
- Natural Minerals: Rock phosphate, wood ash, or seaweed.
- Other: Molasses (feeds microbes), neem cake, and bone meal.
Tip: Avoid using scraps with chemicals, meat, or dairy products that can attract pests and odors.
Step 3: Choose Your Fertilizer Type
You can create different types of organic fertilizers depending on your needs:
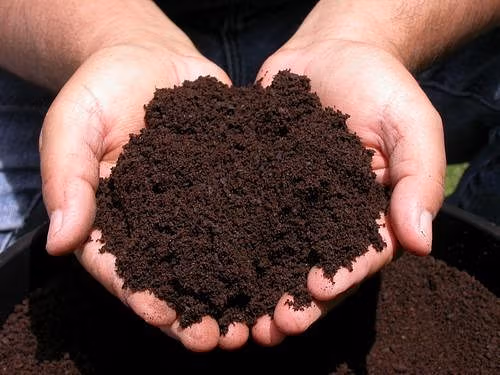
1. Compost-Based Fertilizer
- Ideal for: All-around nutrient supply and soil health.
- Method:
- Collect organic waste (vegetable scraps, leaves, coffee grounds).
- Layer greens (nitrogen-rich) and browns (carbon-rich) in a compost bin.
- Turn the pile weekly to aerate.
- Ready in 2–3 months.
2. Liquid Fertilizer (Compost Tea)
- Ideal for: Quick nutrient boost for plants.
- Method:
- Soak compost or organic waste in water for 24–48 hours.
- Strain and use as a liquid fertilizer.
- Can be applied to the base of plants or as a foliar spray.
3. Fermented Organic Fertilizer
- Ideal for: Nutrient-rich, long-lasting fertilizer.
- Method:
- Mix vegetable scraps, banana peels, and molasses in a jar with water.
- Seal and ferment for 2–3 weeks.
- Dilute before use to avoid burning plants.
4. Manure-Based Fertilizer
- Ideal for: Heavy-feeding plants like tomatoes, corn, and squash.
- Method:
- Use aged manure only.
- Mix into soil or compost before planting.
Tip: Choose the method that best fits your plant type, soil condition, and available ingredients.
Step 4: Prepare Organic Fertilizer Safely
Safety and proper preparation are key:
- Wash hands after handling manure or kitchen scraps.
- Avoid adding pet waste or meat scraps to prevent harmful pathogens.
- Ensure compost piles reach 130–140°F to kill weed seeds and harmful bacteria.
- Store finished fertilizer in a dry, cool area.
Tip: Proper handling ensures fertilizer is safe for both plants and humans.

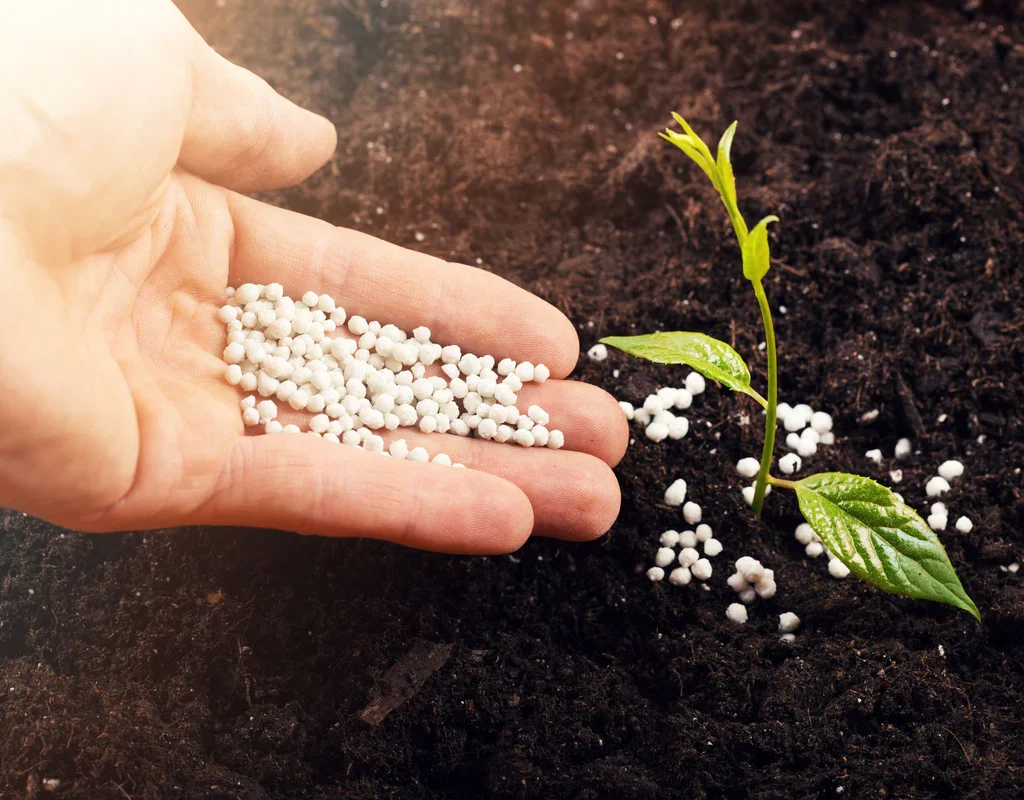
Step 5: Apply Fertilizer Correctly
Applying fertilizer properly maximizes its benefits:
- Soil Application: Mix compost or granular fertilizer into the top 2–4 inches of soil.
- Liquid Application: Apply compost tea or fermented fertilizer directly to the base of plants once every 2–3 weeks.
- Timing: Fertilize in the early morning or evening to prevent nutrient loss from sun exposure.
- Amount: Use small, consistent amounts rather than large doses to avoid over-fertilization.
Tip: Observe your plants for nutrient deficiencies and adjust application accordingly.
Step 6: Combine with Mulching
Mulching complements organic fertilizer by:
- Retaining soil moisture
- Suppressing weeds
- Gradually adding nutrients as it decomposes
Best Mulch Materials: Straw, dried leaves, grass clippings, or wood chips.
Tip: Apply mulch after fertilizing to lock nutrients in the soil.

Step 7: Rotate Crops and Fertilize Strategically
- Rotate plants annually to prevent nutrient depletion.
- Apply organic fertilizers according to plant needs:
- Leafy vegetables: High nitrogen content (coffee grounds, blood meal).
- Fruiting plants: Balanced NPK (compost, bone meal, wood ash).
- Root vegetables: Phosphorus-rich fertilizer (bone meal, rock phosphate).
Tip: Tailoring fertilizer to plant type ensures efficient nutrient absorption.
Step 8: Encourage Microbial Activity
Healthy soil microbes enhance fertilizer effectiveness:
- Add compost and organic matter regularly.
- Use fermented fertilizers or compost tea to feed microbes.
- Avoid chemical pesticides and over-fertilization, which can harm microbial populations.
Tip: Vibrant microbial activity improves soil fertility and overall plant resilience.
Step 9: Maintain Balanced Nutrients
Organic fertilizers provide a slow-release nutrient source, but balance is key:
- Monitor plants for signs of deficiencies:
- Yellow leaves → nitrogen deficiency
- Poor flowering → phosphorus deficiency
- Weak stems → potassium deficiency
- Adjust ingredients or combinations to meet specific nutrient requirements.
Tip: A balanced approach prevents excessive accumulation of any single nutrient.

Step 10: Benefits of Homemade Organic Fertilizer
- Cost Savings: Uses household and garden waste, reducing the need for store-bought products.
- Sustainable: Reduces landfill waste and chemical runoff.
- Soil Improvement: Enhances structure, water retention, and fertility.
- Plant Health: Strengthens plants and encourages natural resistance to pests and disease.
- Eco-Friendly: Supports a healthy ecosystem with minimal environmental impact.
Tip: Homemade fertilizers promote long-term soil health rather than quick, temporary growth.
Step 11: Tips for Success
- Keep a variety of organic ingredients on hand for flexibility.
- Rotate fertilizer types (compost, liquid, fermented) for best results.
- Regularly aerate compost piles to accelerate decomposition.
- Store unused compost or fermented fertilizer in sealed containers to maintain nutrient quality.
- Observe plant growth and adjust application frequency and amount as needed.
Tip: Patience is key—organic fertilizers work gradually but provide lasting benefits.
Step 12: Creative Fertilizer Ideas
- Banana Peel Fertilizer: Chop banana peels and bury near roots for potassium and calcium.
- Coffee Ground Fertilizer: Mix with compost for nitrogen boost.
- Eggshell Fertilizer: Crush eggshells and sprinkle around plants to add calcium.
- Grass Clipping Fertilizer: Layer with compost for a nitrogen-rich addition.
Tip: Experiment with combinations to create a personalized, nutrient-rich fertilizer for your garden.
Final Thoughts
Making organic fertilizer at home is easy, sustainable, and highly effective. By using kitchen scraps, garden waste, and natural materials, you can nourish your plants while protecting the environment. Proper preparation, balanced application, and ongoing care ensure that your homemade fertilizers provide the nutrients, structure, and microbial support your garden needs to thrive.
With patience and consistency, you can create a self-sustaining garden ecosystem where plants flourish naturally. Homemade organic fertilizers not only save money but also contribute to a healthier planet, making your gardening journey both rewarding and environmentally conscious.

Leave A Comment