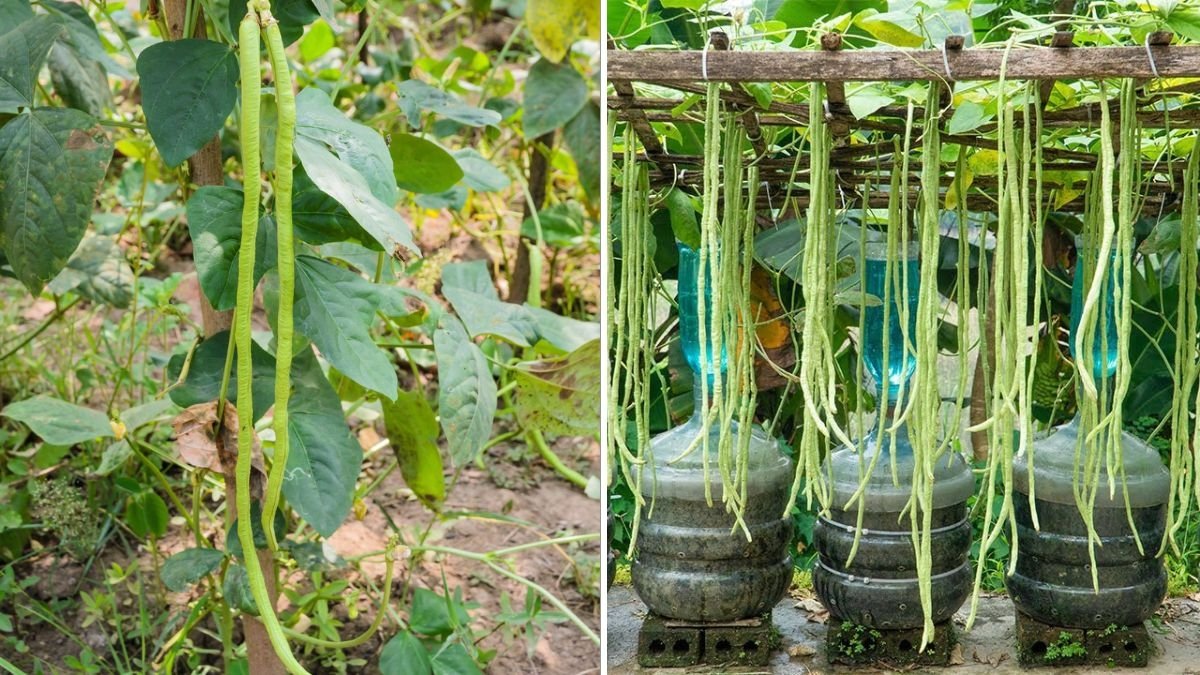
Growing fresh, nutritious beans at home doesn’t require a huge backyard or expensive pots. With a creative, eco-friendly method using plastic bottles, you can grow big, long beans right on your balcony, patio, or small urban garden. This method is perfect for Americans looking to combine sustainability, cost savings, and space efficiency while enjoying homegrown produce. In this article, we’ll walk you through a complete step-by-step guide to planting, nurturing, and harvesting beans that are large, healthy, and flavorful.
Why Grow Beans in Plastic Bottles?
Plastic bottle gardening has become a popular trend in urban agriculture due to its many advantages:
- Eco-Friendly: Recycle plastic bottles that would otherwise pollute the environment.
- Space-Saving: Ideal for apartments, balconies, and small backyards.
- Cost-Effective: No need to purchase expensive pots or raised beds.
- Controlled Growth: Bottles help maintain moisture and nutrients, promoting bigger, longer beans.
- Beginner-Friendly: Easy to set up and manage, even for first-time gardeners.
This method ensures your beans grow healthy, elongated, and crunchy, perfect for salads, stir-fries, or soups.
What You’ll Need
Before starting, gather these essentials:
- Used plastic bottles (2-liter soda bottles or larger)
- Scissors or a sharp knife
- Potting soil (rich in organic matter)
- Compost or organic fertilizer
- Bean seeds (pole beans are ideal for long beans)
- Watering can or spray bottle
- Trellis or string support (for climbing beans)
Having these items ready will make planting quick, efficient, and fun.

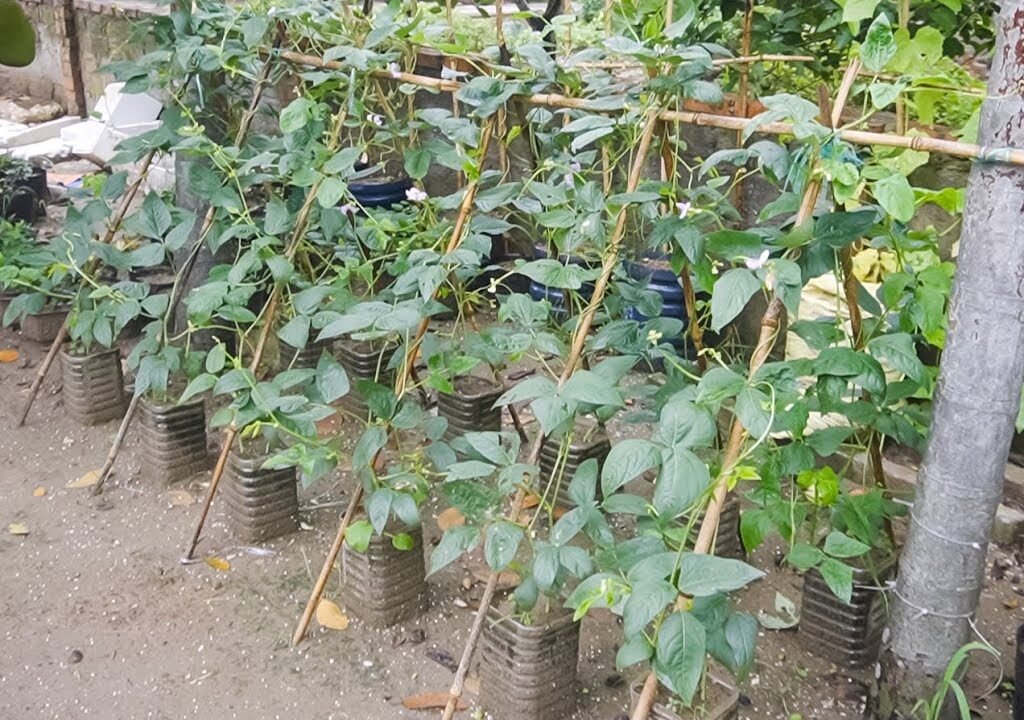
Step 1: Preparing Your Plastic Bottles
- Clean the Bottles: Rinse thoroughly to remove residues.
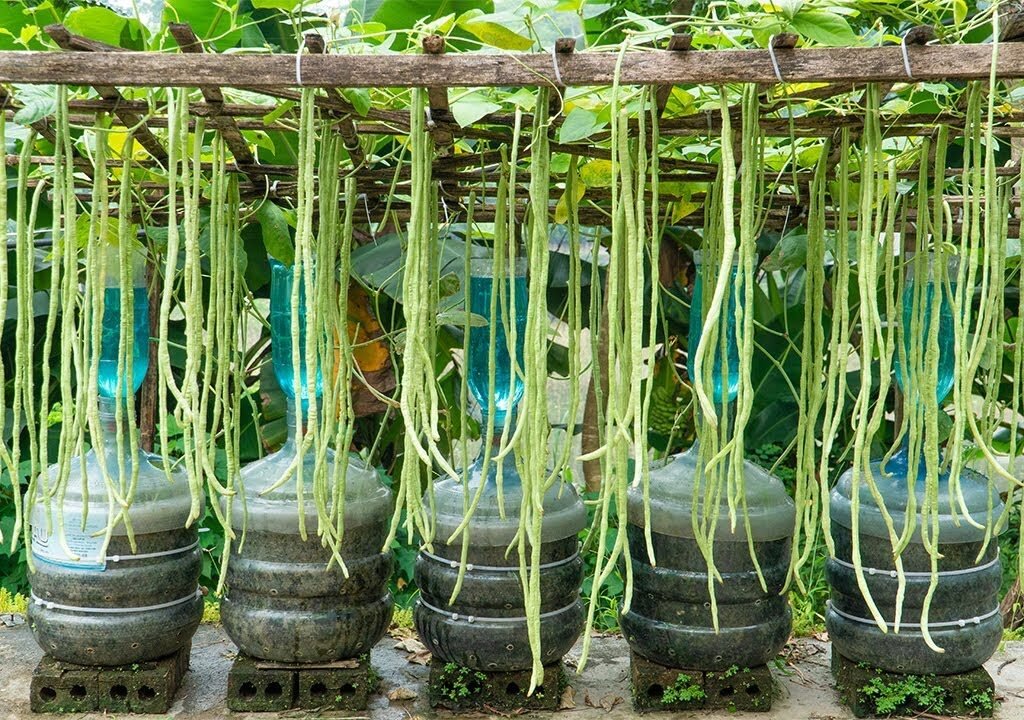
- Cut the Bottles: Slice horizontally about one-third from the bottom. The lower part will hold the soil, and the upper part can act as a mini greenhouse or water reservoir.
- Create Drainage Holes: Poke 3-5 holes in the bottom to prevent waterlogging, which can harm bean roots.
This setup ensures healthy root growth and proper drainage, which are essential for long, robust beans.
Step 2: Preparing the Soil
Beans thrive in nutrient-rich, well-drained soil. To prepare the perfect mix:
- Combine 2 parts potting soil, 1 part compost, and 1 part perlite or sand for aeration.
- Add organic fertilizer to encourage flowering and pod development.
- Moisten the soil lightly before planting.
By giving your beans a nutrient-dense base, you maximize the potential for big, long beans.
Step 3: Planting Your Beans

Bean seeds can be planted directly in the bottles for best results:
- Plant 2-3 seeds per bottle about 1 inch deep.
- Water lightly to settle the soil.
- Once seedlings sprout and grow a few inches tall, thin them to one strong plant per bottle to allow space for elongated growth.
Tip: Choose pole bean varieties if you want long, climbing beans. Bush beans grow shorter pods, so selecting the right variety is key.
Step 4: Supporting Your Beans
Long beans are climbing plants, so they need vertical support:
- Install a small trellis or string system next to the bottles.
- Gently tie young stems as they grow to guide them upward.
- Ensure plenty of sunlight reaches all parts of the plant for even growth and maximum bean length.
Proper support prevents plants from breaking under their own weight and encourages straight, long pods.
Step 5: Watering and Fertilizing
Consistent care is crucial:
- Watering: Keep soil moist but not soggy. Beans dislike waterlogged soil. Water 2-3 times a week, adjusting based on weather.
- Fertilizing: Use organic fertilizer or compost tea every 3-4 weeks to boost flowering and pod growth.
- Sunlight: Ensure your bottles receive at least 6 hours of direct sunlight daily.
With proper watering, nutrients, and sunlight, your beans will grow long, healthy, and crunchy.
Step 6: Pest and Disease Management
Beans are generally hardy but can face issues like aphids, spider mites, or fungal infections. Prevent problems naturally:
- Neem oil or mild soap sprays can deter pests.
- Companion planting with herbs like basil or parsley repels insects.
- Proper spacing ensures airflow, reducing fungal risks.
- Remove damaged leaves promptly to prevent spread.
By maintaining plant health, your beans will thrive and produce high-quality pods all season.
Step 7: Harvesting Your Beans
Timing is key to enjoy big, tender beans:
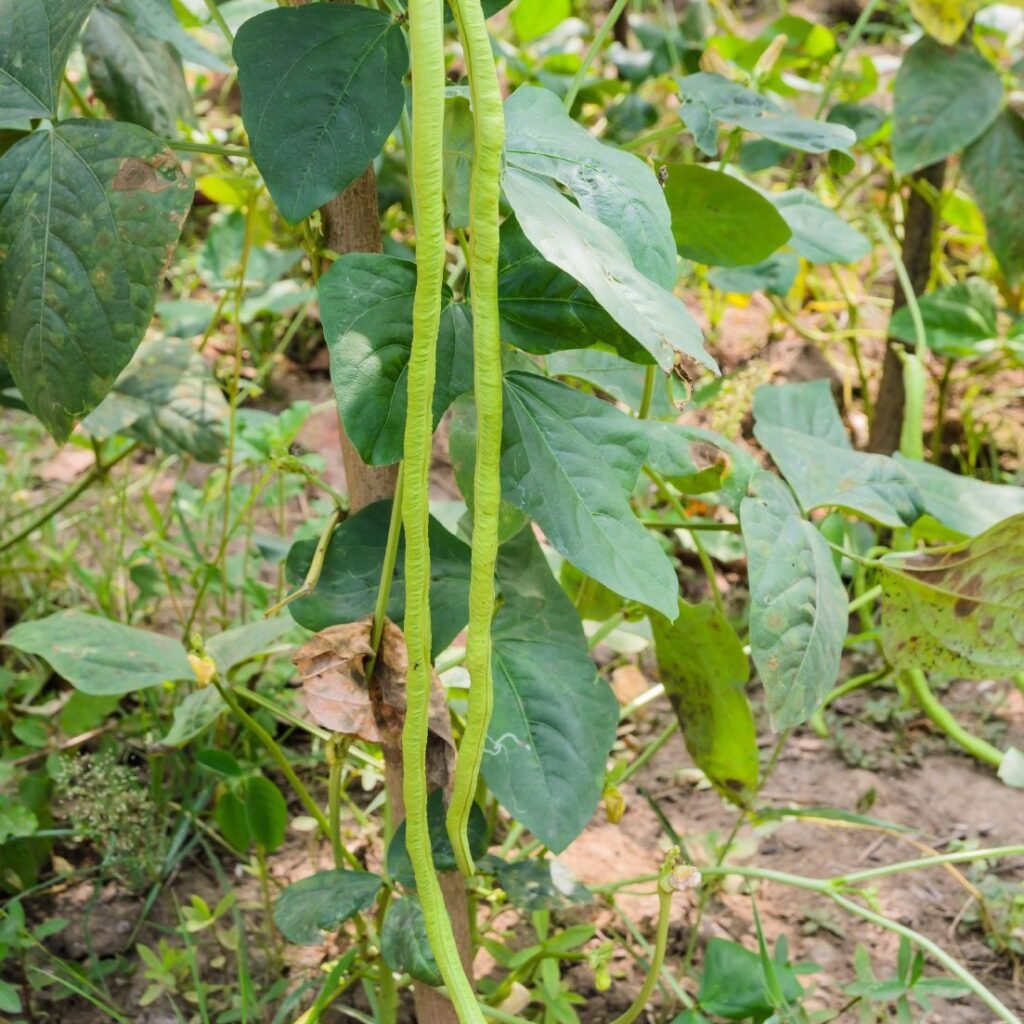
- Pods are ready when they are firm, glossy, and 6-12 inches long (depending on the variety).
- Use a sharp knife or scissors to cut beans from the stem.
- Harvest regularly to encourage continuous production.
Pro Tip: Don’t wait too long to pick pods—overripe beans become tough and lose their flavor.
Benefits of Plastic Bottle Bean Gardening
- Space Optimization: Perfect for small urban spaces or limited garden areas.
- Eco-Friendly Gardening: Reuse bottles to reduce waste.
- Large, Long Beans: Controlled environment encourages longer pods and more yield.
- Low Maintenance: Easy watering, fewer pests, and minimal weeding required.
- Year-Round Gardening: With some protection, you can grow beans even in colder months.
This method combines sustainability, efficiency, and practicality, making it perfect for modern American gardeners.
Creative Tips for Bottle Bean Gardening
- Vertical Garden Walls: Hang multiple bottles in rows for a living wall of beans.
- Self-Watering System: Use the top half of the bottle as a reservoir to keep soil moist.
- Companion Plants: Plant herbs or flowers in neighboring bottles to repel pests and boost growth.
- Rotate Bottles: Turn bottles occasionally to ensure even sunlight distribution for all plants.
These simple tricks maximize yield, bean quality, and visual appeal.
Perfect for American Urban Gardeners

Plastic bottle gardening makes bean cultivation accessible to everyone:
- Apartment dwellers in cities like New York or Chicago can grow their own food on balconies.
- Suburban homeowners can save yard space while producing high yields.
- Eco-conscious Americans can combine gardening and recycling, reducing environmental impact.
Growing beans in bottles also allows families to teach kids about gardening and sustainability.
Conclusion
Planting beans in plastic bottles is a revolutionary, space-saving, and eco-friendly gardening technique. With minimal investment, you can enjoy large, long, crunchy beans that rival farm-fresh produce. By following the steps of bottle preparation, soil mixing, proper planting, support, watering, pest control, and harvesting, you can maximize your yield and flavor.
Whether you have a tiny balcony or a small backyard, this method allows anyone to cultivate fresh, nutritious beans while reusing plastic bottles. Transform your unused bottles into productive, sustainable gardens today and enjoy the taste of homegrown beans all season long.
Leave A Comment