
Bitter melon, also known as bitter gourd or karela, is a nutritious and medicinal vegetable loved in many Asian cuisines. Known for its slightly bitter taste, it’s packed with vitamins, minerals, and antioxidants.
But what if I told you that you don’t need a garden or expensive pots to grow bitter melon? The viral YouTube video “I planted bitter melon in an old styrofoam box, surprised by so many fruits” demonstrates an ingenious method for growing a highly productive bitter melon vine using a simple styrofoam box.
This blog post will take you step by step through the process, from preparing your box to harvesting a bounty of fresh, homegrown bitter melon. It’s beginner-friendly, cost-effective, and perfect for urban gardeners with limited space.
Why Grow Bitter Melon at Home?
Growing bitter melon at home has numerous benefits:
Fresh and organic: No chemicals or pesticides.
Space-efficient: Perfect for balconies, rooftops, or small yards.
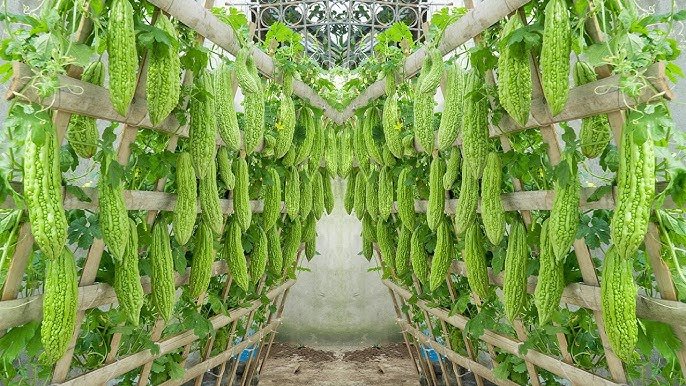
High yield: A single vine can produce dozens of fruits.
Medicinal value: Rich in vitamins, antioxidants, and properties that help regulate blood sugar.
Cost-effective: You can start with leftover seeds or scraps from the grocery store.
With this method, even a small styrofoam box can produce more bitter melon than expected, making it an ideal solution for urban gardening enthusiasts.
Step 1: Choosing the Right Bitter Melon
Start with healthy seeds or a young plant.
Tips for selecting seeds:
- Use seeds from fresh, mature bitter melon fruits.
- Select varieties suitable for your region — small, medium, or long-fruited types.
- Ensure seeds are healthy, free from cracks or mold.
Alternatively, you can buy certified seeds from a nursery for guaranteed germination.

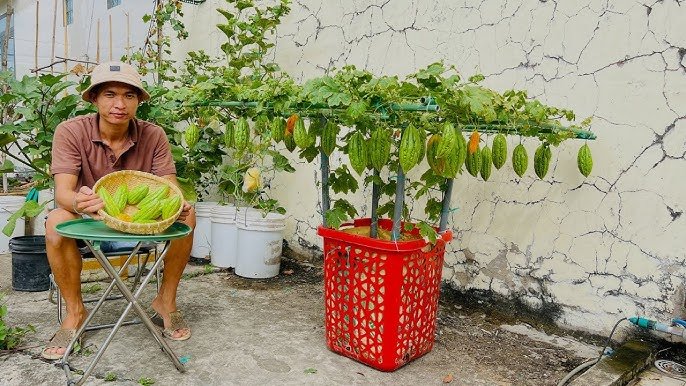
Step 2: Preparing the Styrofoam Box
The beauty of this method is recycling an old styrofoam box to grow bitter melon.
Steps to prepare your box:
- Clean the box thoroughly with water.
- Drill multiple drainage holes at the bottom to prevent waterlogging.
- Optionally, line the inside with a plastic sheet with holes to hold the soil longer.
- Choose a box at least 12–15 inches deep and 18–24 inches wide for good root growth.
A styrofoam box is lightweight, inexpensive, and keeps soil warm, promoting fast growth.
Step 3: Preparing the Soil
Bitter melon thrives in well-draining, fertile soil.
Recommended soil mix:
- 40% garden soil or topsoil
- 30% compost or organic manure
- 20% sand (for drainage)
- 10% coco peat or peat moss (to retain moisture)
Mix thoroughly and fill the styrofoam box, leaving 2–3 inches at the top.
Pro Tip: Add a handful of bone meal or neem cake for extra nutrients and pest protection.
Step 4: Planting Bitter Melon Seeds

Planting bitter melon in a container is simple.
Steps:

- Make small holes 1 inch deep in the soil.
- Place one or two seeds per hole.
- Cover lightly with soil and water gently.
- Place the box in a sunny location, as bitter melon requires at least 6–8 hours of sunlight daily.
Tip: If planting multiple seeds, leave about 12–18 inches between them to give vines enough space.
Step 5: Watering and Moisture Management
Bitter melon loves moisture but hates waterlogged soil.
Watering tips:
- Water every 2–3 days or when the top 1–2 inches of soil are dry.
- Keep the soil consistently moist, especially during flowering and fruit development.
- Mulch with straw or dry leaves to retain moisture and reduce weed growth.
Proper watering ensures healthy roots and abundant fruiting.
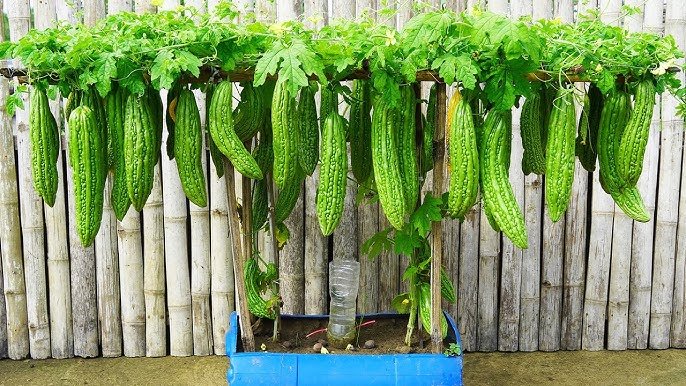
Step 6: Supporting the Vines
Bitter melon is a climbing vine, so it needs support to grow upward.
Support options:
- Bamboo sticks or wooden trellis
- Wire mesh or netting
- Existing walls or fences
Pro Tip: As the vine grows, gently tie the stems to the trellis to prevent breakage. A single vine can climb 6–10 feet or more, producing dozens of fruits when properly supported.
Step 7: Fertilization and Nutrition
Bitter melon is a fast-growing, heavy-feeding plant.
Fertilization schedule:

- At planting: Mix compost or cow dung in the soil.
- Every 2–3 weeks: Apply liquid compost or organic fertilizer around the base.
- During flowering and fruiting: Add potassium-rich fertilizers like banana peel powder or wood ash.
Avoid excess nitrogen — it promotes leafy growth but reduces fruit production.
Step 8: Flowering and Pollination
Bitter melon produces small yellow flowers along the vine.
- Male flowers appear first, followed by female flowers that develop into fruits.
- Pollination is usually done by bees and insects, but in urban settings, you can hand-pollinate using a soft brush.
Proper pollination ensures more flowers develop into fruits, increasing your harvest.
Step 9: Pest and Disease Management
Common pests include aphids, whiteflies, and fruit flies, while diseases like powdery mildew can affect leaves.
Organic management tips:
- Spray neem oil (1 tbsp per liter of water) every 10–15 days.
- Remove infected leaves promptly.
- Ensure good air circulation around the box.
- Avoid overhead watering to reduce fungal problems.
Healthy soil, sunlight, and regular monitoring go a long way in preventing problems.
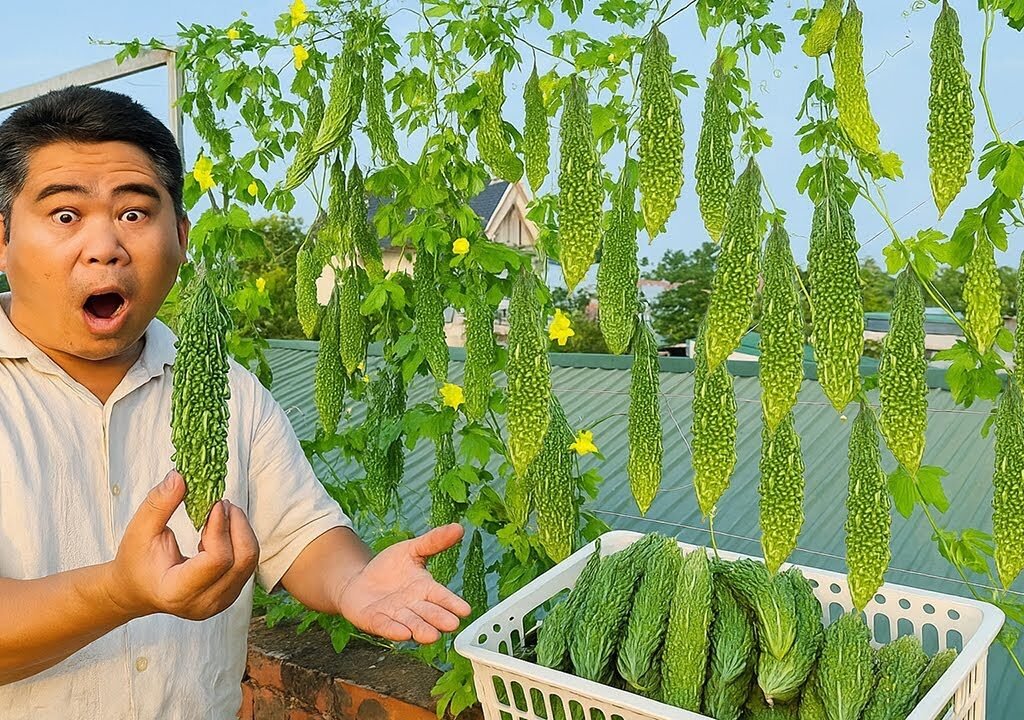
Step 10: Harvesting Bitter Melon
Bitter melon fruits are generally ready for harvest 50–70 days after flowering.
Harvesting tips:
- Pick fruits when they are green and firm — slightly immature for the best taste.
- Use scissors or a sharp knife to cut the fruit, leaving a short stem attached.
- Harvest regularly to encourage continuous flowering and fruiting.
A single styrofoam box can produce 10–20 or more fruits, depending on care and vine growth.

Step 11: Advantages of Using a Styrofoam Box
This method offers multiple benefits for beginner and urban gardeners:
Cost-effective: No need to buy expensive pots.
Space-saving: Ideal for balconies, rooftops, or small yards.
High productivity: Proper care can produce a full vine of fruits.
Eco-friendly: Reuses materials that might otherwise be discarded.
Beginner-friendly: Minimal tools and effort required.
It proves that you don’t need a garden to grow vegetables successfully — a simple container and proper care are enough.
Step 12: Tips for Maximum Yield
- Ensure full sunlight for at least 6–8 hours per day.
- Support vines properly to avoid breakage.
- Fertilize regularly with organic nutrients.
- Mulch to retain moisture and suppress weeds.
- Monitor for pests and diseases; neem oil sprays are highly effective.
- Harvest fruits regularly to encourage continuous flowering.
By following these tips, even small-space gardeners can enjoy a bountiful harvest.
Step 13: Growing Bitter Melon Year-Round
Bitter melon can grow almost year-round in tropical and subtropical climates.
- In cooler months, place the box in a sunny, protected spot or use a mini-greenhouse cover.
- Start new seeds every few months to maintain continuous production.
- Rotate containers if growing multiple vines to ensure even sunlight.
With the right care, you can enjoy fresh, homegrown bitter melon throughout the year.
Step 14: Cooking and Using Homegrown Bitter Melon
Homegrown bitter melon is versatile and nutritious:
Use in stir-fries or sautéed dishes
Add to fresh salads
Cook in curries, soups, or stews
Use leaves in soups or as greens
Freshly harvested bitter melon tastes better and retains more nutrients than store-bought produce.
Conclusion: Turn a Simple Styrofoam Box into a Bountiful Bitter Melon Garden
The viral video “I planted bitter melon in an old styrofoam box, surprised by so many fruits” shows that you don’t need a garden or fancy tools to grow productive vegetables.
By following these steps — choosing healthy seeds, preparing a simple container, providing support, watering, fertilizing, and harvesting carefully — you can grow bitter melon at home with minimal space and cost.
This method is ideal for beginners, urban gardeners, and anyone looking to enjoy fresh, homegrown vegetables sustainably. With a little patience and creativity, your old styrofoam box can produce a lush, productive bitter melon vine that feeds your family for months.
Start today — your first homegrown bitter melon is just a seed away!
Leave A Comment