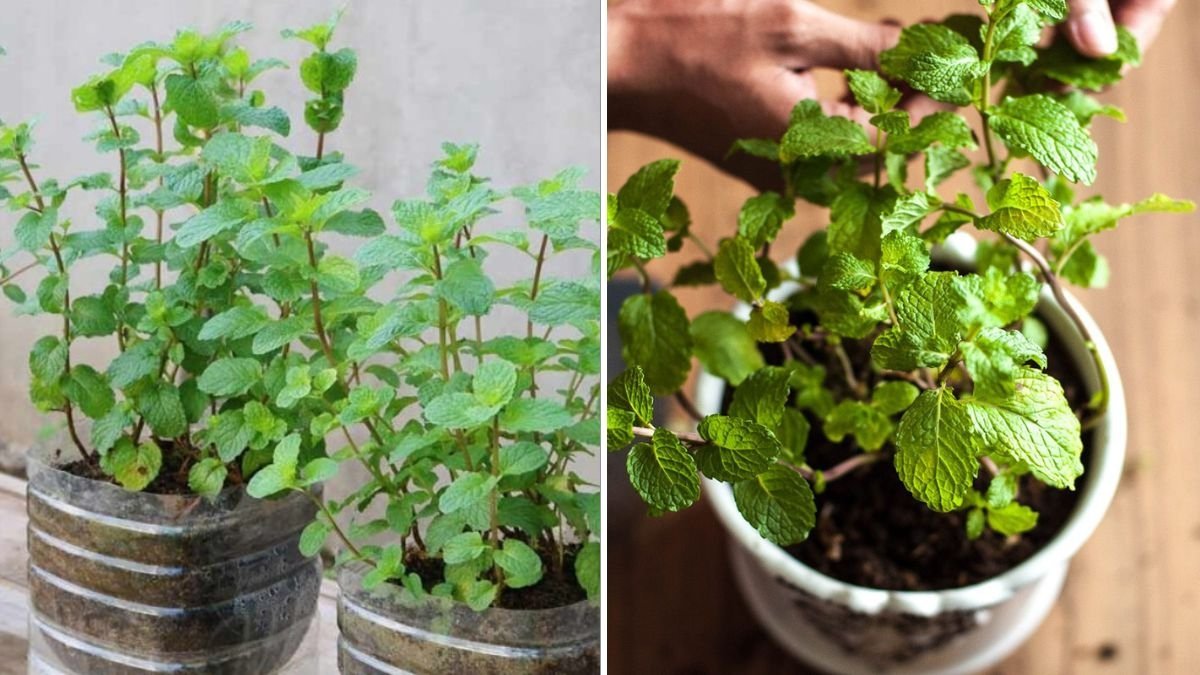
Mint is one of the most versatile and aromatic herbs used in American kitchens — from refreshing mojitos and iced teas to savory dishes, desserts, and homemade sauces. Imagine having a constant supply of fresh, vibrant mint leaves right on your kitchen counter or balcony.
The best part? You don’t need a garden or soil-filled pots to grow it. With plastic bottle water gardening, you can cultivate mint quickly, efficiently, and sustainably. This method is ideal for urban gardeners, apartment dwellers, or beginners looking for easy herb-growing solutions.
In this guide, you’ll learn step-by-step how to grow mint in plastic bottles with water at home, including preparation, maintenance, and harvesting, so you can enjoy lush, fragrant mint year-round.
1. Why Grow Mint in Plastic Bottles?
Growing mint in plastic bottles using water (hydroponic style) is a game-changer for small-space gardening.
Benefits of Plastic Bottle Water Gardening:
- Space-saving: Perfect for balconies, windowsills, and kitchen counters.
- No soil required: Avoid mess, pests, and soil-borne diseases.
- Water-efficient: Minimal maintenance; bottles act as mini-reservoirs.
- Continuous growth: Mint grows fast and can be harvested repeatedly.
- Beginner-friendly: Requires minimal gardening skills or tools.
This approach ensures fresh, organic mint leaves whenever you need them without the hassle of traditional gardening.
2. Choosing the Right Mint Variety
Mint grows easily, but some varieties thrive better indoors in containers.

Best Mint Varieties for Bottle Gardening:
- Spearmint: Sweet, mild flavor; perfect for drinks and salads.
- Peppermint: Strong, cooling taste; great for teas and desserts.
- Chocolate Mint: Unique aroma; ideal for creative recipes.
- Apple Mint: Fruity flavor; adds a refreshing twist to dishes.
Pro Tip: Start with cuttings from garden or store-bought plants for faster results compared to seeds.
3. Materials You’ll Need
Growing mint in bottles is simple and affordable. Here’s what you’ll need:
Materials List:
- Plastic bottles (1–2 liters)
- Scissors or sharp knife
- Mint cuttings (3–5 inches long)
- Water (preferably filtered or boiled and cooled)
- Optional: Liquid fertilizer for faster growth
- Tray or mat to place bottles on
Tip: Transparent bottles let you monitor root development and water levels easily.
4. Preparing Plastic Bottles
Proper preparation ensures healthy roots and long-lasting growth.
Step-by-Step Preparation:
- Cut the top third of the plastic bottle and invert it into the bottom half.
- Fill the inverted top section with water for cutting placement or create a small mesh for aeration.
- Ensure the bottle is stable on a flat surface and receives indirect sunlight.
- Optional: Drill a few tiny holes for better airflow if using a covered bottle system.
Pro Tip: The inverted top method allows mint cuttings to grow roots efficiently while reducing water stagnation.
5. Preparing Mint Cuttings
Mint grows quickly from cuttings, making it ideal for water gardening.
Step 1: Choose Healthy Cuttings
- Select fresh, green stems with 3–4 leaves.
- Avoid woody or damaged stems.
Step 2: Remove Lower Leaves
- Strip leaves from the bottom 1–2 inches of the stem.
- Leaves above water level prevent rot.
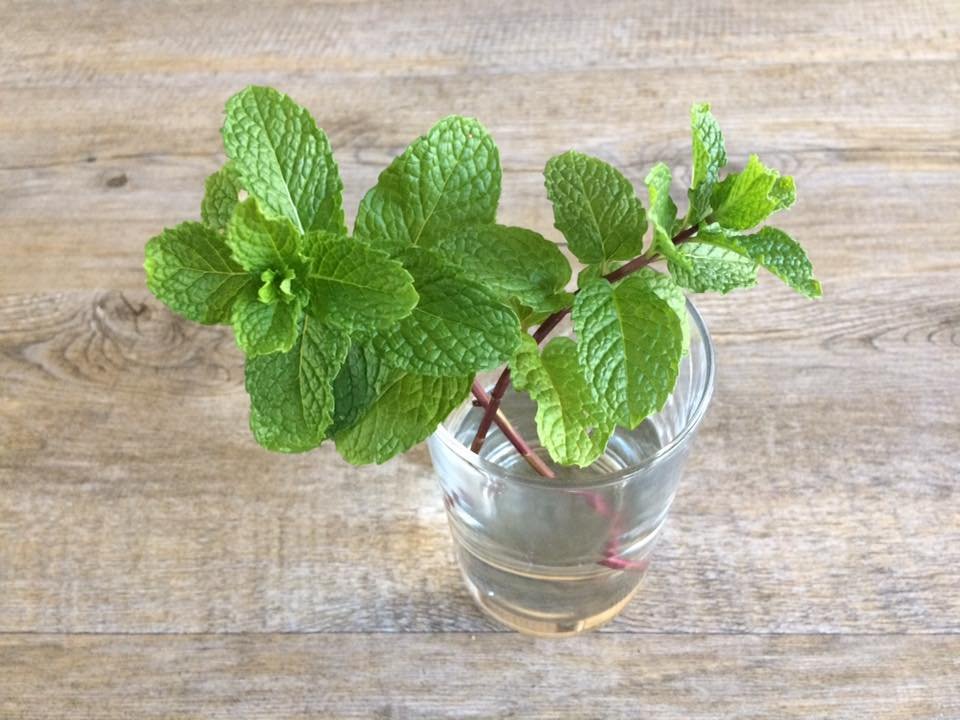
Step 3: Place in Water
- Submerge the cut stem in clean water, ensuring only the leafless portion is underwater.
- Roots typically appear in 7–14 days.
Pro Tip: Change water every 3–4 days to prevent algae and bacterial growth.
6. Sunlight and Location
Mint requires indirect sunlight to thrive indoors.
Optimal Conditions:
- Sunlight: 4–6 hours of indirect sunlight daily
- Temperature: 65–75°F (18–24°C)
- Placement: Windowsill, balcony, or kitchen counter near a bright window
Pro Tip: Rotate bottles occasionally for even light exposure and healthy growth.
7. Maintaining Water Levels
Water management is key to keeping mint healthy and fast-growing.
Guidelines:
- Keep roots fully submerged but not drowning.
- Replace water every 3–4 days or when it becomes cloudy.
- Optional: Add a few drops of liquid fertilizer weekly for faster growth.
Pro Tip: Use filtered or boiled water to prevent chemicals like chlorine from affecting growth.
8. Fertilizing Mint
While mint grows well in water alone, nutrients can boost leaf production.
Fertilizing Tips:
- Use liquid fertilizer or water-soluble organic nutrients once a week.
- Avoid over-fertilizing — too much can burn roots.
- Hydroponic solutions are ideal for strong, aromatic leaves.
Pro Tip: Organic options like liquid seaweed or diluted compost tea can be safely added to water.
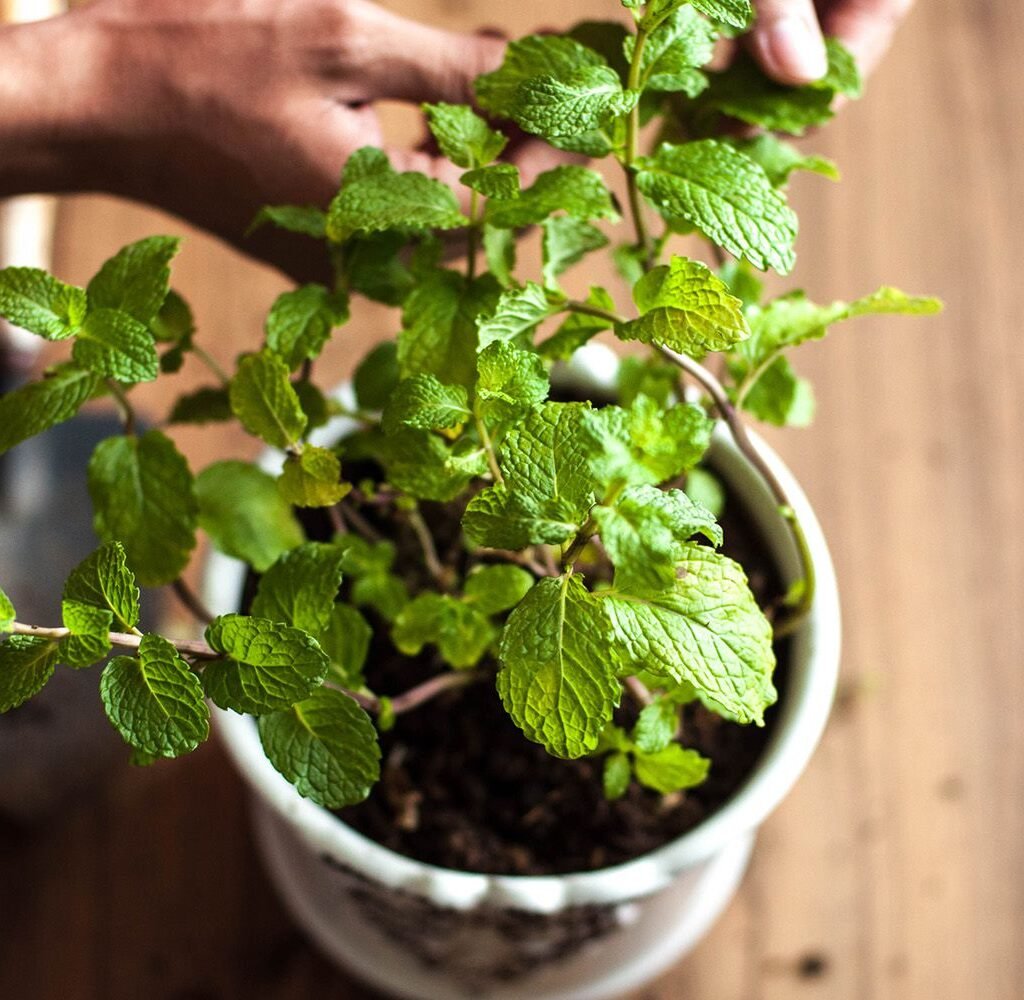
9. Supporting Mint Growth
Mint spreads rapidly and can become bushy.
Tips for Managing Growth:
- Trim leaves regularly to encourage branching.
- Remove flowers promptly to focus energy on leaf growth.
- Use small stakes if stems grow tall in water bottles.
Pro Tip: Frequent trimming ensures dense, lush growth and prevents legginess.
10. Common Problems and Solutions
Even in water bottles, mint can face some challenges.
| Problem | Cause | Solution |
|---|---|---|
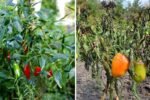
| Yellow leaves | Nutrient deficiency | Add diluted liquid fertilizer |
| Root rot | Stagnant water | Change water regularly; clean bottle |
| Weak growth | Insufficient sunlight | Move to brighter indirect light |
| Algae in water | Sunlight exposure | Cover water surface or reduce direct light |
Pro Tip: Inspect roots and leaves weekly to catch problems early.
11. Harvesting Mint
Mint is ready to harvest in 3–4 weeks after rooting, depending on the variety.
How to Harvest:
- Snip top leaves and stems with scissors, leaving the lower leaves for continued growth.
- Harvest regularly to encourage bushy, healthy plants.
- Use fresh leaves immediately or store in a small glass of water for short-term freshness.
Pro Tip: Avoid removing more than 1/3 of the plant at a time to maintain strong growth.
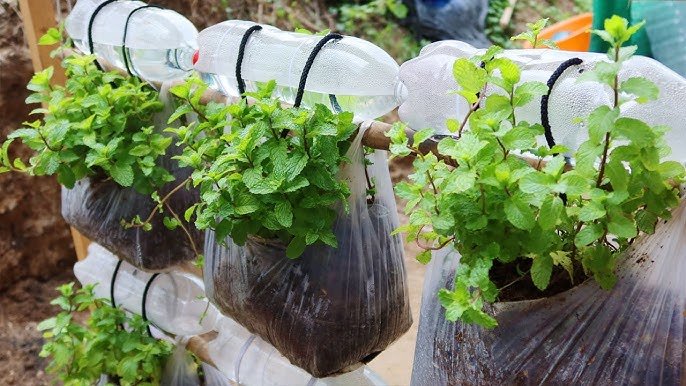
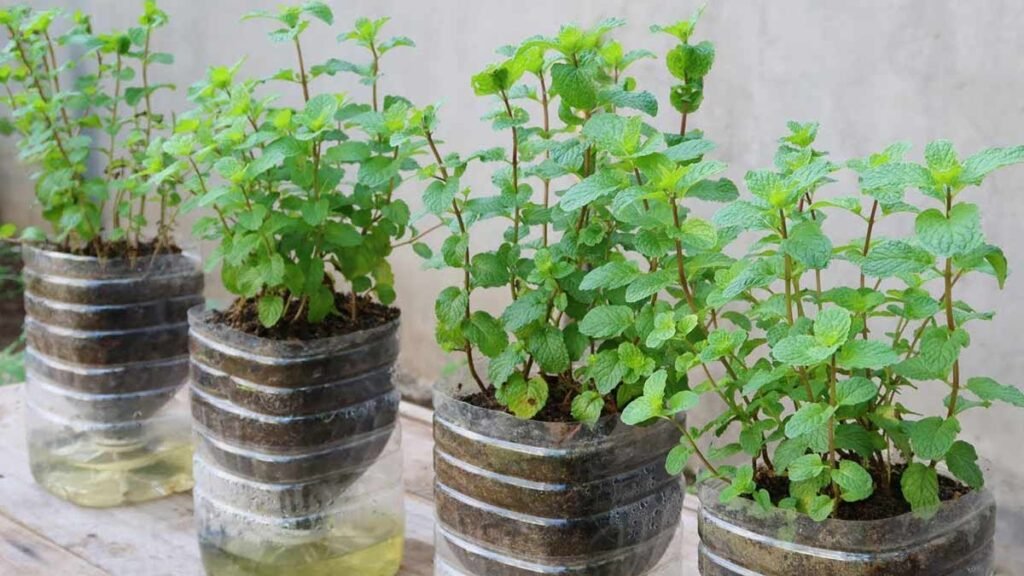
12. Maximizing Mint Yield
- Use multiple bottles to create a mini indoor herb garden.
- Trim consistently to encourage branching.
- Rotate bottles to evenly distribute sunlight.
- Replace old cuttings with new ones to maintain continuous harvest.
Pro Tip: Pair mint with basil, oregano, or thyme in small bottle gardens for a full herb collection.
13. Fun Fact: Mint’s Health Benefits
Mint is rich in antioxidants, vitamins, and essential oils. Regular use can aid digestion, relieve headaches, and freshen breath. Growing mint at home ensures organic, chemical-free leaves ready to enhance your meals, teas, and drinks.
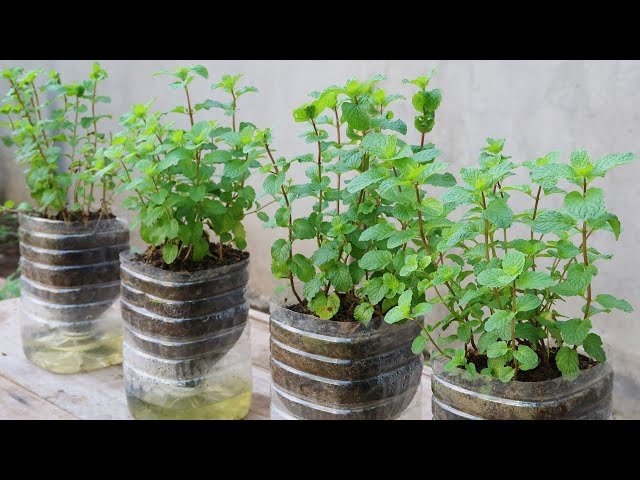
14. Conclusion: Effortless, Continuous Mint Gardening
Growing mint in plastic bottles with water is a beginner-friendly, space-saving gardening method. It’s cost-effective, low-maintenance, and highly productive, perfect for indoor or balcony gardening.
With just a few bottles, water, and mint cuttings, you can enjoy lush, aromatic mint leaves year-round. This method not only provides fresh herbs at your fingertips but also promotes sustainable, eco-friendly gardening by reusing plastic bottles.
Start your plastic bottle mint garden today and enjoy the satisfaction of harvesting fresh, vibrant mint — simple, efficient, and endlessly rewarding!
Leave A Comment