If you’re a spice enthusiast looking to take your culinary adventures to the next level, the Trinidad Scorpion pepper is the ultimate challenge. Known as one of the hottest chili peppers in the world, it’s a staple for thrill-seeking home cooks, competitive eaters, and daring chefs across the United States.
Originating from Trinidad and Tobago, this small, wrinkled pepper packs intense heat, a fruity undertone, and a fiery kick that can transform any dish into a bold flavor experience. From spicy sauces to hot pepper-infused oils, the Trinidad Scorpion is a symbol of extreme heat and culinary adventure.
In this comprehensive guide, we’ll explore everything you need to know about Trinidad Scorpion peppers — including their history, heat level, growing tips, health benefits, and creative ways Americans are using them in modern cuisine.
1. What Are Trinidad Scorpion Peppers?
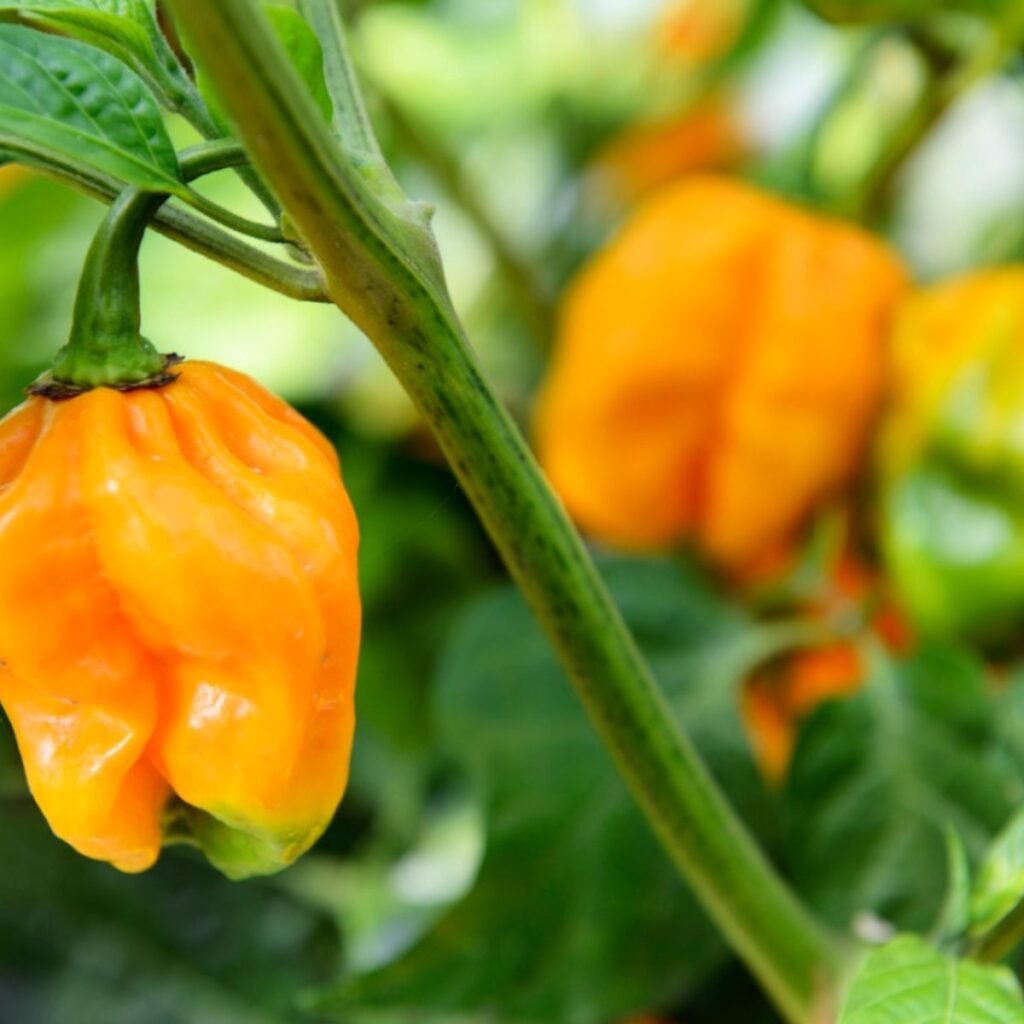
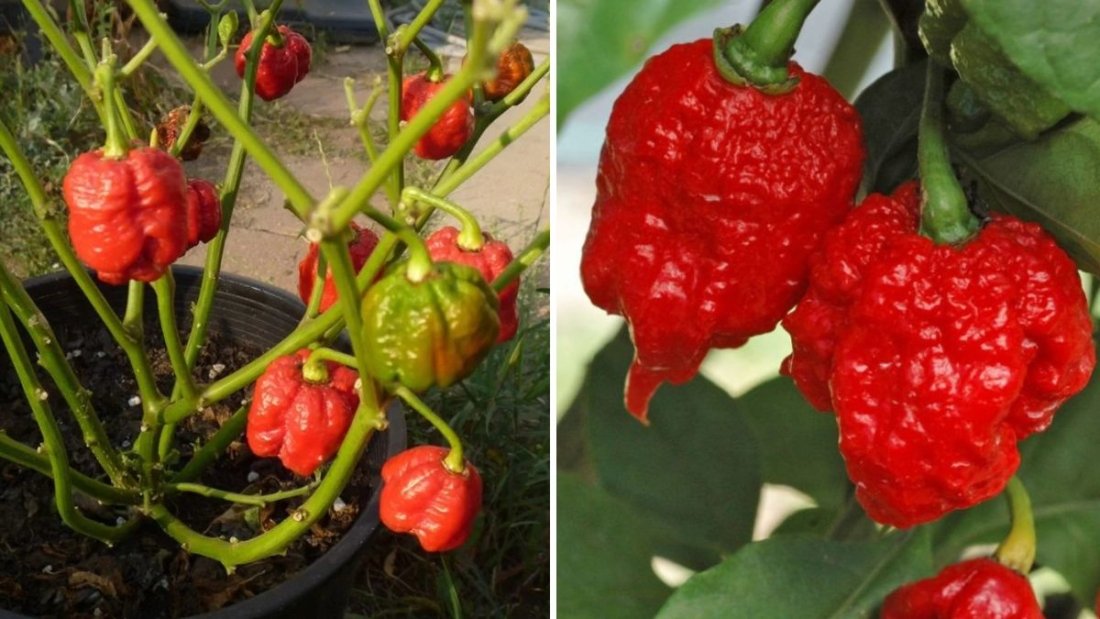
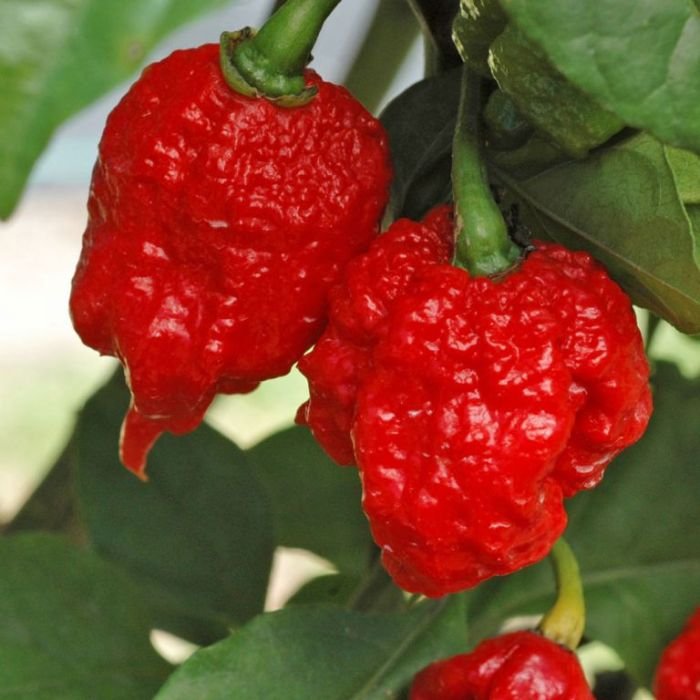
The Trinidad Scorpion pepper (Capsicum chinense) hails from Trinidad and Tobago in the Caribbean. It’s famous for its heart-stopping heat, often topping the charts at over 1,200,000 Scoville Heat Units (SHU). For context, a jalapeño sits around 2,500–8,000 SHU, making the Scorpion more than 100 times hotter.
Key characteristics:
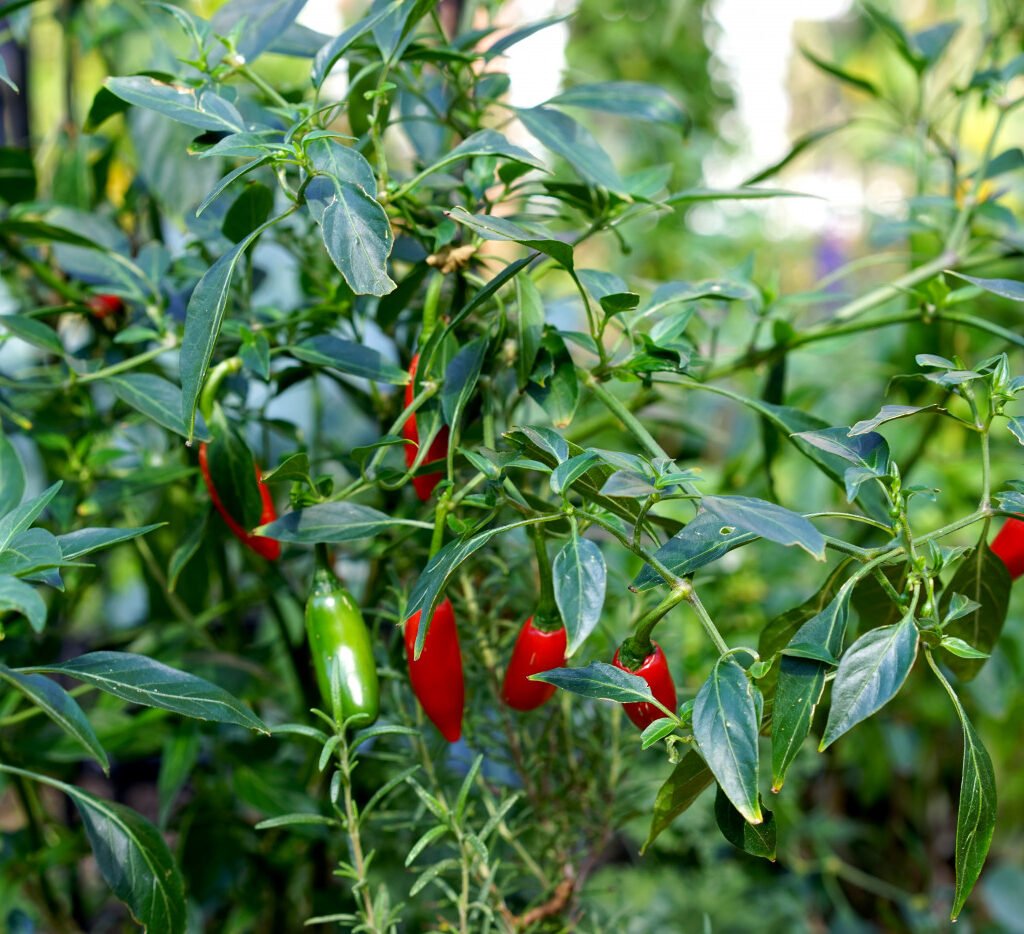
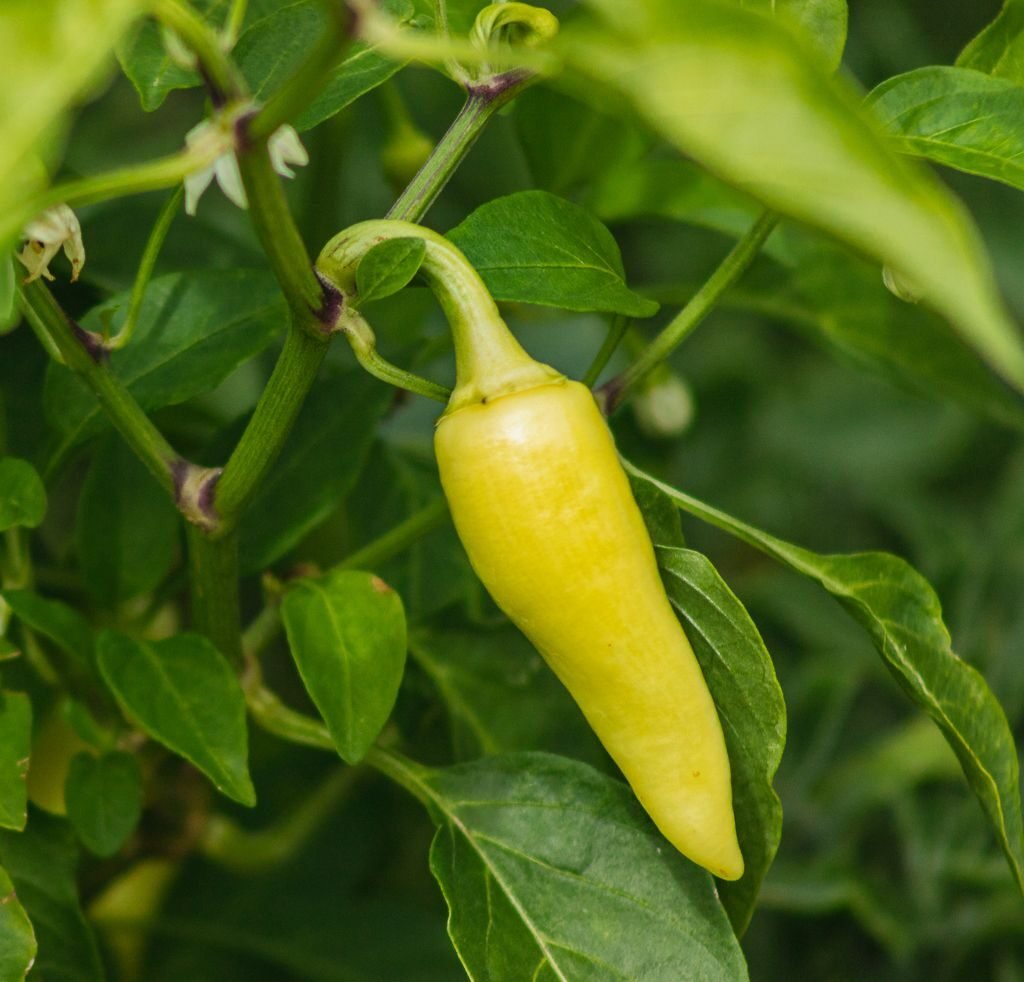
- Size: Small, typically 1–2 inches long
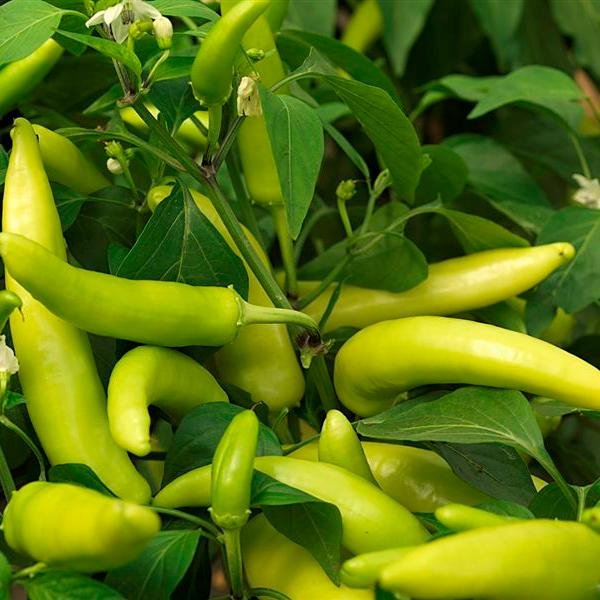
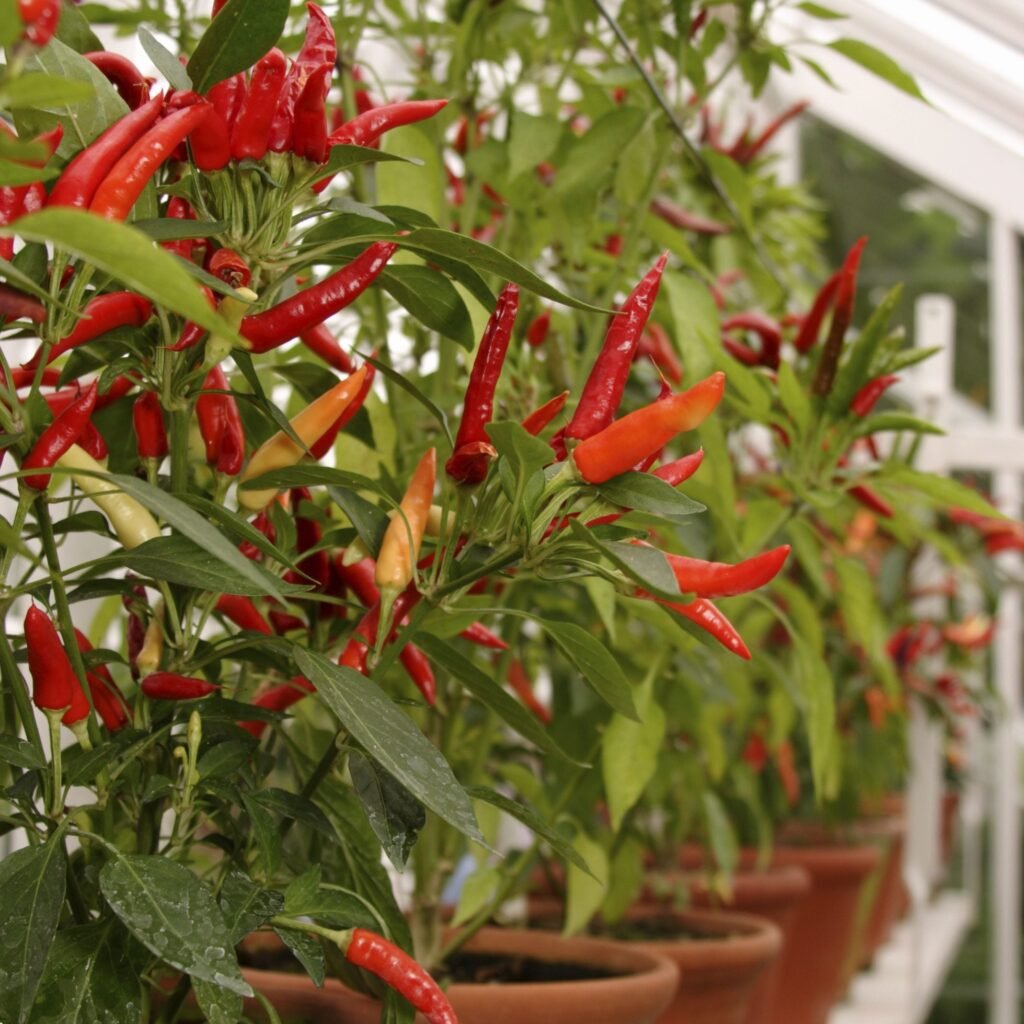
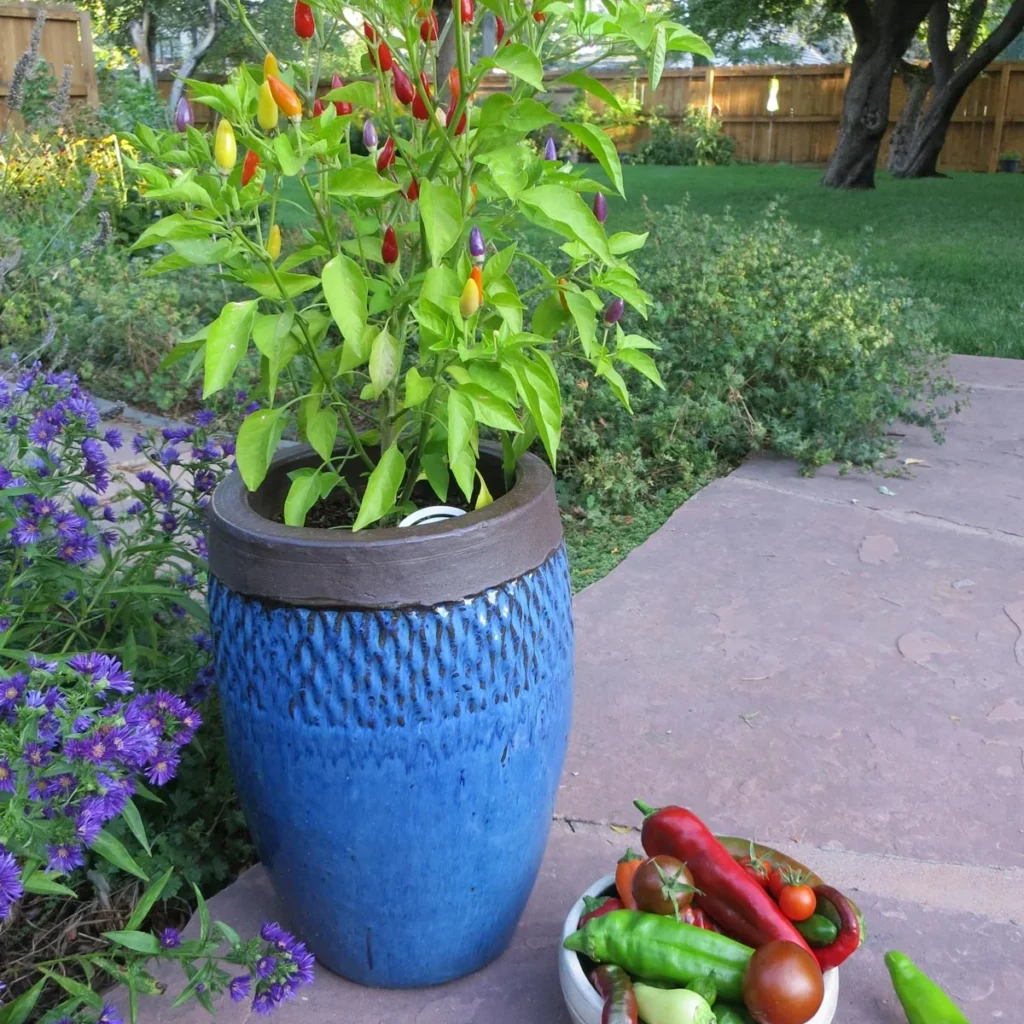
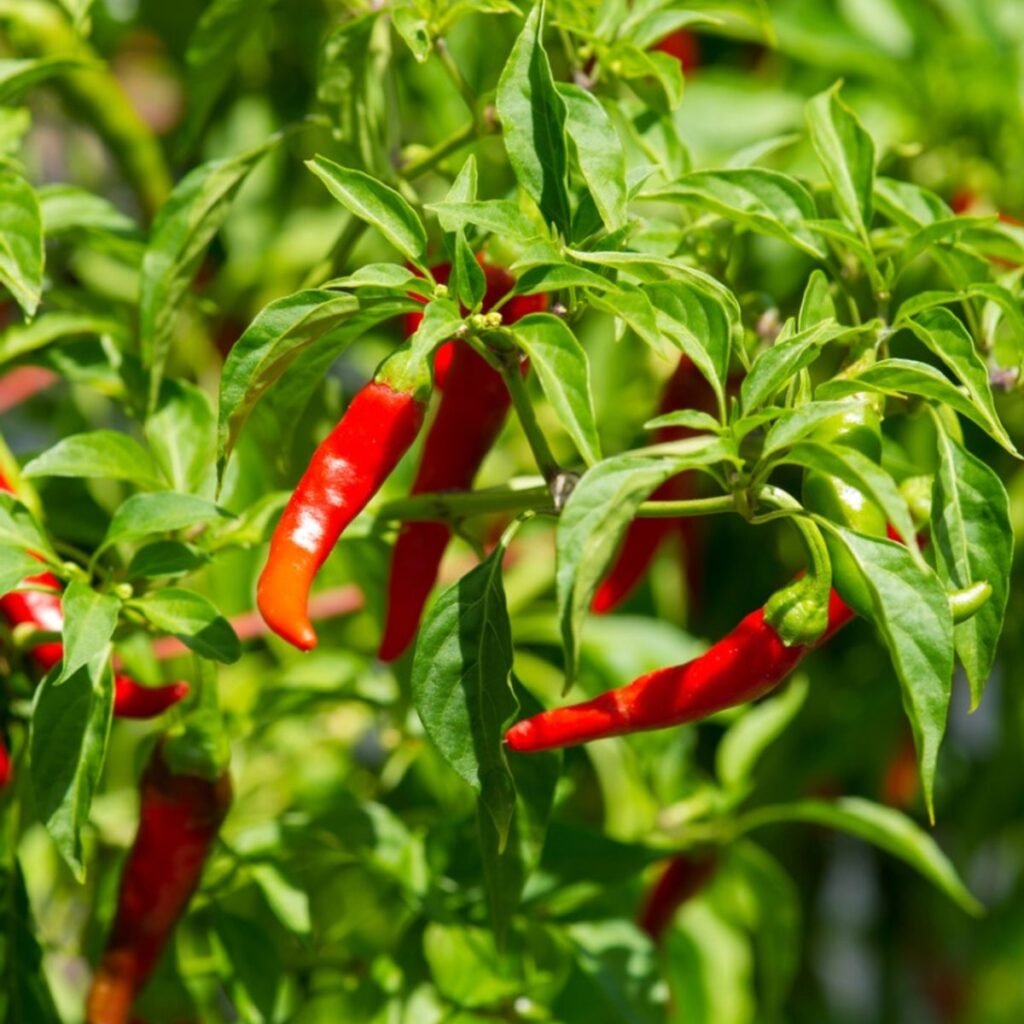
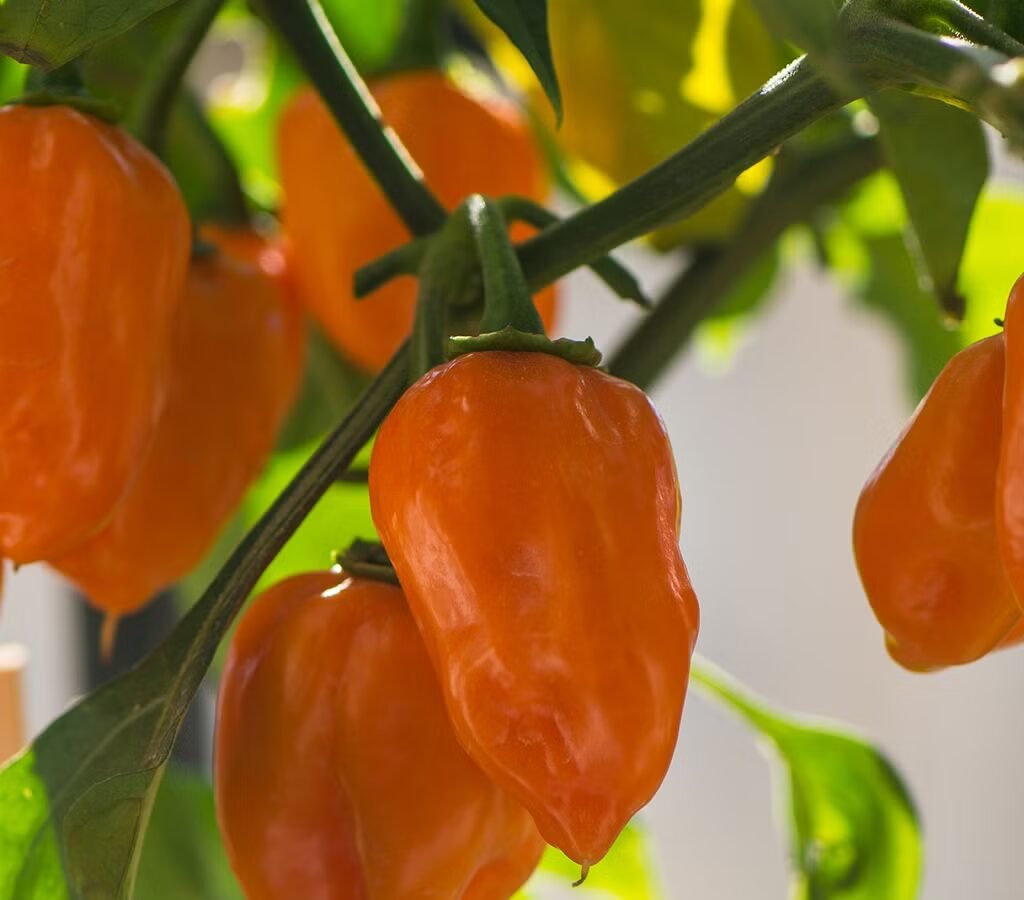
- Color: Bright red at maturity
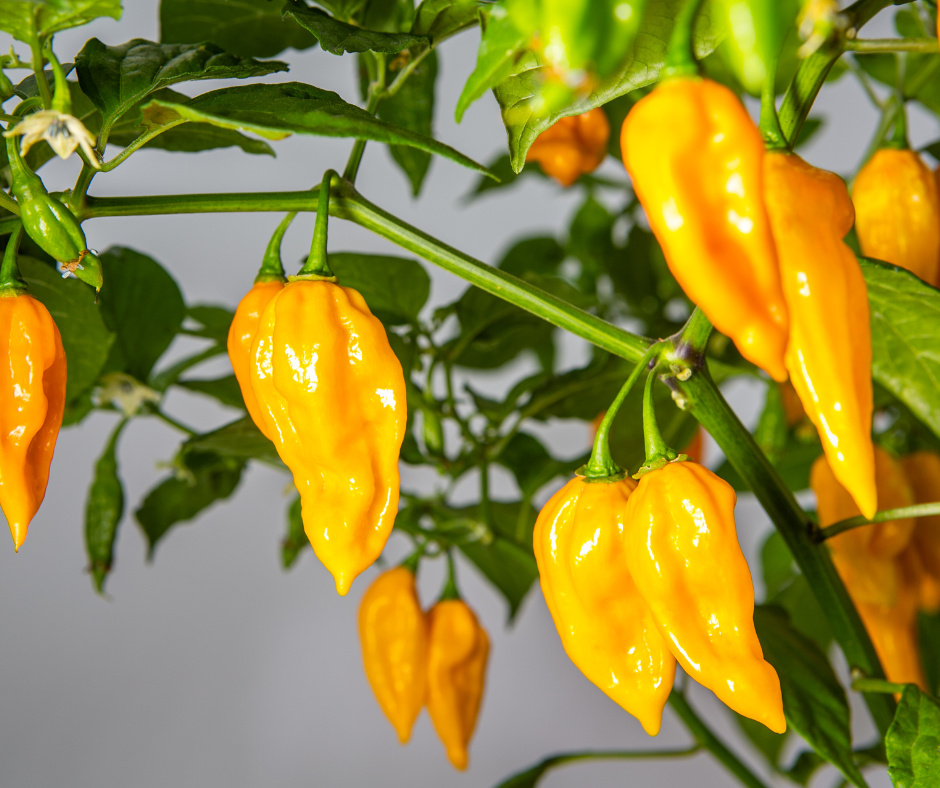
- Shape: Wrinkled and scorpion-tail-like, hence the name
- Flavor: Fruity, slightly sweet before the intense heat kicks in
There are several variants, including the Trinidad Moruga Scorpion, which once held the title of the world’s hottest pepper.
2. The Heat Factor: Why Trinidad Scorpions Are Not for the Faint of Heart
Trinidad Scorpion peppers are extreme, earning their reputation among hot pepper enthusiasts. The heat is measured in Scoville Heat Units (SHU), with most varieties ranging from 800,000 to over 2,000,000 SHU, depending on growing conditions.
The intense heat comes from capsaicin, the chemical responsible for the burning sensation. Interestingly, the pepper also has a sweet, fruity flavor that is noticeable before the heat overwhelms the palate. This makes it perfect for bold hot sauces, salsas, and culinary experiments — if handled carefully.
3. Safety Tips for Handling Trinidad Scorpion Peppers
Due to their extreme heat, safety is crucial when handling Trinidad Scorpions:
- Wear gloves to prevent skin irritation.
- Avoid touching your eyes or face after handling.
- Use a sharp knife to minimize crushing the pepper and releasing capsaicin fumes.
- Wash hands and surfaces thoroughly after preparation.
- Introduce slowly into recipes — a little goes a very long way.
Even small amounts can dramatically change a dish, so precise measurement and care are essential for American home cooks experimenting with these fiery peppers.
4. Nutrition and Health Benefits
While most people focus on the heat, Trinidad Scorpion peppers also offer surprising health benefits:
Nutritional highlights (per 100g of raw pepper):
- Calories: 40
- Vitamin C: Over 150% of daily value
- Vitamin A: 20% of daily value
- Fiber: 2–3g
- Capsaicin: Anti-inflammatory and metabolism-boosting compound
Health Benefits:
- Boosts Metabolism: Capsaicin increases calorie burning.
- Supports Heart Health: Can help reduce cholesterol and improve circulation.
- Aids Pain Relief: Capsaicin has natural analgesic properties.
- Rich in Antioxidants: Supports overall health and immunity.
- Promotes Weight Loss: Spicy foods help curb appetite and increase satiety.
For Americans seeking functional foods that provide flavor and health benefits, the Trinidad Scorpion packs a serious punch.
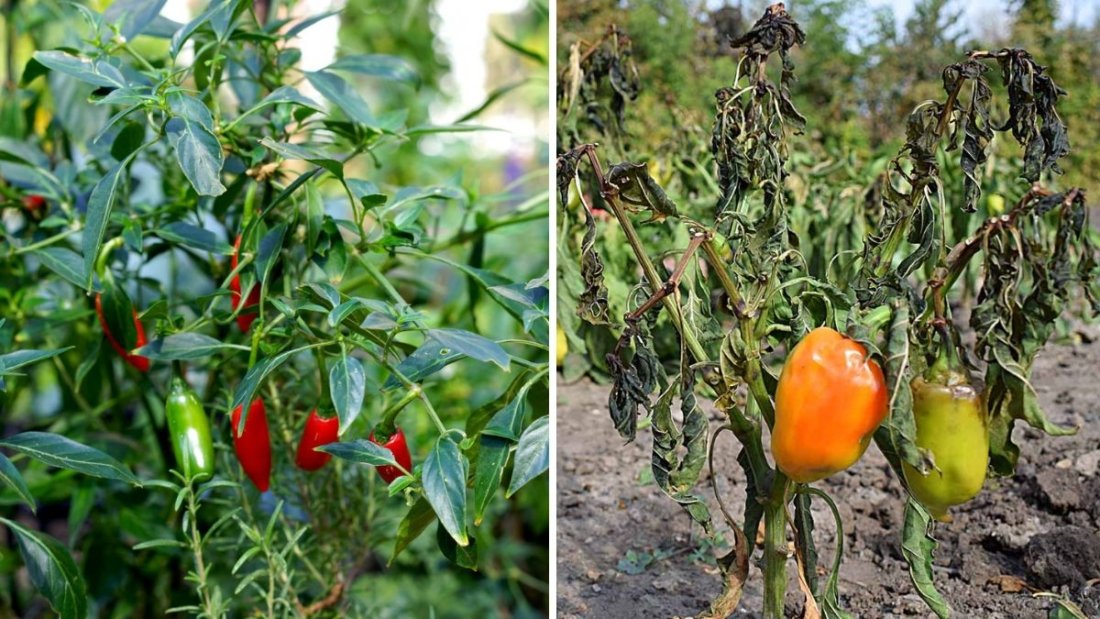
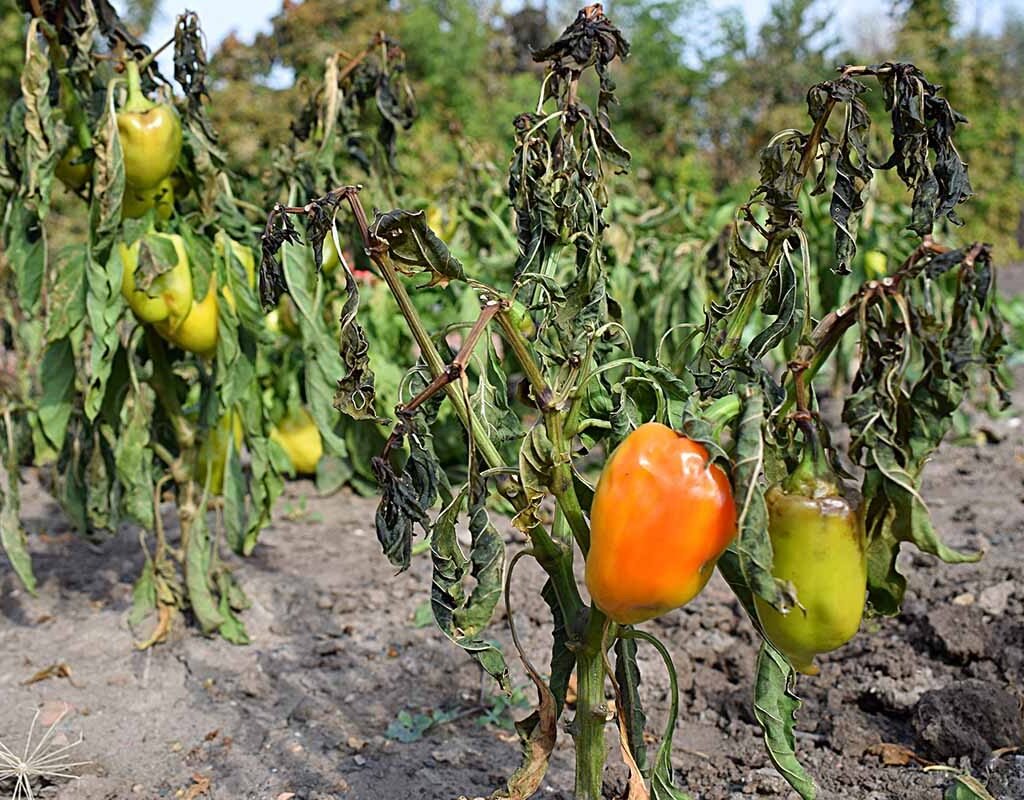
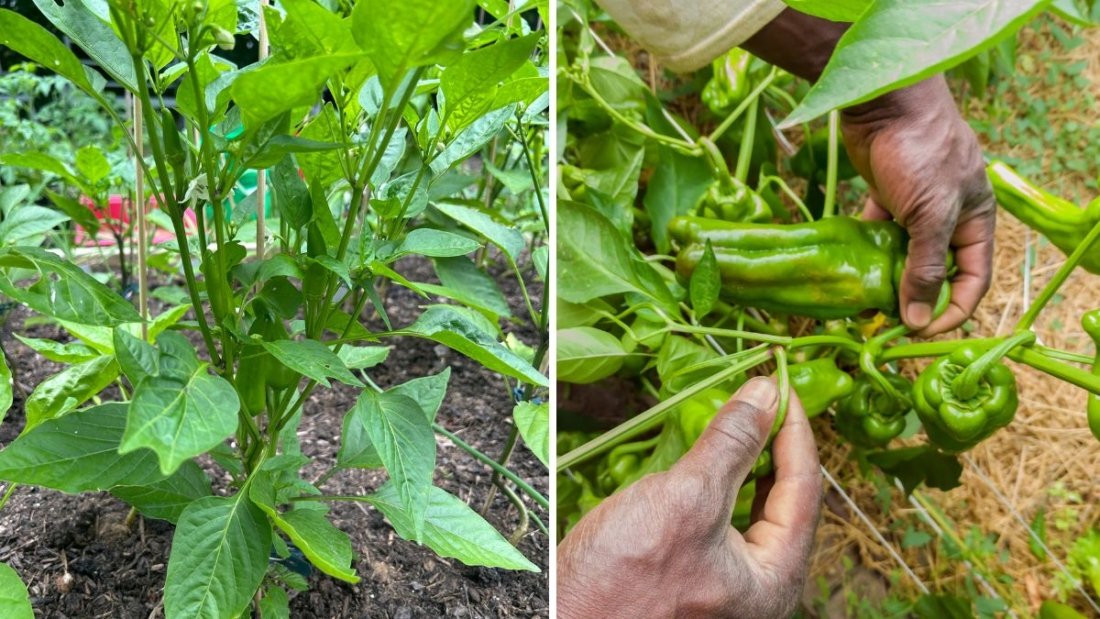
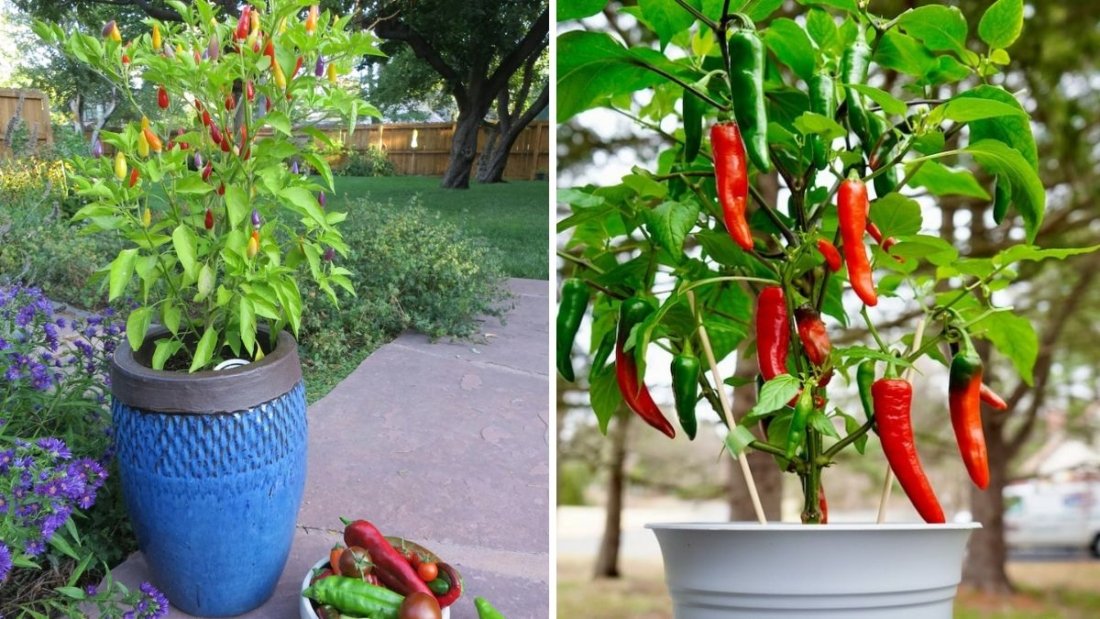
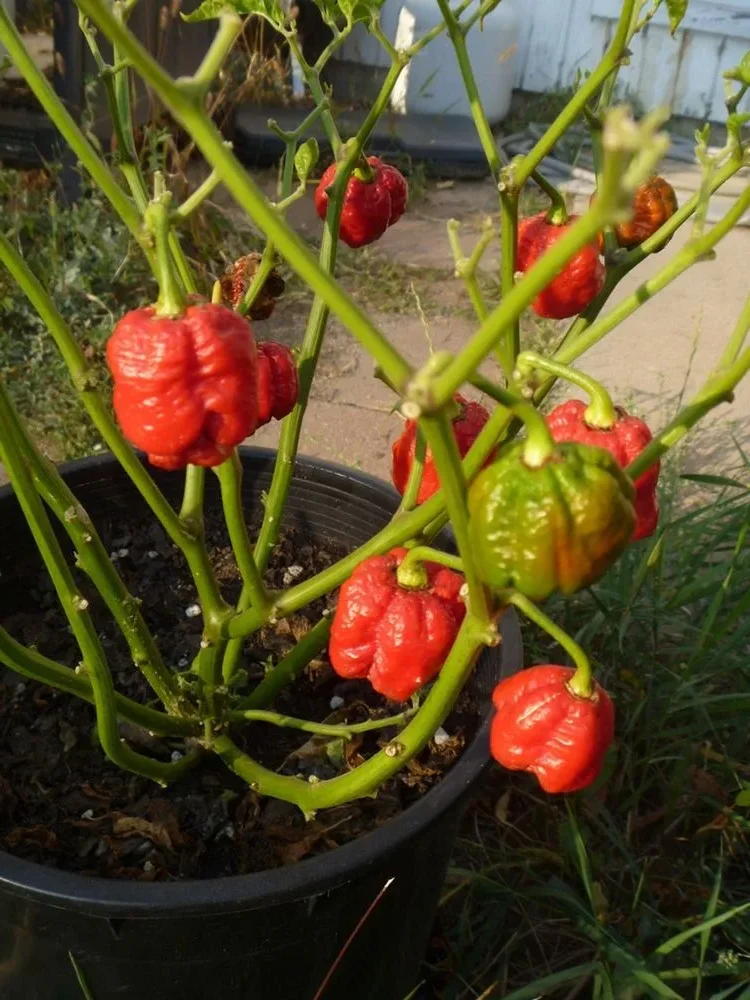
5. Growing Trinidad Scorpion Peppers in the U.S.
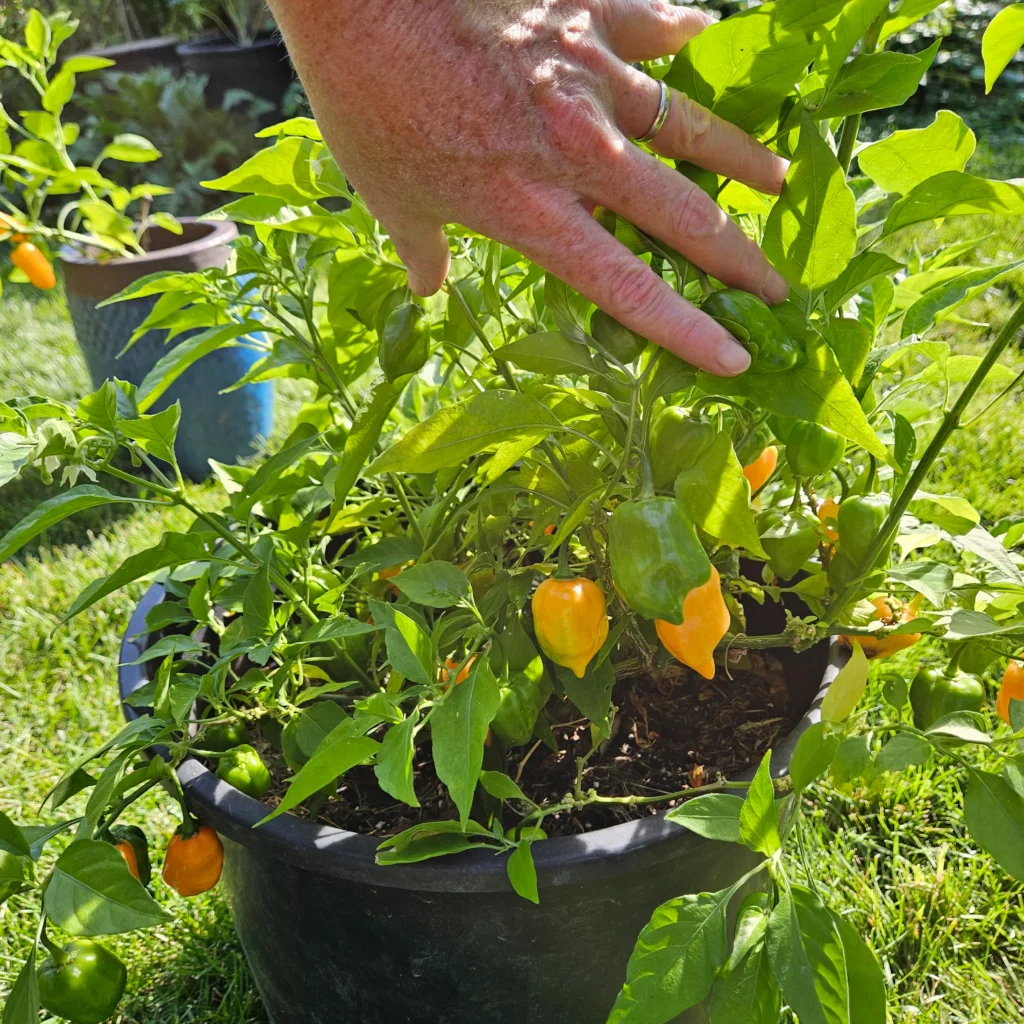
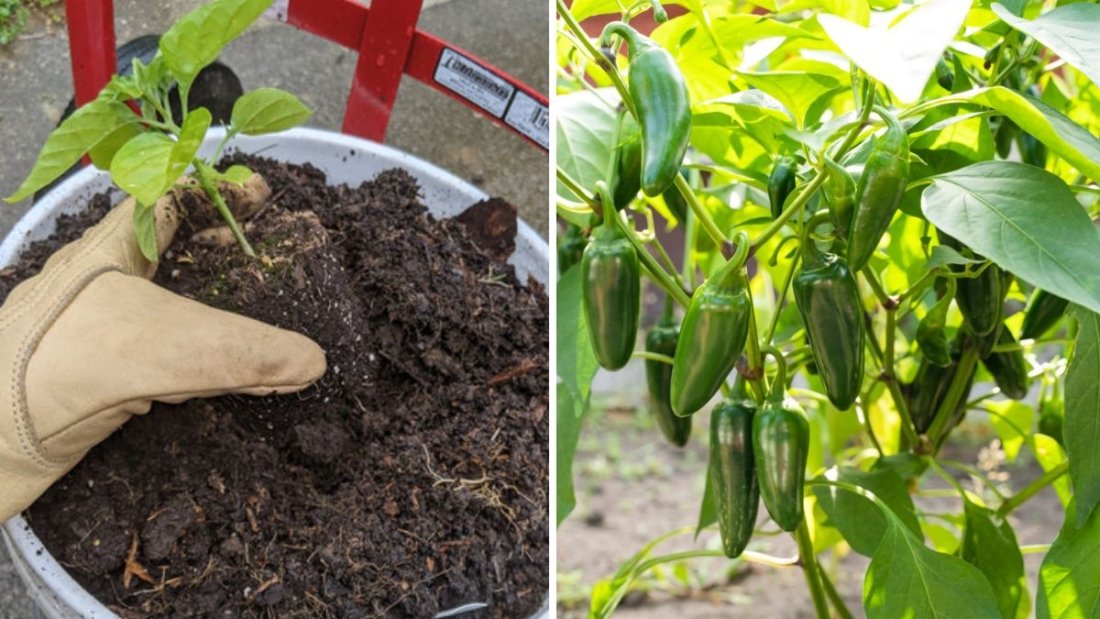
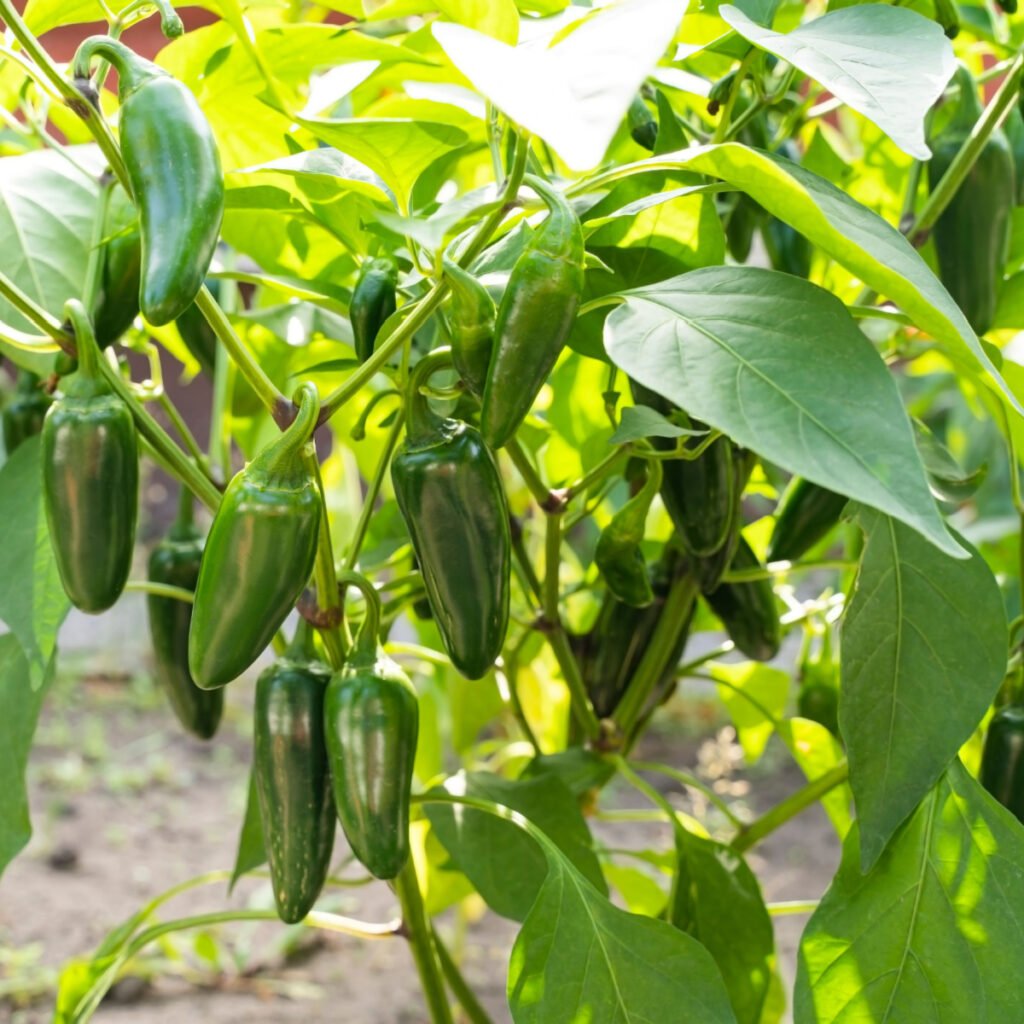
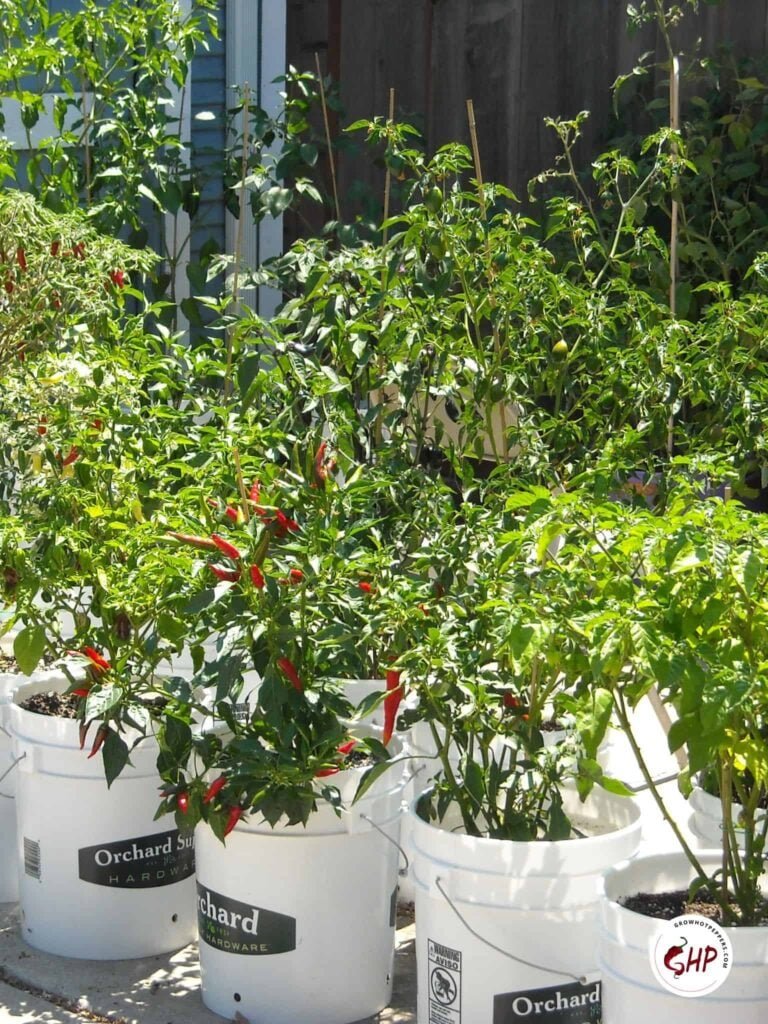
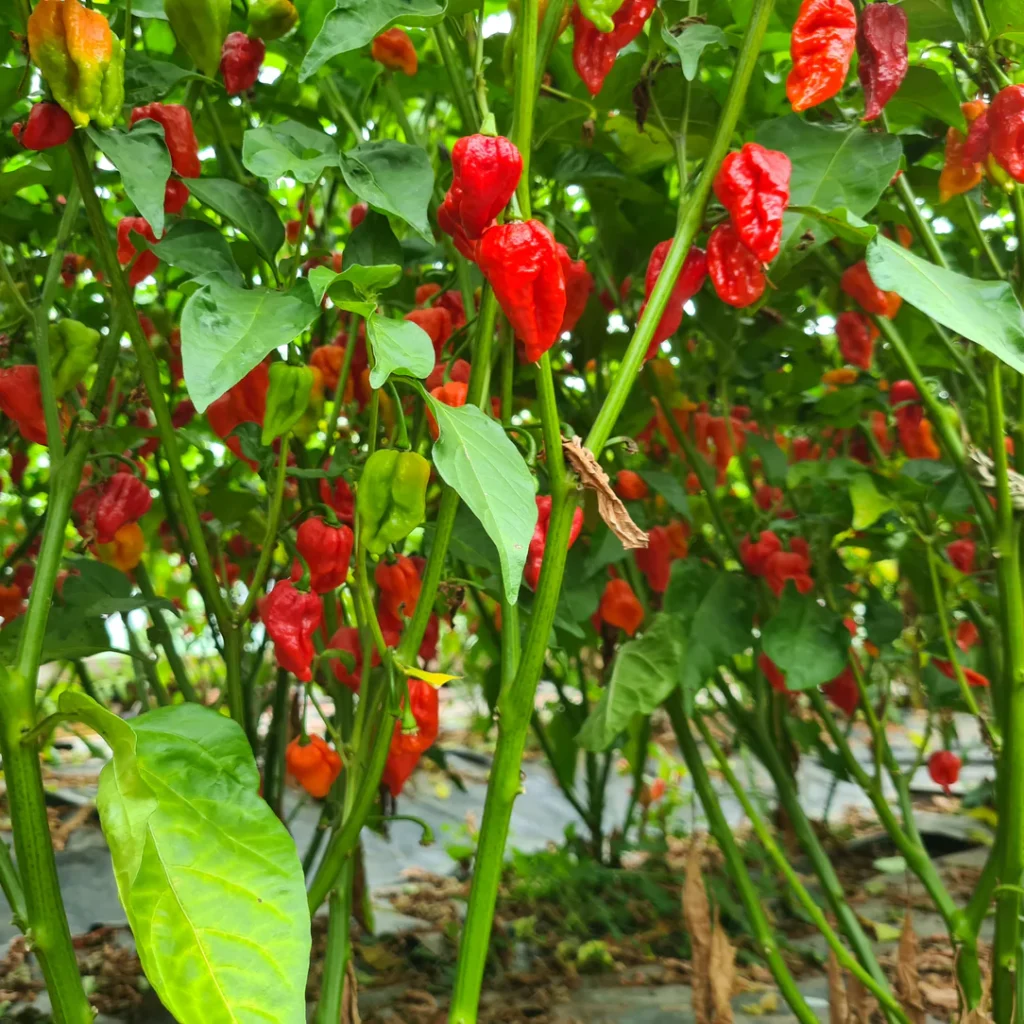
Growing Trinidad Scorpions at home is possible for experienced gardeners, especially in warm climates like Florida, Texas, and California.
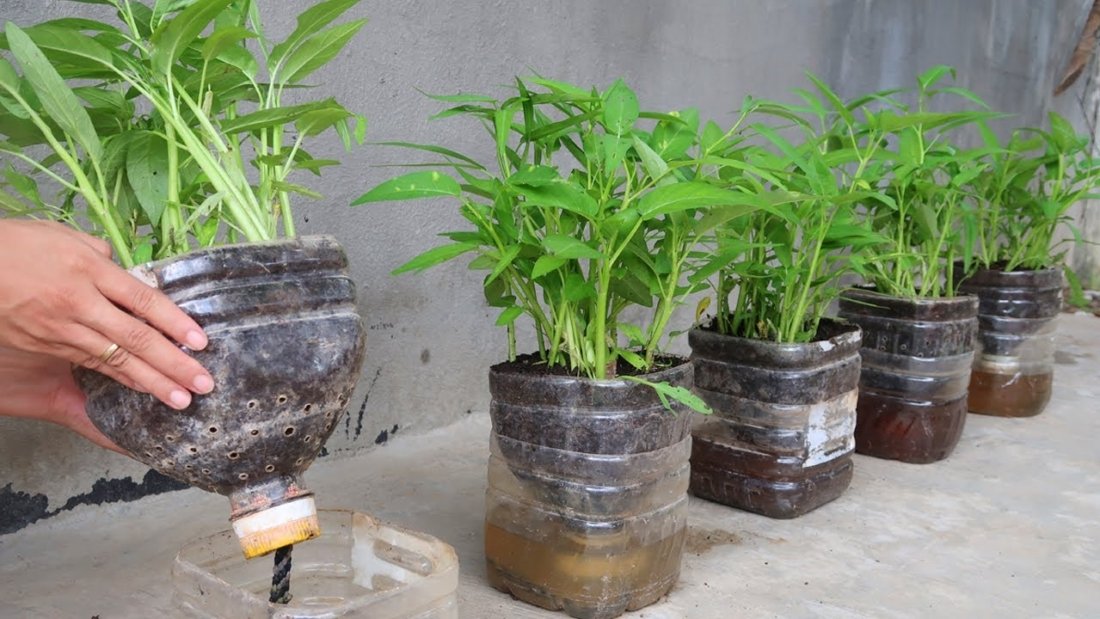
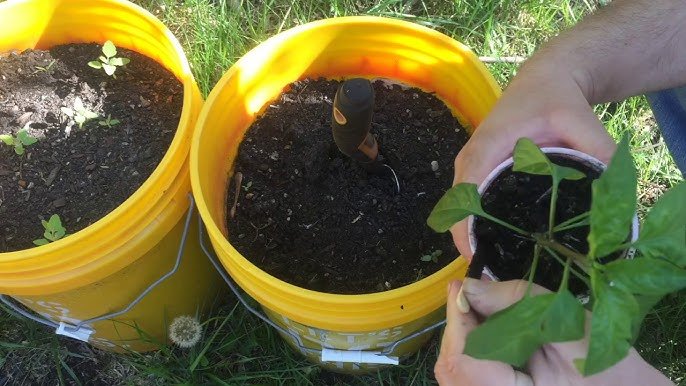
Step-by-step growing guide:
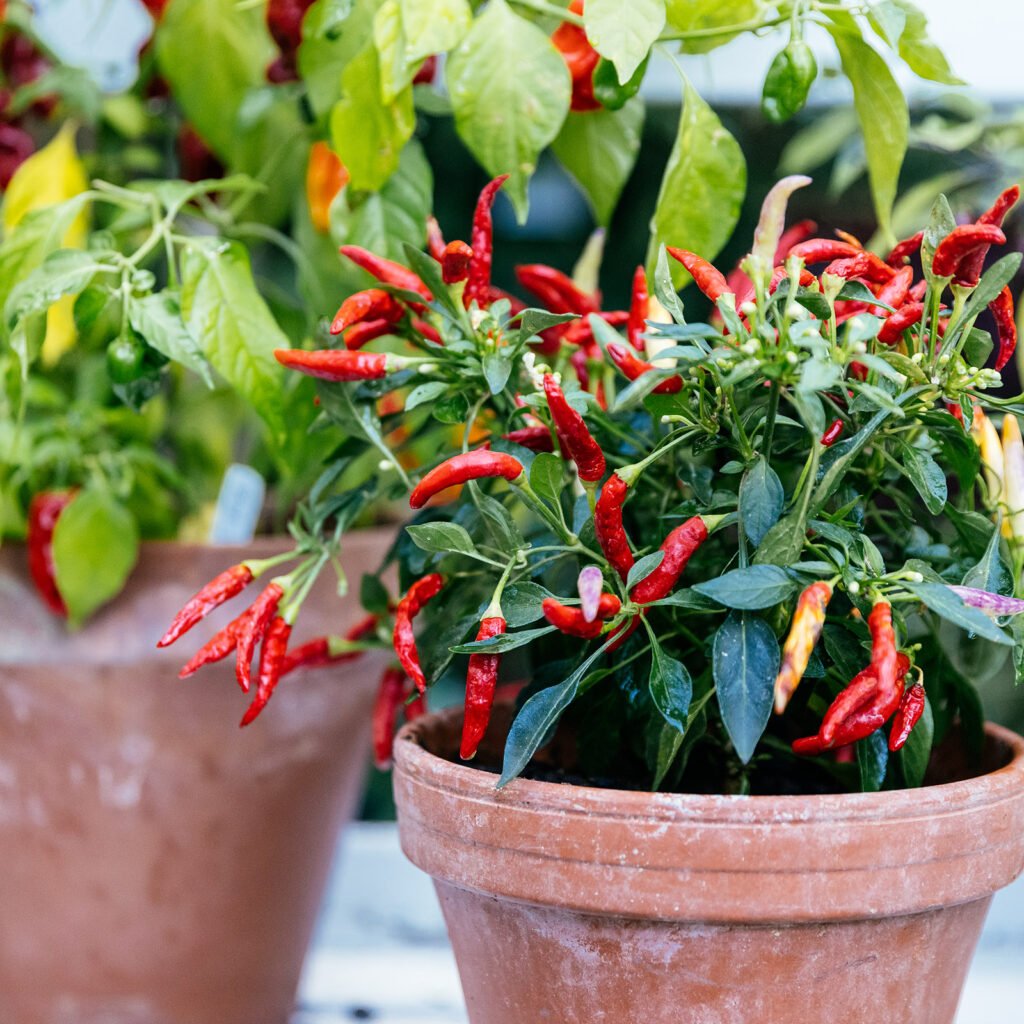
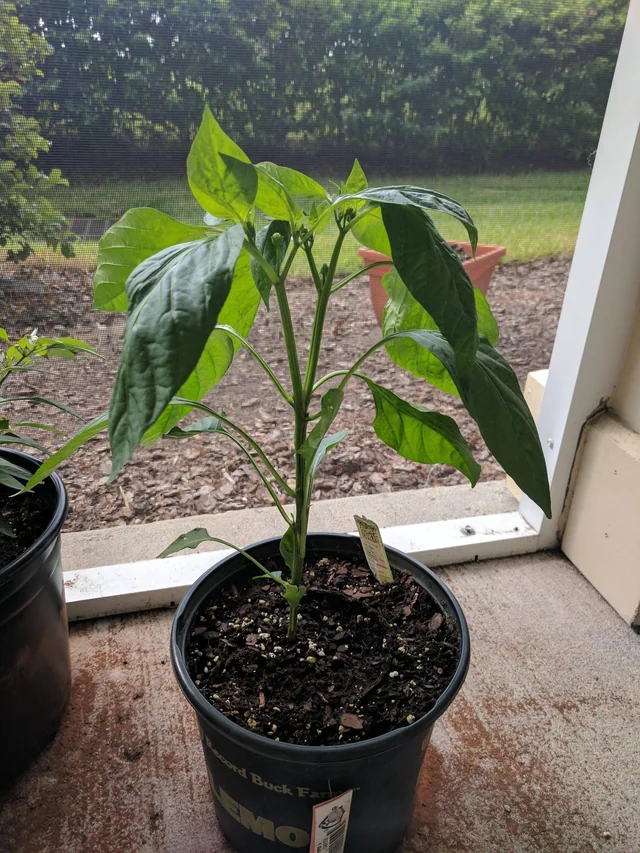
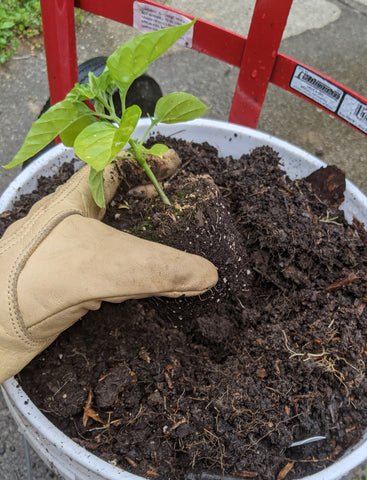
- Start Indoors: Begin seeds 8–12 weeks before the last frost.
- Transplant Carefully: Move seedlings outdoors once temperatures are consistently above 70°F.
- Soil: Use well-draining, nutrient-rich soil with compost.
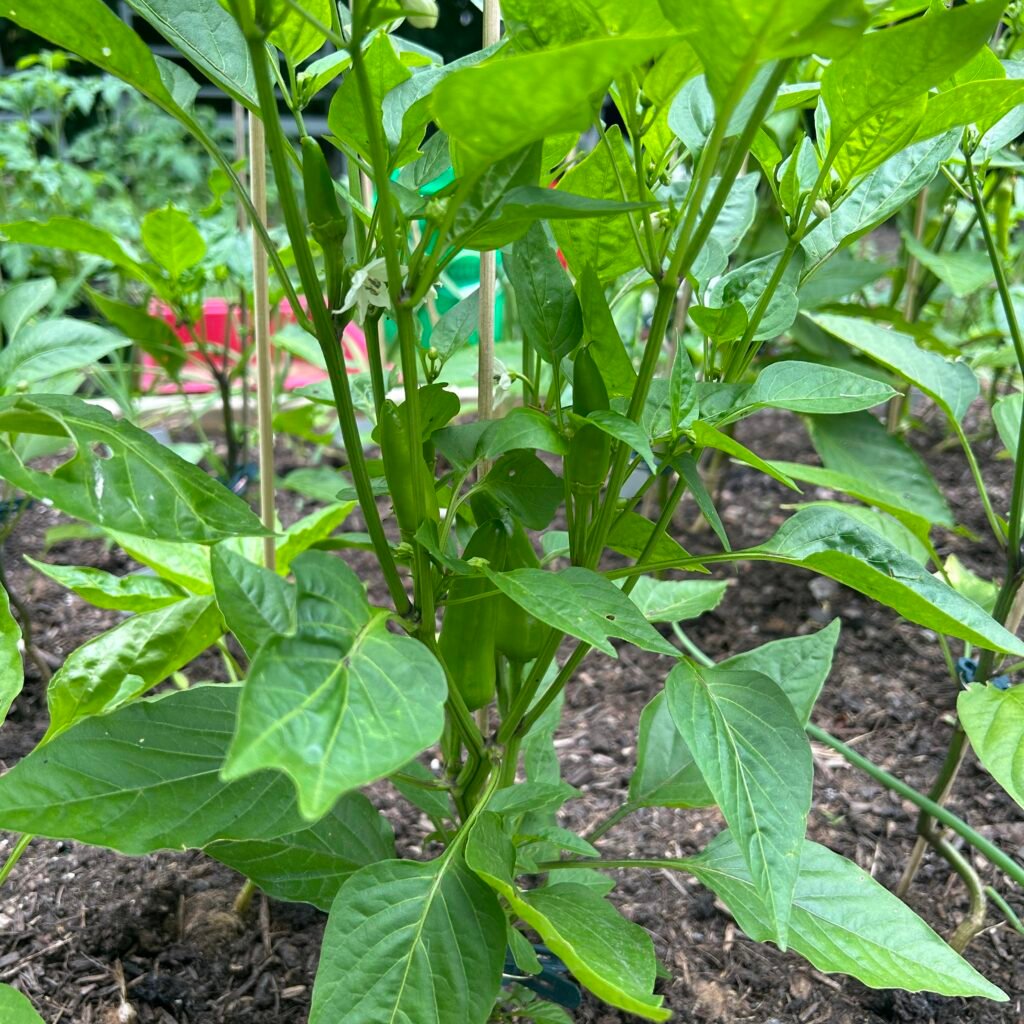
- Sunlight: Require 6–8 hours of full sun daily.
- Watering: Keep soil moist, not waterlogged.
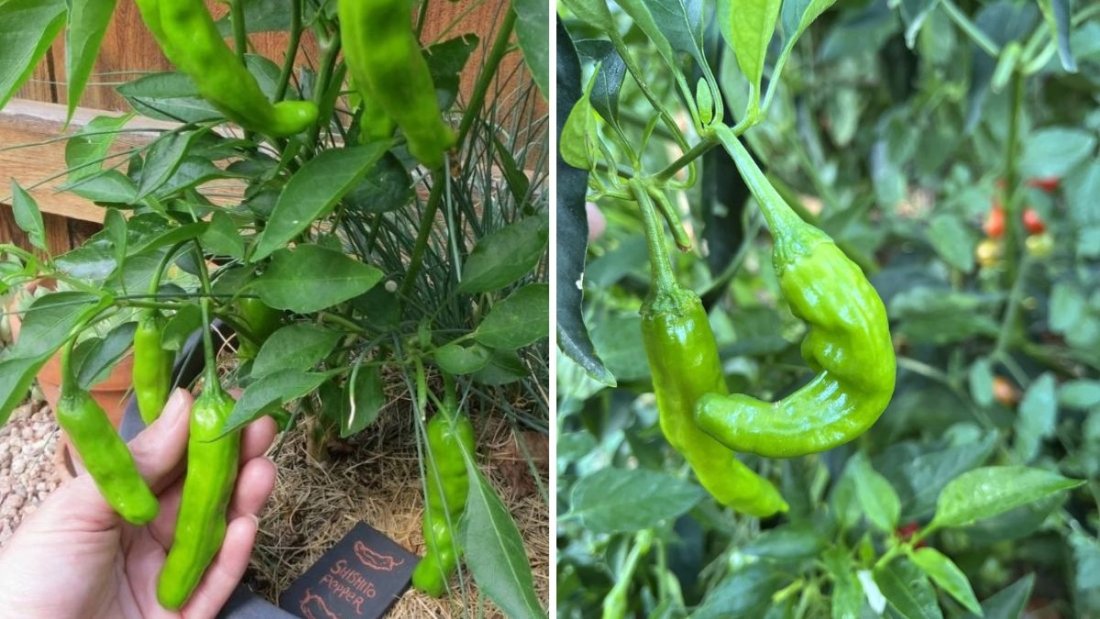
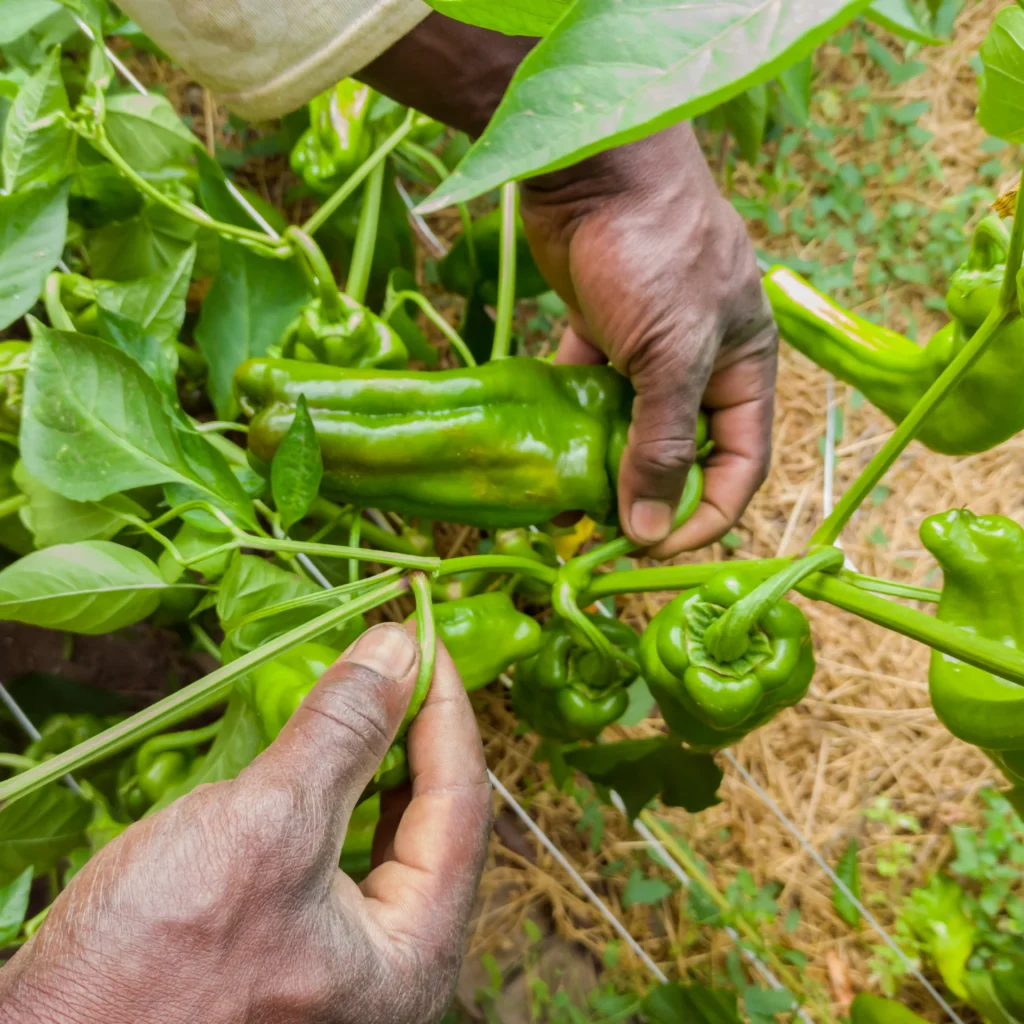
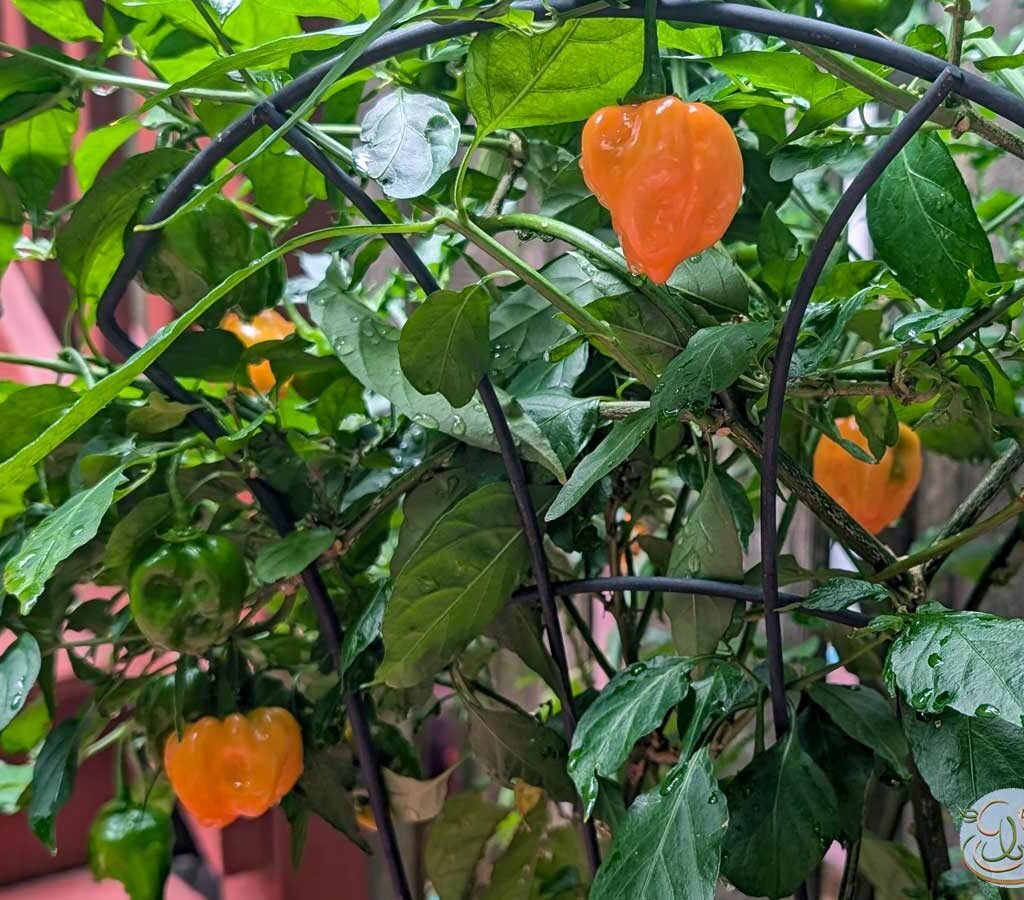
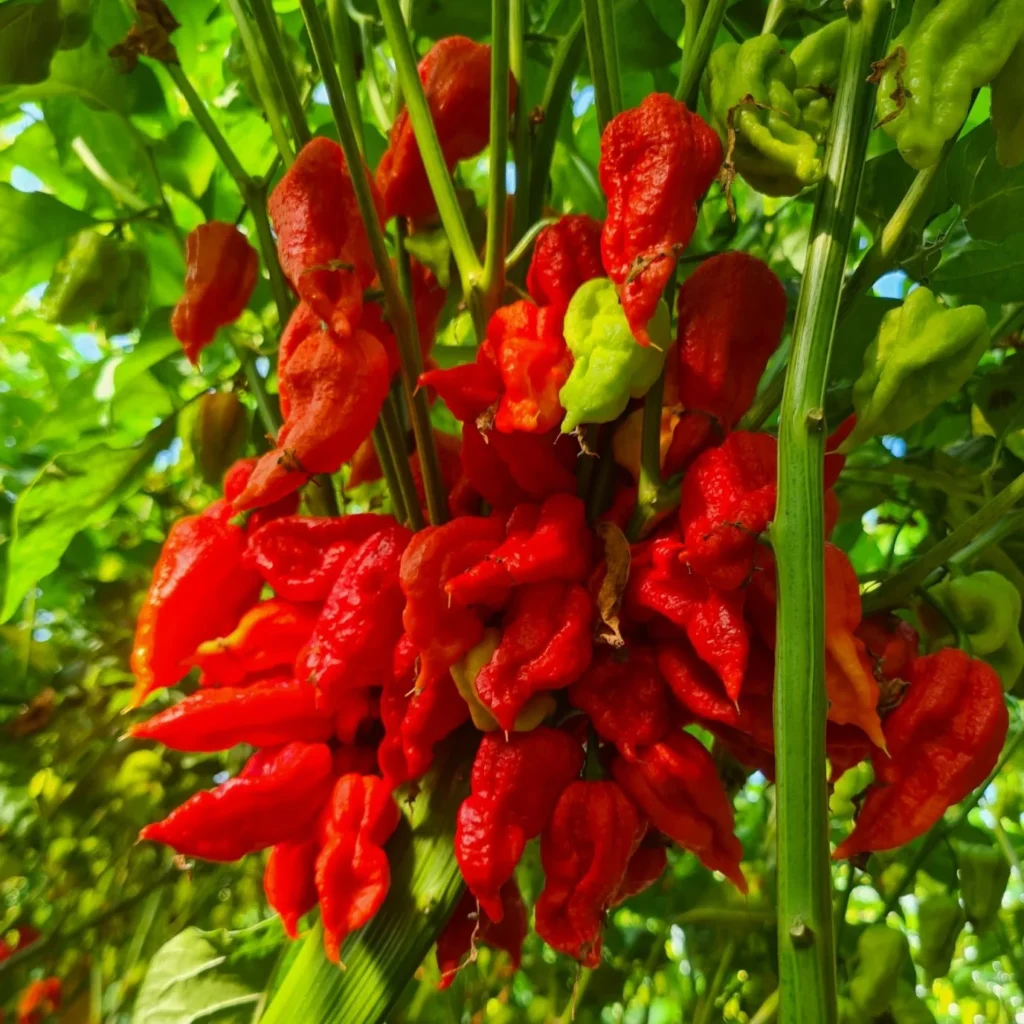
- Harvest: Pick peppers when fully red and wrinkled (90–120 days after transplanting).
These plants need attention, but the reward is a harvest of some of the hottest peppers on the planet.
6. Culinary Uses: Extreme Heat in American Kitchens
Despite their intense heat, Trinidad Scorpion peppers are versatile in small doses. Americans are incorporating them into a variety of culinary creations:
a. Homemade Hot Sauce
Blending Scorpion peppers with vinegar, garlic, and spices creates a fiery condiment perfect for wings, tacos, and burgers.
b. Spicy Chili
Add finely minced Scorpion peppers to chili or stew for a bold kick. Start with a small piece — one pepper can flavor an entire pot.
c. Pepper-Infused Oils
Create Trinidad Scorpion-infused olive oil to drizzle over pizzas, roasted vegetables, or pasta.
d. Salsa and Marinades
Add a tiny amount to tomato salsas or meat marinades for heat and flavor.
e. Pickled Trinidad Scorpions
Pickling tempers the heat slightly and provides a hot, tangy addition to sandwiches and cheese boards.
7. Fun American Recipes Featuring Trinidad Scorpion Peppers
Recipe Spotlight: Trinidad Scorpion Hot Wing Sauce
Ingredients:
- 1–2 Trinidad Scorpion peppers, finely chopped
- 1 cup vinegar
- 1 tbsp honey
- 2 cloves garlic
- 1 tsp salt
- 1/4 cup tomato paste
Instructions:
- Blend all ingredients until smooth.
- Simmer on low heat for 10–15 minutes.
- Toss with fried or baked chicken wings.
- Serve with ranch or blue cheese dip for balance.
Pro Tip: One pepper goes a long way — adjust according to heat tolerance.
8. Storing and Preserving Trinidad Scorpion Peppers
Due to their potency, careful storage is important:
- Refrigerate: Wrap in paper towels and store in a produce bag for up to 2 weeks.
- Freeze: Chop and freeze for long-term use in sauces or stews.
- Dry: Dehydrate and crush for homemade chili flakes.
- Pickle: Vinegar pickling preserves heat and flavor.
9. Substitutes for Trinidad Scorpion Peppers
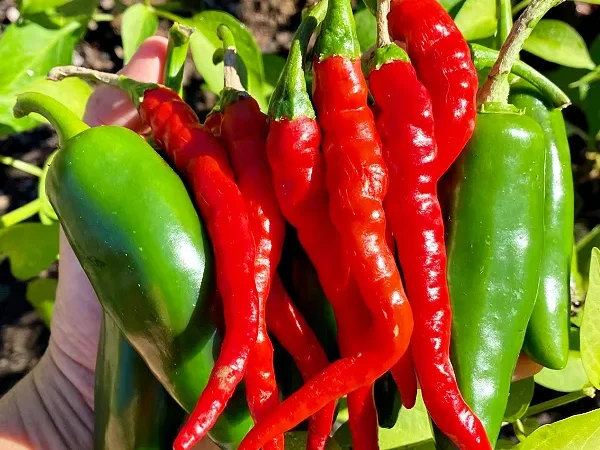
If Scorpion peppers are too intense, consider these alternatives:
- Habanero Peppers: Still extremely hot but slightly milder.
- Ghost Peppers (Bhut Jolokia): Similar heat level for thrill-seekers.
- Serrano Peppers: Medium heat, more approachable for beginners.
- Jalapeños: For mild heat and more accessible flavor.
10. Where to Buy Trinidad Scorpion Peppers in the U.S.
These extreme peppers are available online and at specialty stores:
- Fresh: Some farmers’ markets, Latin American grocery stores, and Whole Foods.
- Dried or powdered: Specialty spice shops or online retailers like Amazon.
- Seeds: Available for home gardeners from Baker Creek, Johnny’s Selected Seeds, and Burpee.
Pro Tip: Always handle carefully and label properly to avoid accidental overuse.
11. Why Americans Love Trinidad Scorpion Peppers
Americans are embracing Trinidad Scorpion peppers for their adrenaline-inducing heat, bold flavor, and versatility in spicy culinary creations.
They’ve become a symbol of spice challenges, hot sauce competitions, and adventurous cooking — attracting thrill-seekers, chefs, and home cooks alike.
Whether in a hot wing contest, infused hot sauce, or a fiery chili, these peppers represent excitement and culinary daring.
12. Fun Facts About Trinidad Scorpion Peppers
- The Trinidad Moruga Scorpion was once named the world’s hottest pepper by Guinness World Records.
- Despite extreme heat, they have a subtle fruity undertone that makes them popular in gourmet sauces.
- Capsaicin in the pepper triggers endorphins, giving a natural “high” after consuming.
- Heat levels vary depending on growing conditions — sunlight increases capsaicin concentration.
Conclusion: Extreme Flavor for Bold American Cooks
The Trinidad Scorpion pepper is not just a chili; it’s an experience. With its intense heat, fruity notes, and bold color, it’s perfect for Americans looking to add excitement, adventure, and flavor to their cooking.
From hot sauces and marinades to pickles and infused oils, these peppers prove that a little heat can go a long way. For home gardeners, spice enthusiasts, and competitive eaters alike, the Trinidad Scorpion is a fiery addition worth exploring — carefully, of course!