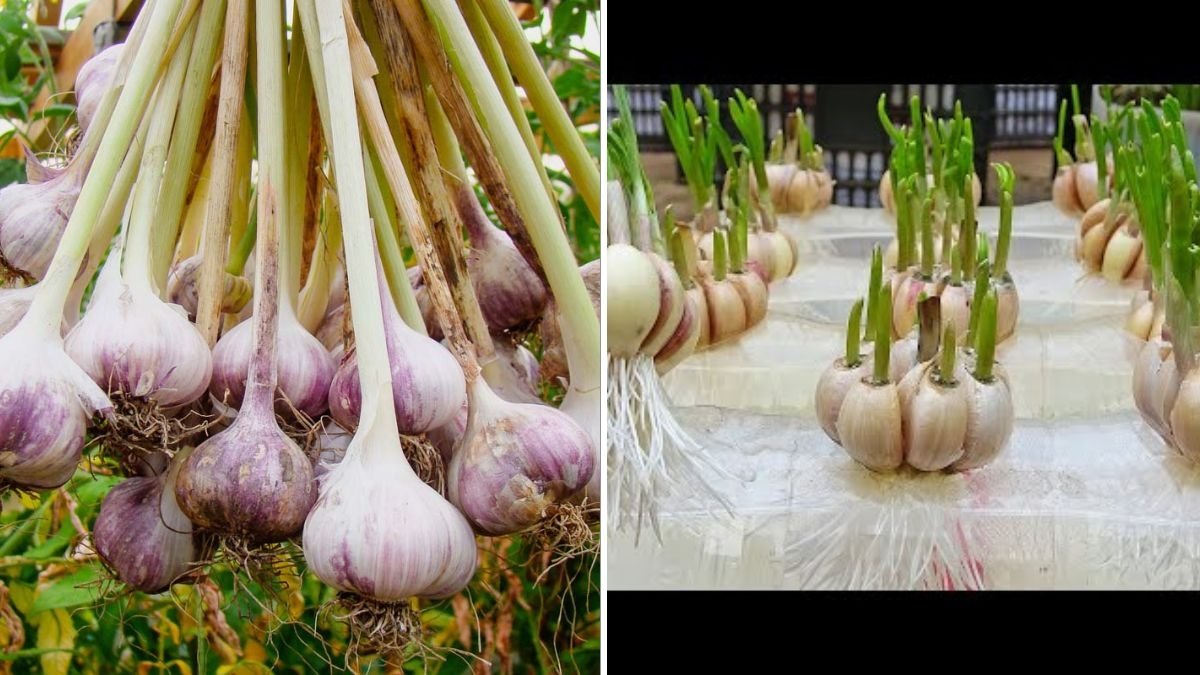
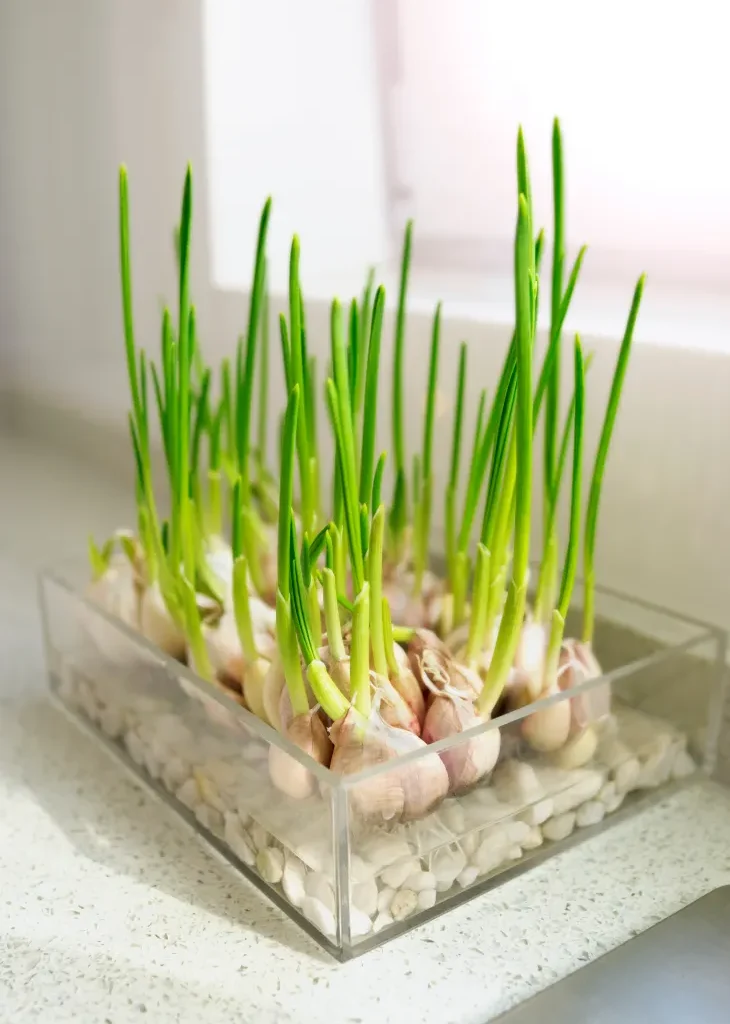
Garlic isn’t just a kitchen staple—it’s a superfood with numerous health benefits, including boosting immunity, reducing blood pressure, and adding robust flavor to your favorite dishes. If you’ve ever wanted to grow garlic at home, planting it from the base (clove) is one of the easiest and most productive methods. This step-by-step guide will show American gardeners how to grow garlic in your backyard or even in containers, from planting to harvest.
Why Grow Garlic at Home?
Before jumping into the planting process, let’s explore why homegrown garlic is worth your time:
- Freshness and Flavor: Store-bought garlic often lacks flavor compared to fresh, homegrown bulbs.
- Cost-Effective: One bulb can provide multiple cloves for planting, yielding months of harvest.
- Easy to Grow: Garlic is hardy, low-maintenance, and adapts well to American climates.
- Health Benefits: Rich in antioxidants and anti-inflammatory compounds.
Growing garlic in your garden or in pots allows you to enjoy this flavorful powerhouse without relying on grocery store varieties.
Step 1: Choosing the Right Garlic
Selecting the right garlic variety is essential for successful growth in the U.S.:
- Hardneck Varieties: Thrive in cooler climates (Northern U.S.), produce scapes (edible flower stems), and have complex flavors. Examples: Rocambole, Purple Stripe.
- Softneck Varieties: Better for warmer climates (Southern U.S.), store longer, and have milder flavor. Examples: Artichoke, Silverskin.
Pro Tip: Purchase garlic from local nurseries or certified seed garlic. Avoid grocery store garlic—it may carry diseases or be treated to prevent sprouting.

Step 2: Preparing the Garlic Cloves
Garlic is grown from cloves, not seeds. Here’s how to prepare them:
- Break the bulb into individual cloves, keeping the papery skin intact.
- Select the largest, healthiest cloves for planting—they produce the biggest bulbs.
- Allow the cloves to dry for a day or two before planting to reduce the risk of rot.
Pro Tip: Keep the pointed end up and the flat root end down when planting.
Step 3: Choosing the Right Location
Garlic grows best in areas with full sun and well-drained soil:
- Sunlight: At least 6–8 hours of direct sunlight daily.
- Soil: Loose, fertile, and slightly acidic to neutral (pH 6.0–7.0).
- Drainage: Avoid areas where water pools—garlic roots rot in soggy soil.
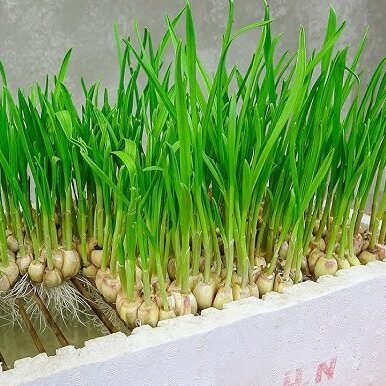
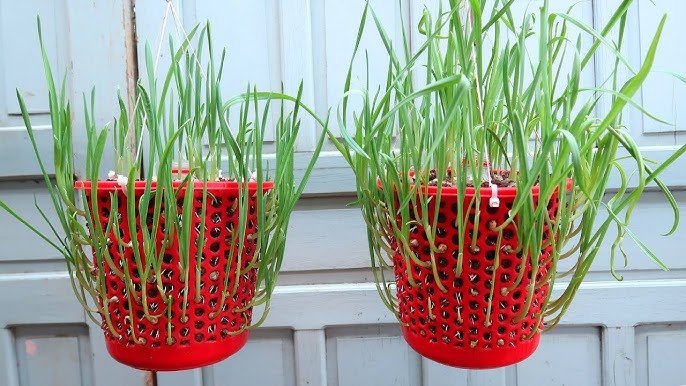
For Americans with limited space, garlic grows well in raised beds or containers. Choose a pot at least 12 inches deep to accommodate bulb growth.
Step 4: Planting Garlic
Planting garlic by the base is straightforward:
- Dig holes 2 inches deep and 4–6 inches apart for each clove.
- Place the clove in the hole with the pointed tip facing up.
- Cover with soil and gently pat down.
- Water lightly after planting to settle the soil.
Pro Tip: Mulching with straw or leaves helps retain moisture, regulate soil temperature, and suppress weeds.
Step 5: Watering and Fertilizing
Garlic requires consistent care for optimal growth:
- Watering: Keep soil evenly moist, especially during root development and bulb formation. Avoid overwatering.
- Fertilizing: Garlic benefits from nitrogen-rich fertilizer in early growth and balanced fertilizer later in the season.
- Organic Options: Compost, worm castings, or fish emulsion are excellent for home gardens.
Pro Tip: Reduce watering a few weeks before harvest to prevent bulb rot.
Step 6: Caring for Your Garlic
Beyond watering and fertilizing, proper care ensures a healthy garlic harvest:
- Weeding: Keep the garlic bed weed-free to reduce competition for nutrients.
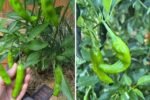
- Pest Control: Watch for onion maggots, thrips, or aphids. Neem oil or insecticidal soap works well.
- Scape Removal: For hardneck varieties, remove flower stems (scapes) to encourage larger bulb growth.
Pro Tip: Garlic grows slowly—patience is key. Leaves will grow first, followed by bulb formation.
Step 7: Recognizing When Garlic Is Ready to Harvest
Timing is crucial for maximum flavor and storage life:
- Indicators: Garlic is ready when the lower leaves start turning brown while upper leaves remain green.
- Timing in the U.S.: Typically, garlic planted in fall is harvested the following summer. Softneck garlic may take slightly longer in warmer regions.
- Harvest Method: Loosen the soil with a garden fork and gently lift the bulbs. Avoid pulling forcefully to prevent damage.
Pro Tip: Harvest garlic on a dry, sunny day if possible. Wet soil increases the risk of rot.
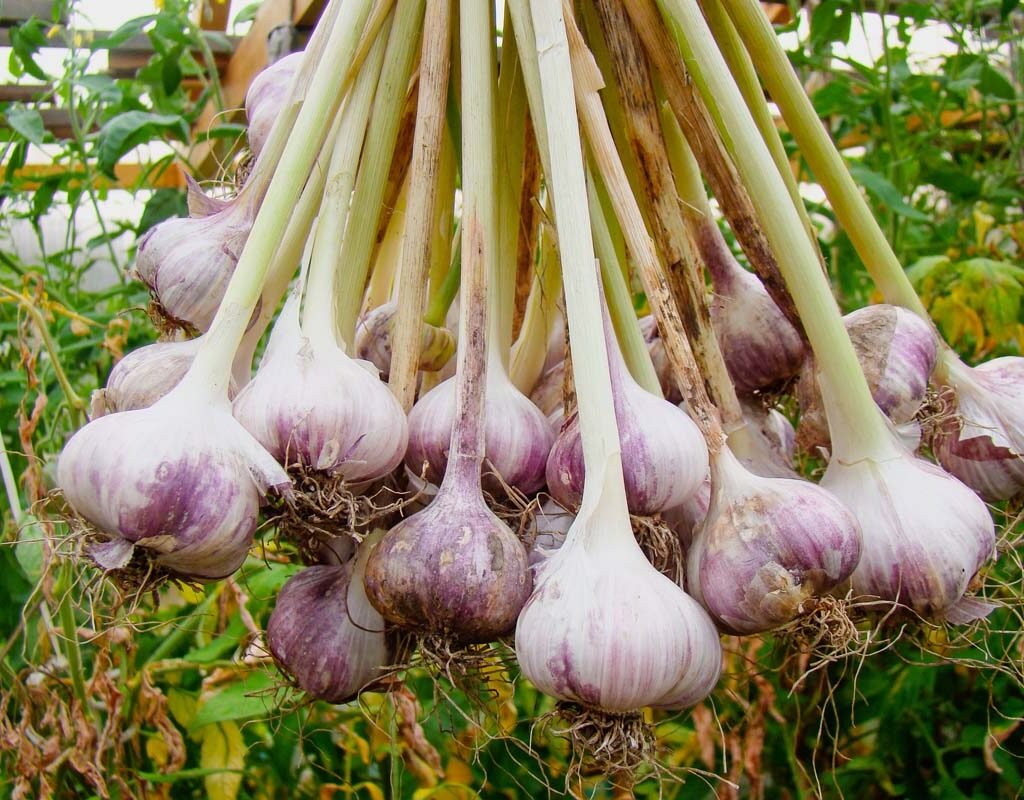
Step 8: Curing and Storing Garlic
Proper curing enhances flavor and storage longevity:
- Brush off excess soil (do not wash).
- Tie bulbs together and hang in a cool, dry, and well-ventilated area.
- Cure for 2–4 weeks until skins are papery and roots are dry.
Storage Tips:
- Softneck garlic stores up to 9 months in a cool, dry place.
- Hardneck garlic stores 6–8 months.
- Avoid refrigeration; moisture can trigger sprouting.
Pro Tip: Save a few cloves from the best bulbs for next year’s planting.
Step 9: Using Your Homegrown Garlic
Fresh garlic elevates both flavor and nutrition in American kitchens:
- Cooking: Roast, sauté, or add to soups, stews, and marinades.
- Raw Use: Minced garlic adds a punch to salad dressings, salsas, and dips.
- Health Remedies: Garlic tea or raw garlic supports immune health.
Pro Tip: Homegrown garlic is milder and sweeter than store-bought varieties, perfect for fresh American dishes.
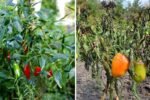
Troubleshooting Common Issues
Even experienced gardeners encounter problems. Here’s how to handle common garlic challenges:
| Problem | Solution |
|---|---|
| Yellow leaves | Could indicate nitrogen deficiency or overwatering. Adjust fertilization and drainage. |
| Small bulbs | Ensure cloves are large and soil is rich in nutrients. |
| Pests | Remove affected leaves and apply neem oil or organic insecticidal spray. |
| Rotting bulbs | Improve drainage and reduce watering frequency. |
Why Planting Garlic by the Base Works Best
Planting garlic by the base is popular for good reasons:
- Maximizes Bulb Growth: Each clove grows into a full bulb.
- Easy to Manage: Requires minimal tools and space.
- Low Maintenance: Once planted, garlic needs occasional watering, fertilization, and care.
American gardeners can enjoy the benefits of homegrown garlic without large garden plots or complicated methods.
Final Thoughts
Growing garlic at home from the base is quick, easy, and highly rewarding. By choosing the right variety, preparing healthy cloves, planting properly, and providing consistent care, you can enjoy fresh, flavorful garlic in your cooking year-round.
Whether you live in a small apartment with a sunny windowsill or have a backyard garden in the Midwest, garlic is versatile and forgiving. Start planting today, and experience the satisfaction of harvesting your very own organic garlic bulbs.
Fresh, homegrown garlic isn’t just an ingredient—it’s a garden victory on your kitchen counter.
Leave A Comment