Ginger isn’t just a flavorful addition to your kitchen—it’s a powerhouse of health benefits, from boosting immunity to aiding digestion. If you’ve ever wanted fresh, homegrown ginger but don’t have a large garden, growing it in a pot is a perfect solution. This guide will walk you through how to grow ginger in a pot successfully, from planting to harvesting, tailored for American home gardeners.
Why Grow Ginger in a Pot?
Before diving into the steps, let’s explore why container gardening is ideal for ginger:
- Limited Space Friendly: Perfect for apartments, patios, or small yards.
- Climate Control: Ginger thrives in warm, humid conditions. Growing in a pot allows you to move it indoors during cooler months.
- Pest and Disease Management: Potted plants are easier to monitor and protect.
- Year-Round Harvest: With proper care, you can grow and harvest fresh ginger throughout the year.
Step 1: Choosing the Right Ginger Rhizome
The first step is selecting a healthy ginger root (rhizome). For American gardeners:
- Look for organic, plump, and firm rhizomes at local nurseries or farmers’ markets.
- Ensure there are at least 2–3 “eyes” or growth buds on the rhizome.
- Avoid soft or shriveled roots—they may not sprout.
Pro Tip: Soaking the ginger in warm water overnight before planting can stimulate growth.

Step 2: Selecting the Perfect Pot
Ginger grows horizontally, so wide, shallow pots are ideal. Consider:
- Material: Terracotta or ceramic pots allow good drainage. Plastic pots retain moisture, which is okay if you monitor watering carefully.
- Size: A pot at least 12 inches wide and 8 inches deep will support a healthy rhizome.
- Drainage: Ensure there are drainage holes to prevent waterlogging, which can rot the root.
Step 3: Using the Right Soil
Ginger prefers loose, rich, and well-draining soil. Here’s what works best:
- A mix of 2 parts potting soil + 1 part compost + 1 part sand or perlite
- pH level: Slightly acidic to neutral (6.0–6.5)
- Avoid heavy clay soils—they retain too much water and can rot the root.
Pro Tip: Adding a slow-release organic fertilizer can give your ginger a steady nutrient supply.
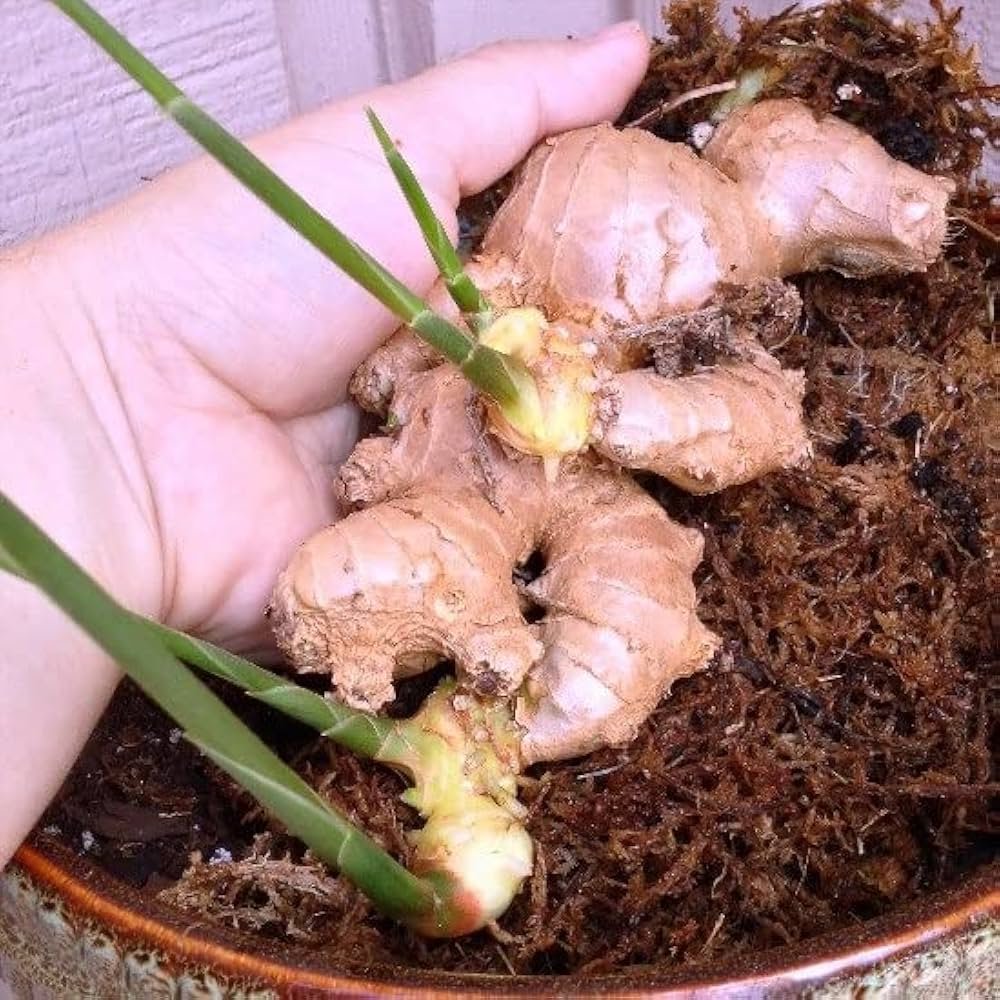
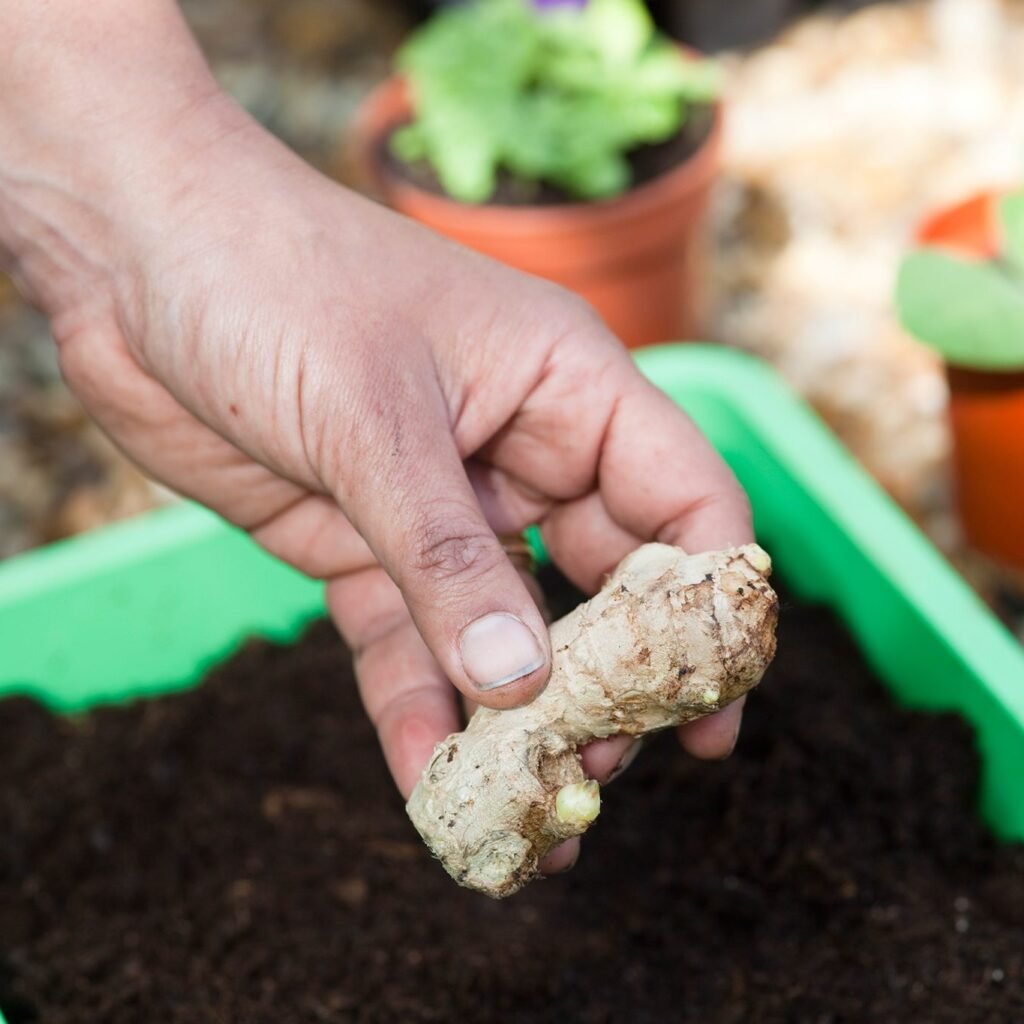
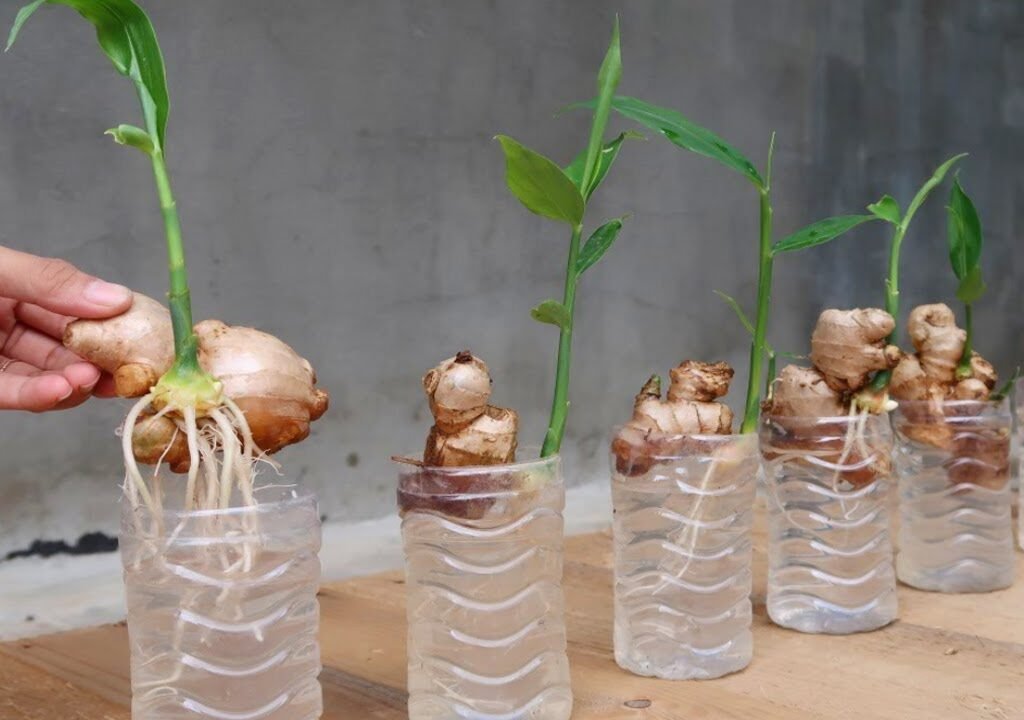
Step 4: Planting Your Ginger
Planting ginger is simple but requires patience:
- Cut the rhizome into pieces, each with at least one eye.
- Allow the cut pieces to dry for a day to prevent rotting.
- Fill your pot with soil, leaving 2–3 inches of space from the top.
- Plant the rhizome 1–2 inches deep, buds facing up.
- Water lightly after planting.
Pro Tip: Plant ginger in late winter or early spring for the best growth cycle in most U.S. climates.
Step 5: Providing Optimal Light and Temperature
Ginger is tropical, so light and warmth are crucial:
- Light: Bright, indirect sunlight. A south-facing window is perfect.
- Temperature: Ideal growth occurs at 75–85°F (24–29°C).
- Humidity: Ginger loves humidity. Mist the plant regularly or place the pot on a tray with water and pebbles.
Pro Tip: In colder climates, consider indoor grow lights during winter months.
Step 6: Watering Your Potted Ginger
Watering is key to healthy growth:

- Keep the soil consistently moist but not soggy.
- Reduce watering slightly in winter when growth slows.
- Avoid waterlogging—ginger roots are prone to rot if overwatered.
Pro Tip: Use a watering can with a fine spout to avoid disturbing the soil.
Step 7: Fertilizing Your Ginger
To grow plump, flavorful rhizomes, regular feeding is essential:
- Use a balanced liquid fertilizer every 3–4 weeks during the growing season.
- Organic options like worm castings or compost tea work well.
- Avoid high-nitrogen fertilizers, which encourage leaves at the expense of root development.
Step 8: Caring for Your Ginger
Beyond watering and fertilizing, proper care includes:
- Mulching: A 1-inch layer of organic mulch retains moisture and keeps roots cool.
- Pruning: Trim yellow or dead leaves to encourage new growth.
- Pest Management: Watch for spider mites or aphids. A mild neem oil spray can keep pests away.
Pro Tip: Ginger grows slowly. Be patient—most rhizomes take 8–10 months to mature.
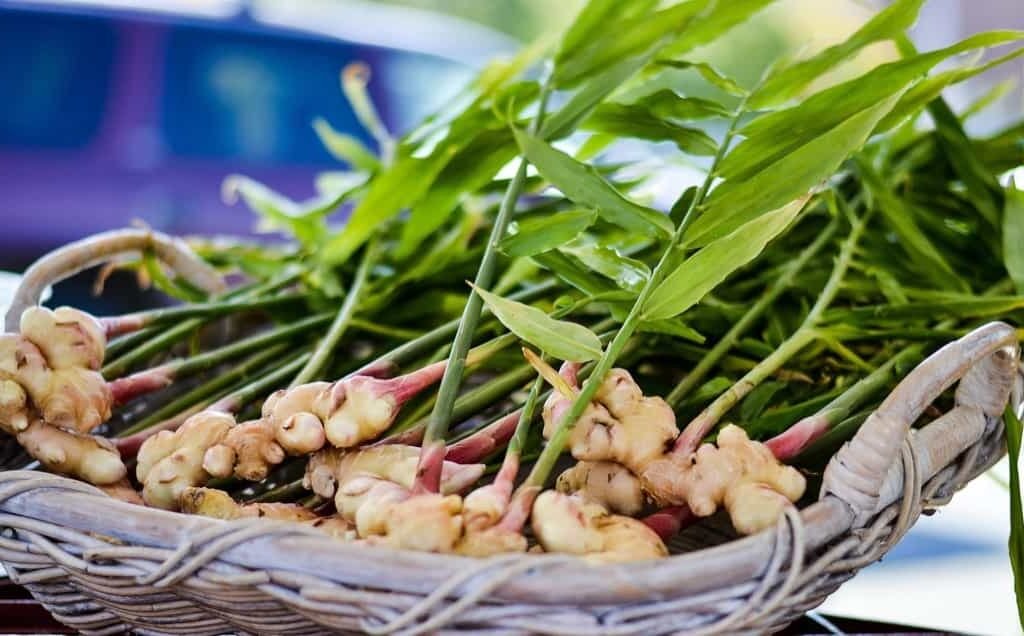
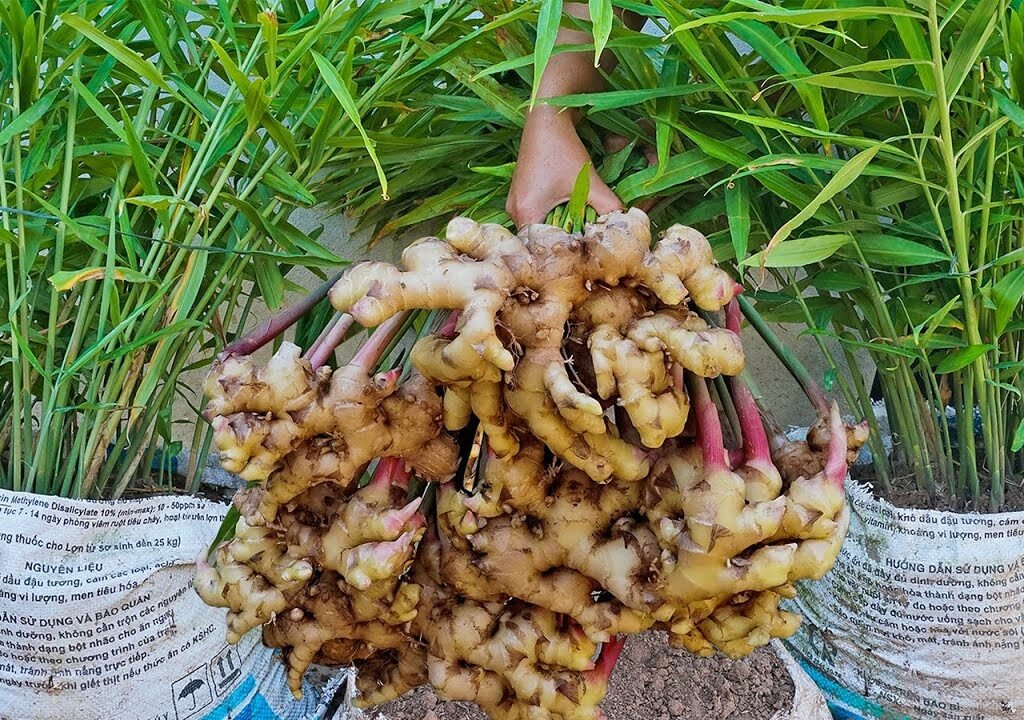
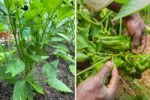
Step 9: Harvesting Ginger
Harvesting is where the rewards pay off:
- Ginger can be harvested as early as 4–6 months for “baby ginger,” which is tender and mild.
- For mature ginger, wait 8–10 months until the leaves start to yellow and die back.
- Carefully dig around the rhizome and lift it from the soil.
- Wash off the soil and store in a cool, dry place or refrigerate.
Pro Tip: Leave some rhizome in the soil to regrow for the next season.
Step 10: Using Your Fresh Ginger
Homegrown ginger is more flavorful than store-bought and can be used in:
- Teas and smoothies
- Stir-fries and curries
- Homemade gingerbread or baked goods
- Natural remedies for colds or digestion
Pro Tip: Slice and freeze extra ginger—it retains flavor and is easy to use in cooking.
Common Issues and How to Solve Them
Even seasoned gardeners encounter problems. Here are tips for common issues:
| Problem | Solution |
|---|---|
| Yellow leaves | Could indicate overwatering or poor drainage. Check soil and pot drainage. |
| Slow growth | Ensure sufficient warmth and indirect sunlight; consider adding fertilizer. |
| Pests | Use neem oil or insecticidal soap; isolate infected plants. |
| Rotting rhizome | Avoid waterlogged soil; plant in well-draining mix. |
Final Thoughts
Growing ginger in a pot is rewarding, even for American gardeners with limited space. With the right rhizome, soil, pot, and care, you can enjoy fresh, aromatic ginger right at home. From boosting your culinary creations to supporting your health naturally, homegrown ginger is worth the patience.
Start small, monitor your plant, and enjoy the satisfaction of harvesting your very own ginger—one spicy, fragrant rhizome at a time!
Leave A Comment