Pineapples are one of the most delightful tropical fruits — sweet, juicy, and packed with vitamins, antioxidants, and bromelain, a digestive enzyme that offers numerous health benefits. Imagine enjoying fresh, homegrown pineapples without spending a dime on seeds or saplings.
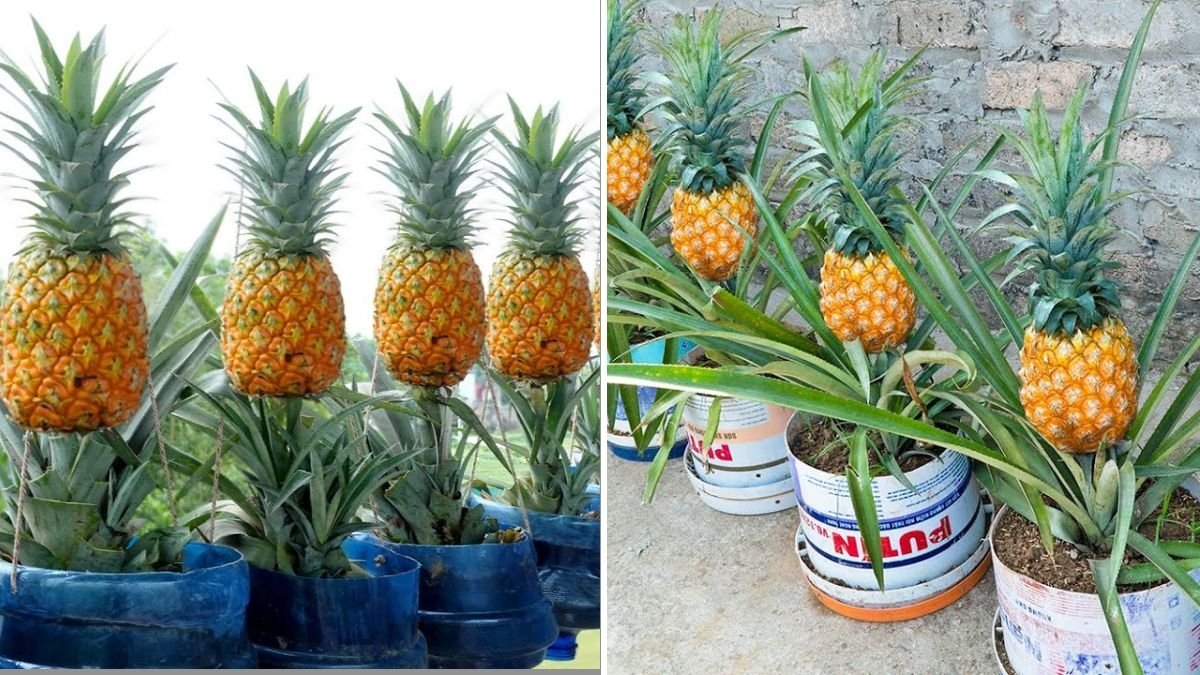
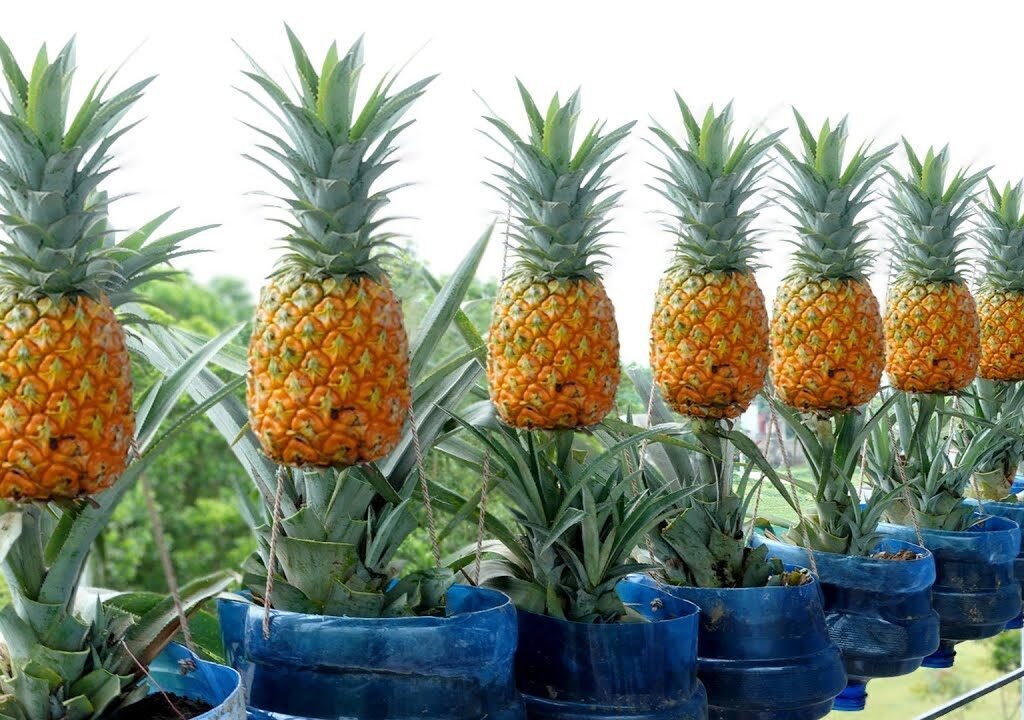
The viral YouTube video “I Make My Own Pineapple Garden Without Spending A Penny From Pineapple Tops – Large And Sweet Fruits” demonstrates an ingenious way to grow pineapples using leftover pineapple tops. With patience and the right technique, you can cultivate large, sweet fruits right in your backyard or garden, all while recycling kitchen waste.
In this guide, we’ll walk you through a step-by-step method to grow pineapples from tops, tips for healthy growth, soil preparation, and tricks to get sweet, large fruits efficiently.
Why Grow Pineapples at Home?
Homegrown pineapples offer numerous advantages:
Cost-effective: Grow fruit from kitchen scraps, saving money on seeds or saplings.
Organic and chemical-free: Control fertilizers and pest management.
Sustainable: Recycle pineapple tops that would otherwise go to waste.
Fun and educational: Great for beginners and children learning about gardening.
Long-term harvest: Pineapple plants are perennial and can produce fruit for several years.
Even if you have a small garden or balcony, growing pineapples is possible with the right method.
Step 1: Selecting the Right Pineapple

The first step is choosing a healthy, mature pineapple fruit. The top, or crown, will be used to propagate a new plant.

Tips for selection:
- Choose ripe, healthy pineapples with green, firm leaves at the top.
- Avoid fruits with rotting or brown leaves.
- Organic pineapples are preferable to ensure the crown is free from chemicals.
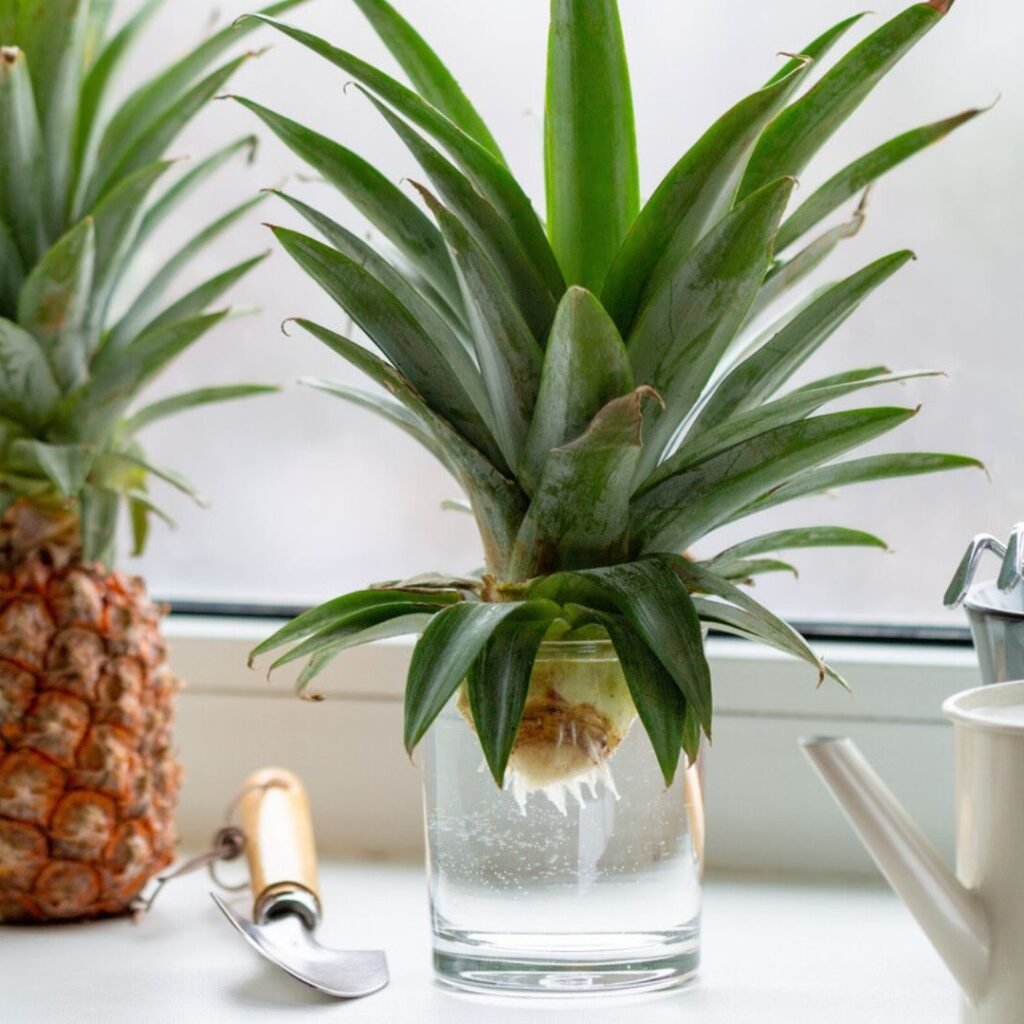
Step 2: Preparing the Pineapple Top
Propagating pineapples begins with preparing the crown properly.
Steps:
- Twist or cut off the pineapple crown from the fruit.
- Remove a few of the lower leaves to expose the base of the stem (about 1–2 inches).
- Let the crown dry for 1–2 days in a shaded area to prevent rotting when planted.
- Optionally, dip the base in rooting hormone to encourage faster root development.
Proper preparation of the top ensures healthy root growth and strong plants.
Step 3: Choosing a Container or Garden Spot
Pineapples can grow in the ground or in containers, depending on your space:
Container planting:
- Use large pots or recycled containers with drainage holes.
- Minimum depth: 12–15 inches to accommodate roots.
- Width: 12–18 inches to allow room for growth.
Garden planting:
- Choose a sunny location with well-draining soil.
- Avoid waterlogged areas, as pineapples are sensitive to root rot.
The YouTube video demonstrates that even small spaces can yield productive pineapple plants with proper care.
Step 4: Soil Preparation
Pineapples thrive in well-draining, slightly acidic soil.
Ideal soil mix:
- 40% garden soil
- 30% compost or organic manure
- 20% sand or perlite for drainage
- 10% coco peat or peat moss to retain moisture
Mix thoroughly and fill the container or prepare garden beds. Pineapples are hardy but benefit from nutrient-rich soil for larger, sweeter fruits.
Step 5: Planting the Pineapple Top
Planting is straightforward but requires attention to detail:
- Make a hole in the soil large enough to fit the pineapple crown base.
- Insert the crown about 1–2 inches deep in the soil.
- Firm the soil around the base to provide support.
- Water gently until the soil is moist but not soggy.
Place the container or plant in a sunny location — pineapples need at least 6 hours of direct sunlight daily.
Step 6: Watering and Moisture Management
Pineapples are drought-tolerant, but regular watering encourages strong growth:
- Water once or twice a week, depending on climate.
- Keep the soil moist but never waterlogged.
- Mulch around the base to retain moisture and reduce weed growth.
Pro Tip: Overwatering is the main reason pineapple crowns rot, so always check soil moisture before watering.
Step 7: Fertilization and Nutrition
Pineapples are slow-growing but respond well to regular fertilization:
- Every 2–3 months: Apply compost or well-rotted manure around the base.
- Use a balanced fertilizer (NPK 10:10:10) for healthy foliage growth.
- When flowering begins, switch to a potassium-rich fertilizer to promote fruit size and sweetness.
Organic options like vermicompost, neem cake, or banana peel powder also work well.
Step 8: Caring for Your Pineapple Plant
Leaf and plant care:
- Remove damaged or yellow leaves promptly.
- Ensure good air circulation around the plant to prevent fungal infections.
- Protect young plants from extreme weather conditions like heavy rain or frost.
Growth timeline:
- Pineapple plants may take 12–18 months to bear fruit under ideal conditions.
- With proper care, larger, sweeter fruits are achievable.
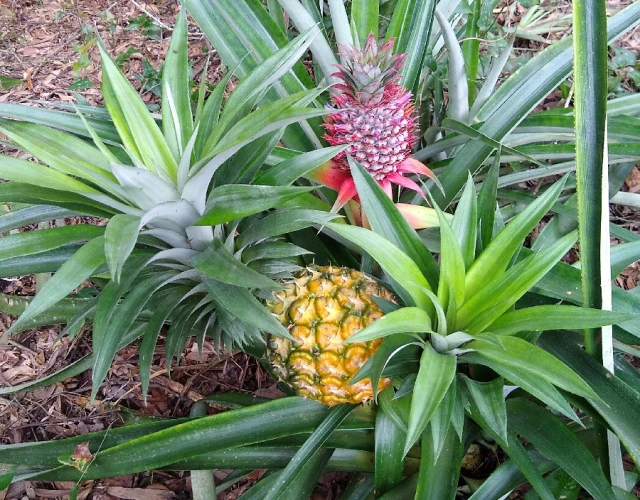
Step 9: Flowering and Fruit Development
Pineapples produce flowers on a central stalk, eventually forming the fruit:
- A healthy, mature plant produces a flowering stalk.
- Flowers appear in clusters and gradually form the fruit.
- Proper sunlight, watering, and fertilization are essential for fruit development and sweetness.
Step 10: Harvesting Pineapples
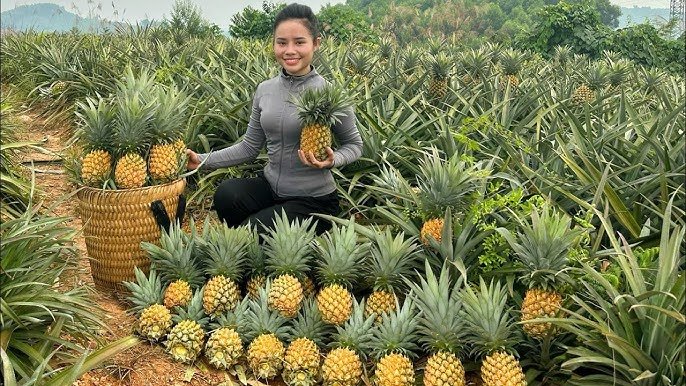
Harvesting is exciting and rewarding:

- Fruits are ready when they turn golden yellow at the base and emit a sweet aroma.
- Use a sharp knife to cut the fruit, leaving a short stem attached.
- Avoid harvesting too early, as it affects sweetness.
With proper care, your homegrown pineapples can match or surpass store-bought quality, both in size and taste.
Step 11: Advantages of Using Pineapple Tops
Using pineapple tops as planting material offers multiple benefits:
Zero cost: Recycle kitchen waste instead of buying seeds or saplings.
Eco-friendly: Reduces food waste.
Sustainable gardening: Encourages self-sufficient fruit production.
Easy propagation: Even beginners can start without prior experience.
It’s proof that a simple household scrap can turn into a thriving fruit plant with patience and care.
Step 12: Tips for Maximum Yield
- Choose sunny, well-drained spots for planting.
- Fertilize regularly with compost or organic fertilizer.
- Mulch around the base to retain moisture and prevent weeds.
- Remove old or damaged leaves to maintain plant health.
- Protect plants from pests and diseases with organic sprays like neem oil.
- Be patient — pineapples take time to grow but reward you with large, sweet fruits.
Step 13: Growing Pineapples in Containers
Container-grown pineapples are perfect for urban gardens:
- Use pots of at least 20 liters with drainage holes.
- Rotate pots periodically for even sunlight exposure.
- Protect containers from extreme heat or cold to maintain soil conditions.
- Apply slow-release fertilizers to maintain nutrients over time.
Even small-space gardeners can enjoy large, sweet pineapples using this method.
Step 14: Uses of Homegrown Pineapples
Homegrown pineapples are versatile and delicious:
Eat fresh slices for breakfast or snacks
Add to smoothies, desserts, and fruit salads
Use in tropical recipes like pineapple rice or stir-fries
Juice for natural detox drinks
Include in marinades or sauces for tangy flavor
Fresh pineapples grown at home retain more flavor and nutrients than store-bought fruits.
Conclusion: Turn Pineapple Tops into a Fruitful Garden
The YouTube video “I Make My Own Pineapple Garden Without Spending A Penny From Pineapple Tops – Large And Sweet Fruits” demonstrates that growing pineapples at home doesn’t require money or fancy tools.
By following these steps — selecting healthy tops, preparing soil, planting properly, watering, fertilizing, and caring for the plant — you can create a thriving pineapple garden that produces large, sweet fruits year after year.
Start today — your leftover pineapple tops can transform into a homegrown treasure trove of tropical fruits!
Leave A Comment