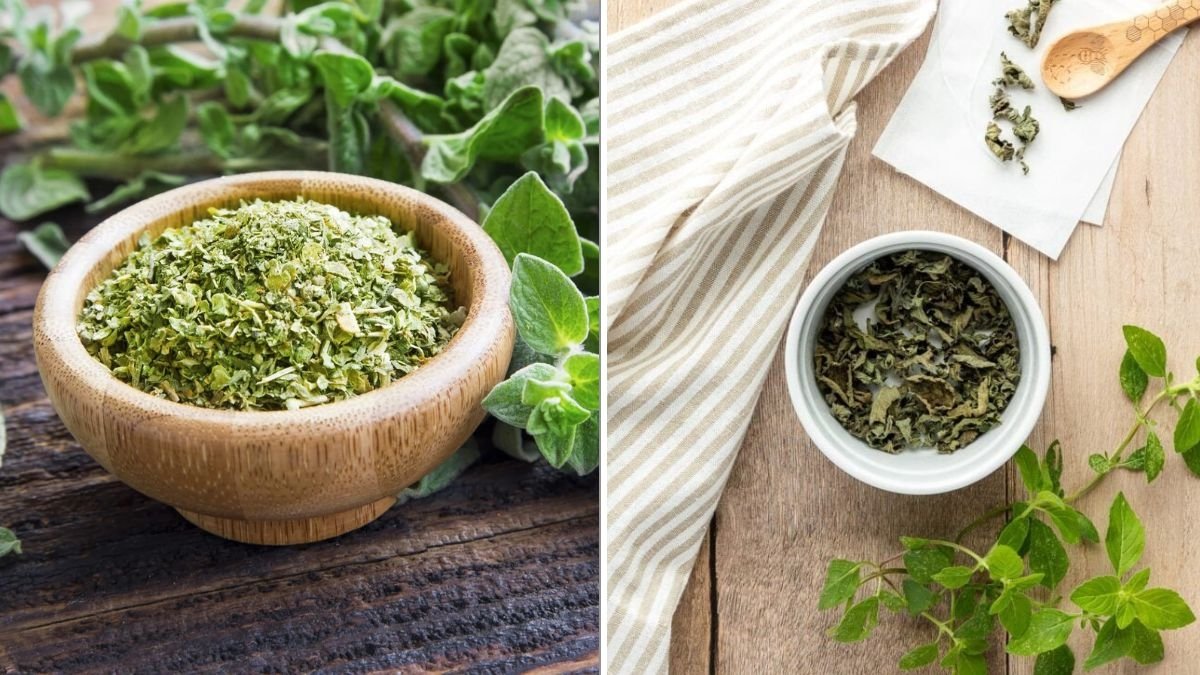
There’s nothing quite like cooking with herbs you’ve grown yourself. Whether it’s basil in pasta sauce, rosemary on roasted potatoes, or mint in a cup of tea, homegrown herbs elevate any dish. But what happens when your garden overflows and you can’t use everything at once? Drying herbs is the perfect solution — it preserves their flavor, aroma, and color for months.
However, not all drying methods are equal. Done incorrectly, herbs can lose their essential oils — the source of their taste and fragrance — leaving you with bland, brittle leaves. The secret lies in controlling light, heat, and airflow so you keep all that herbal goodness intact.
Here’s your complete, step-by-step guide to drying herbs the right way — so they stay flavorful, aromatic, and vibrant long after harvest.
Why Drying Herbs the Right Way Matters
Herbs get their signature flavor from volatile oils that evaporate easily with too much heat or light. The goal of drying is to remove moisture slowly enough to prevent mold, but gently enough to preserve those oils.
When done properly, drying can:
- Extend shelf life by 6–12 months.
- Retain up to 90% of original flavor and nutrients.
- Concentrate the taste, making dried herbs even more potent than fresh ones.
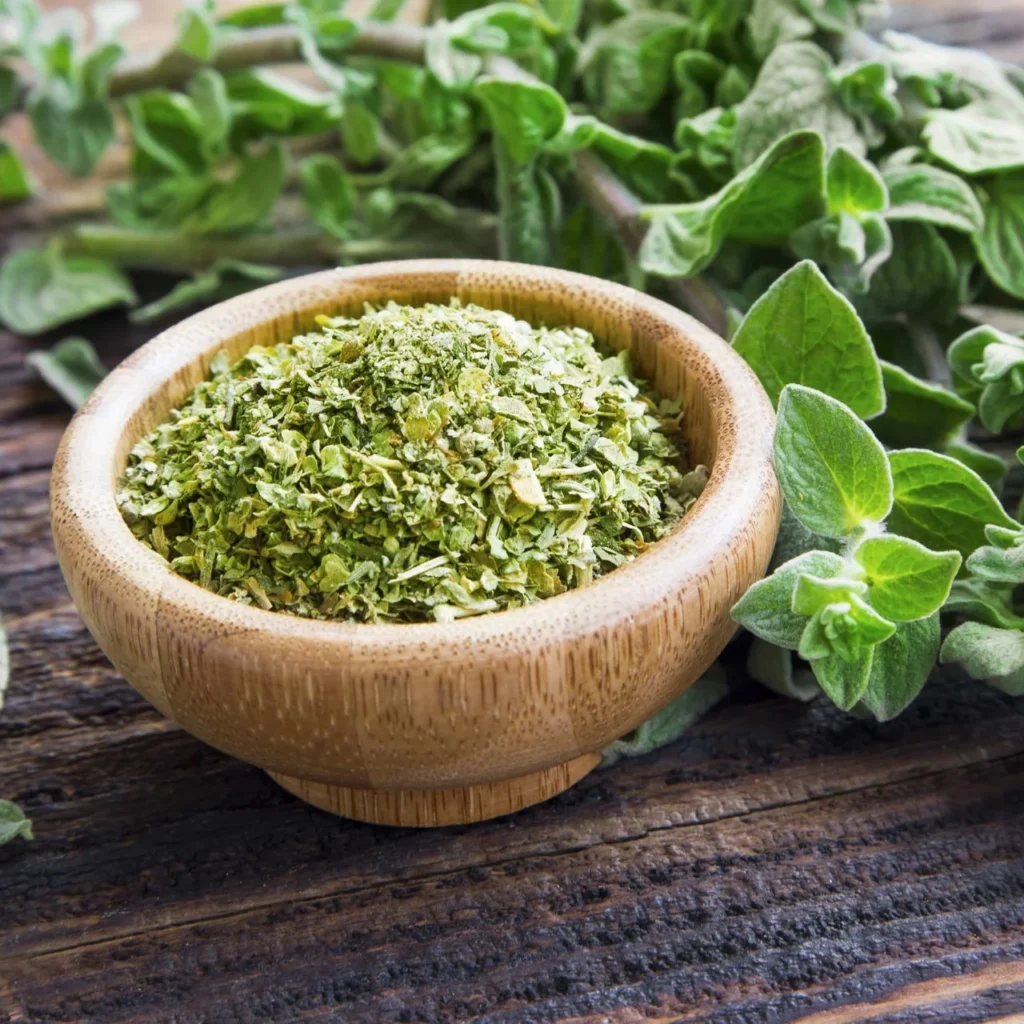
Fun fact: Dried oregano and thyme often taste stronger than their fresh counterparts — but only if dried gently.
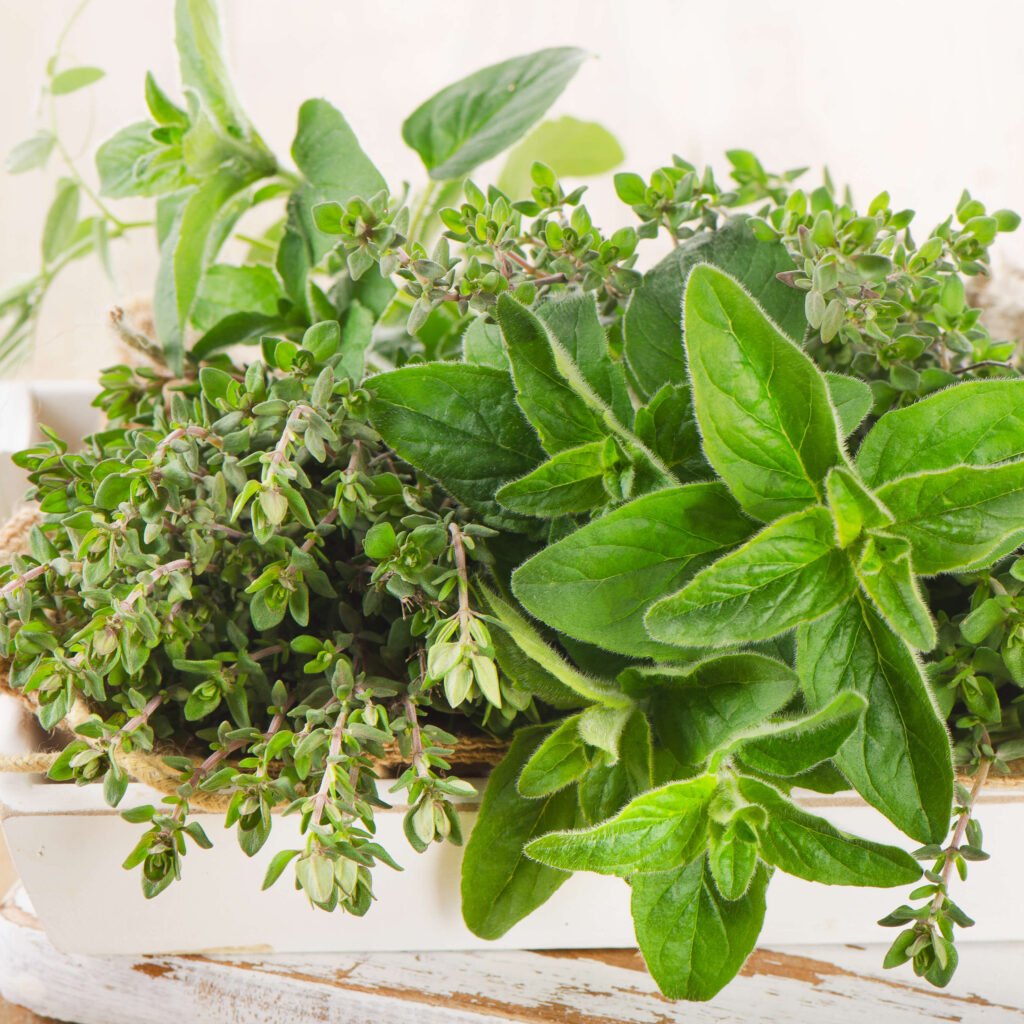
Step 1: Choose the Right Herbs and Harvest Time
Flavor starts in the garden. The timing and method of harvesting play a huge role in how your herbs taste once dried.
Best time to harvest:

- Pick herbs in the morning, just after the dew dries but before the sun gets hot.
- The plant’s essential oil concentration is highest at this time.
- Avoid harvesting right after rain — wet leaves mold easily.
Best growth stage for harvest:
- For leafy herbs (like basil, mint, oregano, parsley, thyme): Harvest before flowering for the most flavor.
- For flowering herbs (like chamomile or lavender): Harvest when buds are just opening.
- For woody herbs (like rosemary or sage): Cut tender, non-woody growth — it dries faster and tastes fresher.
Use clean, sharp scissors or pruning shears to prevent bruising leaves.
Step 2: Prep Herbs Before Drying
Proper preparation helps herbs dry evenly and prevents spoilage.
- Clean gently:
Rinse herbs under cool water to remove dust and insects. Shake gently to remove excess moisture or pat dry with paper towels. - Remove damaged leaves:
Discard any yellowed, diseased, or bug-eaten leaves — they’ll affect flavor and quality. - Strip lower leaves:
Remove leaves from the lower 2–3 inches of each stem. This helps with airflow during drying. - Bundle or separate:
- Tender herbs (basil, mint, parsley) — dry as single layers to prevent mold.
- Woody herbs (rosemary, thyme, oregano) — tie in small bunches with string or rubber bands.
Never dry herbs in airtight containers while wet — they’ll spoil before drying.
Step 3: Choose the Best Drying Method
There are several ways to dry herbs, but the best method depends on your climate, time, and available space. The key is low heat, gentle air circulation, and darkness to protect color and oils.
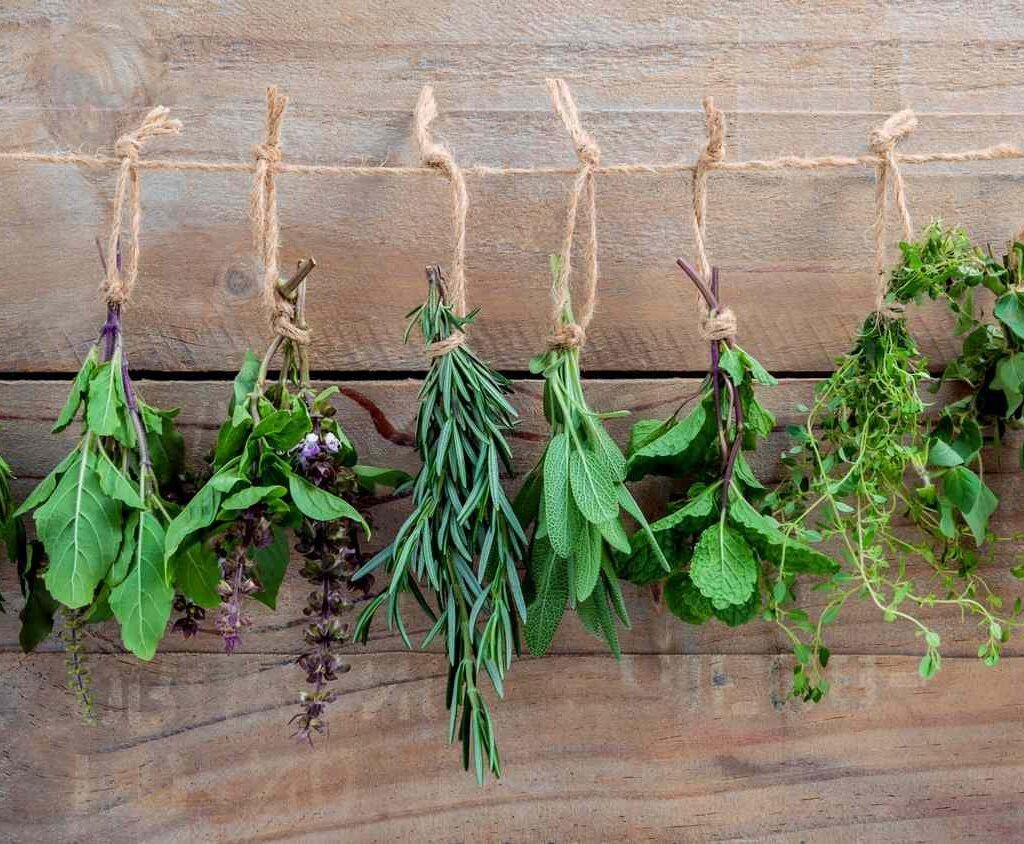
1. Air Drying (Traditional Method)
Best for: Woody herbs like rosemary, thyme, sage, and oregano.
How to do it:
- Gather 5–10 stems and tie them into small bundles using twine or a rubber band.
- Hang them upside down in a warm, dry, dark, and well-ventilated place (like a pantry, attic, or covered porch).
- Avoid direct sunlight — it bleaches color and flavor.
- Drying time: 7–14 days, depending on humidity.
When done: Leaves should be crisp, not soft, and crumble easily between your fingers.

Pro tip: Slip a paper bag (with holes) over the herb bunch to protect from dust and sunlight while allowing airflow.
2. Oven Drying (Fast and Easy)
Best for: Quick results or humid climates.
How to do it:
- Preheat oven to lowest setting (95–115°F / 35–45°C).
- Spread herbs in a single layer on parchment-lined trays.
- Keep the oven door slightly open to allow moisture to escape.
- Turn herbs every 20–30 minutes for even drying.
- Drying time: 1–3 hours depending on leaf thickness.
Caution:
If the temperature goes above 120°F (49°C), essential oils evaporate quickly — leading to bland herbs.
Check often. If herbs turn brown or lose fragrance, they’ve overheated.
3. Dehydrator Drying (Most Reliable)
Best for: Consistent results, especially if you dry herbs often.
How to do it:
- Arrange herbs in single layers on dehydrator trays.
- Set temperature to 95°F (35°C).
- Check every 2–3 hours.
- Total drying time: 4–8 hours depending on humidity and leaf type.
This method locks in flavor beautifully and works for both soft and woody herbs.

Bonus: Dehydrators prevent dust, bugs, and mold — a great choice for year-round herb drying.
4. Microwave Drying (Emergency Option)
Best for: Small batches of delicate herbs like basil, parsley, or cilantro.
How to do it:
- Place herbs between two paper towels on a microwave-safe plate.
- Heat for 20–30 seconds at a time on low power.
- Check after each round until dry and crisp.
It’s fast — usually under 2 minutes total — but easy to overdo. Go slowly to avoid scorching.
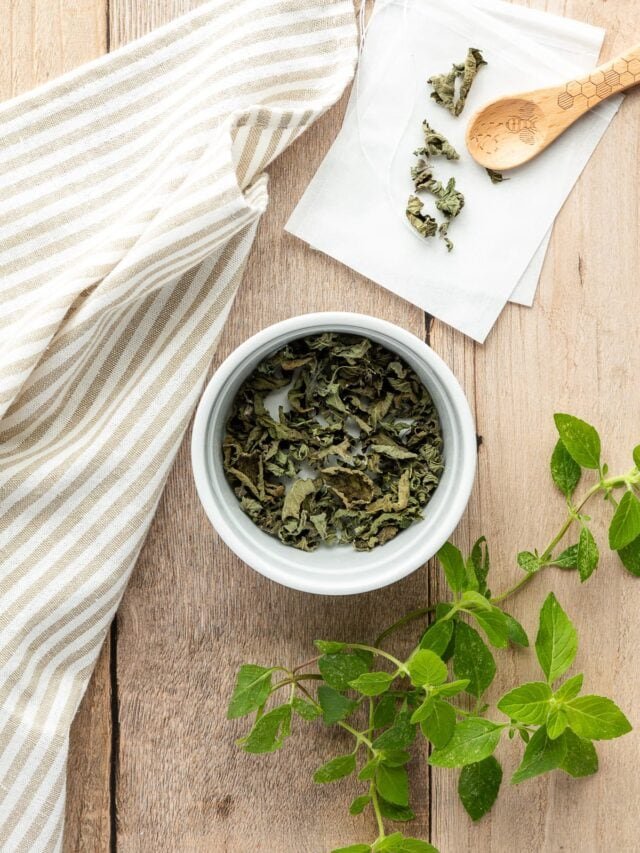
Step 4: How to Tell When Herbs Are Fully Dry
Perfectly dried herbs should be crisp, aromatic, and easy to crumble.
Here’s a quick test:
- Touch: Leaves should break, not bend.
- Color: Still vibrant green (not brown or gray).
- Smell: Strong herbal scent, not grassy or burnt.
If herbs feel leathery or soft, they still contain moisture and may mold in storage.
Tip: Wait until they’re fully dry before removing leaves from stems — they’ll crumble cleanly without bruising.

Step 5: Storing Dried Herbs for Maximum Flavor
Even perfectly dried herbs can lose their potency if not stored properly. The enemies of flavor are light, air, heat, and moisture.
Best storage containers:
- Airtight glass jars or metal tins (dark-colored if possible).
- Avoid clear plastic bags — they allow light and air exposure.
Storage conditions:
- Cool, dark place (like a pantry or cupboard).
- Away from stoves, windows, or humid sinks.
Shelf life:
- Leaves (basil, mint, parsley): 6–9 months.
- Woody herbs (rosemary, thyme, oregano): Up to 12 months.
Pro tip: Label each jar with herb name and drying date — herbs lose strength gradually, so refresh your supply yearly.
Step 6: Crushing and Using Dried Herbs
To get the best flavor when cooking:
- Crush just before use. Rubbing herbs between your palms releases their essential oils.
- Add dried herbs earlier in cooking than fresh ones — they need time to rehydrate and release flavor.
- Use less dried than fresh: Dried herbs are more concentrated. As a rule, use 1 teaspoon dried = 1 tablespoon fresh.
Step 7: Common Mistakes to Avoid
Even experienced gardeners make a few missteps that dull the taste of dried herbs. Avoid these pitfalls:
| Mistake | Why It’s Bad | How to Fix It |
|---|---|---|
| Drying in direct sunlight | Burns off oils and fades color | Always dry in shade or darkness |
| Using high heat (over 120°F) | Destroys essential oils | Keep temps low and slow |
| Not drying fully | Leads to mold | Check for crisp texture before storing |
| Storing in plastic bags | Causes sweating and flavor loss | Use airtight glass jars |
| Washing with soap | Alters flavor | Rinse only with clean water |
Step 8: Bonus — Freezing vs. Drying
Some herbs, especially delicate ones like basil, cilantro, and chives, lose much of their aroma when dried. Freezing is often a better option for those.

To freeze:
- Chop herbs and place them in ice cube trays with olive oil or water.
- Freeze, then transfer cubes to freezer bags.
- Use directly in soups, sauces, or sautés.
Freezing preserves the bright, fresh flavor — while drying gives a deeper, more concentrated taste.
Final Thoughts
Drying herbs isn’t just about preservation — it’s about capturing the essence of your garden and extending it through the seasons. Whether you hang bunches in a sunny kitchen or use a dehydrator for perfect consistency, the key is to dry slowly, protect from light, and store smartly.
When done right, your dried herbs will look green, smell heavenly, and taste just as vibrant as the day you picked them.
So next time your garden is overflowing, grab a few bundles, hang them in a quiet corner, and let nature do the work. A sprinkle of your own dried thyme or oregano in winter will remind you of summer sunshine — one delicious pinch at a time.
Leave A Comment