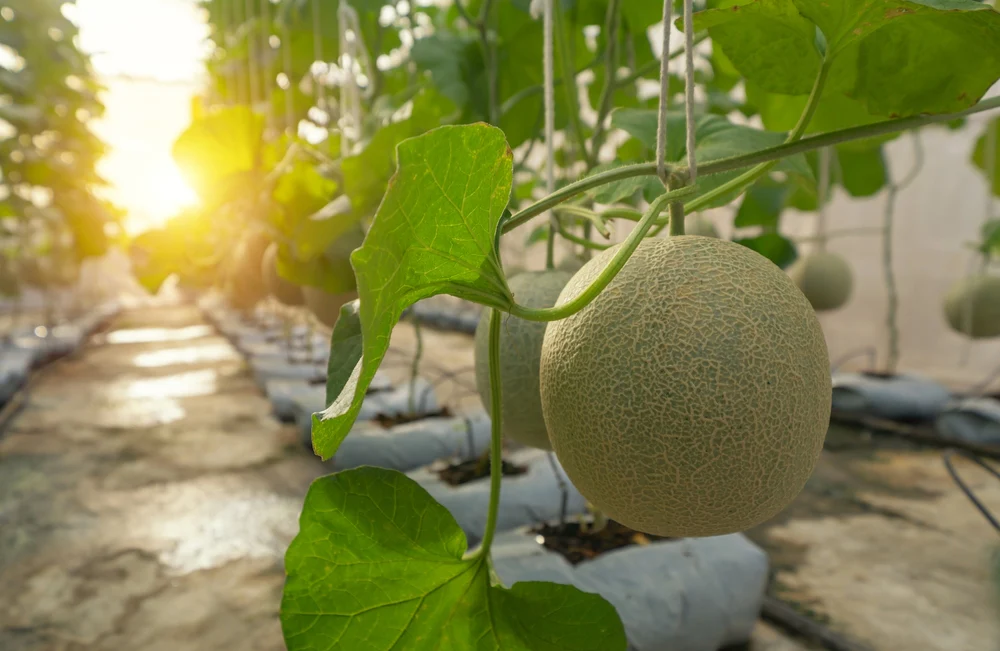
If you’ve ever tasted a perfectly ripe cantaloupe — juicy, fragrant, and bursting with sweetness — you know there’s nothing quite like it. Store-bought melons often pale in comparison, but the good news is that growing your own cantaloupe (also known as muskmelon) is easier than you might think. With just a few seeds, warm soil, and a little patience, you can enjoy a sweet harvest straight from your backyard or even a large container garden.
Here’s your complete, step-by-step guide on how to grow cantaloupe from seed and achieve that delicious, sun-ripened flavor at home.
Step 1: Choose the Right Cantaloupe Variety
Before you start sowing, it’s important to pick the right cantaloupe variety for your climate and garden space. Different types of cantaloupes thrive under different conditions.
Popular and Reliable Varieties Include:
- ‘Hale’s Best Jumbo’: A classic heirloom with excellent flavor and thick orange flesh.
- ‘Ambrosia’: Known for its incredible sweetness and aromatic fragrance.
- ‘Minnesota Midget’: A compact variety perfect for small gardens and containers.
- ‘Sugar Cube’: Small 2-pound fruits that are super sweet and disease-resistant.
- ‘Athena’: A favorite in the South for its high yields and good disease resistance.
If you’re in a cooler region, look for early-maturing varieties that can ripen in shorter growing seasons.
Step 2: Timing — When to Plant Cantaloupe Seeds
Cantaloupes love warmth. They’re heat-loving vines that won’t tolerate frost or cold soil.
- Start seeds indoors: 3–4 weeks before your last expected frost date.
- Transplant outdoors: Once all danger of frost has passed and soil temperature is at least 70°F (21°C).
- Direct sowing: You can also plant seeds directly outdoors when both the soil and air are warm.
In most regions, this means planting between late spring and early summer.

Step 3: Prepare the Soil
Cantaloupes need loose, fertile, well-draining soil to thrive. Heavy or compacted soil can stunt their growth and make fruits more prone to rot.
Ideal Soil Conditions:
- pH: 6.0–6.8 (slightly acidic to neutral).
- Texture: Sandy loam or loamy soil is best.
- Nutrients: Mix in compost or well-rotted manure before planting.
To create the perfect environment, form raised mounds or hills about 1 foot high and 2 feet wide. These mounds warm up quickly and provide excellent drainage.
Add organic fertilizer or a balanced 10-10-10 mix before planting. Avoid too much nitrogen — it can promote lush leaves at the expense of fruit development.
Step 4: Sowing the Seeds
Cantaloupe seeds are large and easy to handle, making them simple to plant.
For Direct Sowing:
- Plant 3–4 seeds per mound, spaced about 2 feet apart.
- Sow seeds about ½ inch deep.
- Once seedlings emerge and are about 3 inches tall, thin them to the two strongest plants per hill.
For Transplanting:
If you started seeds indoors, transplant them carefully after hardening off (gradually exposing them to outdoor conditions). Try not to disturb the roots — cantaloupes dislike transplant shock.
Step 5: Watering and Mulching
Cantaloupes are thirsty plants — especially while they’re growing vines and setting fruit. However, the key is consistent, not excessive, watering.
- Water deeply once or twice a week (1–2 inches), allowing moisture to soak into the soil.
- Keep soil evenly moist until fruits begin to mature.
- Once the fruits start to ripen, reduce watering slightly to concentrate sweetness.
Pro Tip: Use drip irrigation or a soaker hose to keep leaves dry. Wet foliage encourages fungal diseases like powdery mildew.
Apply mulch (straw or shredded leaves) around the base of the plants to conserve moisture and regulate soil temperature.
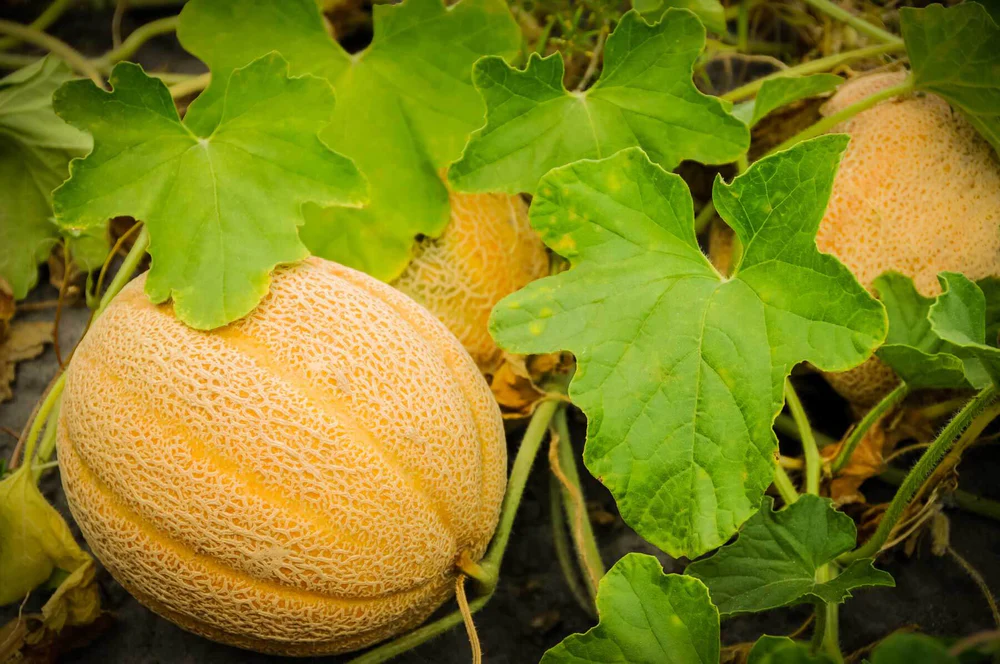
Step 6: Give Them Plenty of Sun and Space
Cantaloupes need full sun — at least 8 hours per day. More sun means sweeter fruit.
Their vines spread wide — up to 6–8 feet — so give them plenty of room to roam. If space is limited, train vines up a sturdy trellis. Just remember to use slings or netting to support the growing fruit and prevent them from breaking off the vines.
Step 7: Pollination — Helping Nature Along
Cantaloupes rely on insect pollination. Their male flowers open first, followed by female flowers (which have tiny fruits at the base).
If you notice plenty of blossoms but few fruits, poor pollination may be to blame.
You can hand-pollinate by gently transferring pollen from a male flower (using a small brush or by simply touching the flowers together) to the center of a female flower. Doing this early in the morning increases your success rate.
Encouraging pollinators like bees with nearby flowers or herbs (such as borage, lavender, or zinnias) also helps.
Step 8: Fertilizing for Maximum Sweetness
Once vines start running, feed your cantaloupes every 2–3 weeks with a low-nitrogen fertilizer.
- Before flowering: Use a balanced fertilizer (like 10-10-10).
- After flowering: Switch to a fertilizer higher in phosphorus and potassium (like 5-10-10).
These nutrients help boost fruit development and natural sugars.
Avoid over-fertilizing, as this can cause excessive vine growth and delay fruiting.
Step 9: Watch for Pests and Diseases
Cantaloupes are generally hardy, but certain pests and diseases can affect their growth.
Common Pests:
- Aphids: Cause curled leaves and sticky residue.
- Cucumber beetles: Spread bacterial wilt.
- Squash bugs: Suck sap from leaves.
Prevention Tips:
- Use row covers early in the season to protect young plants.
- Rotate crops each year to avoid pest buildup.
- Remove any infected vines promptly.
Diseases to Watch For:
- Powdery mildew: White coating on leaves.
- Downy mildew: Yellowish patches on foliage.
- Fusarium wilt: Yellowing and dying leaves.
To prevent these, water at the base (not overhead), maintain spacing for air circulation, and use disease-resistant varieties when possible.
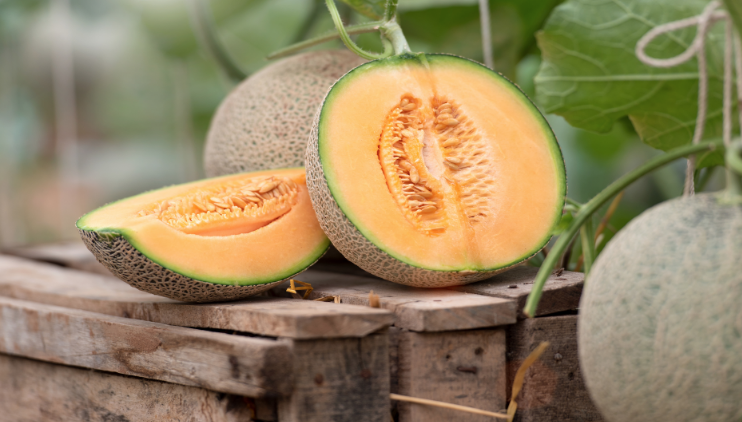
Step 10: Harvesting Your Cantaloupes
The best part — harvest time! Knowing when to pick is key to getting the sweetest flavor.
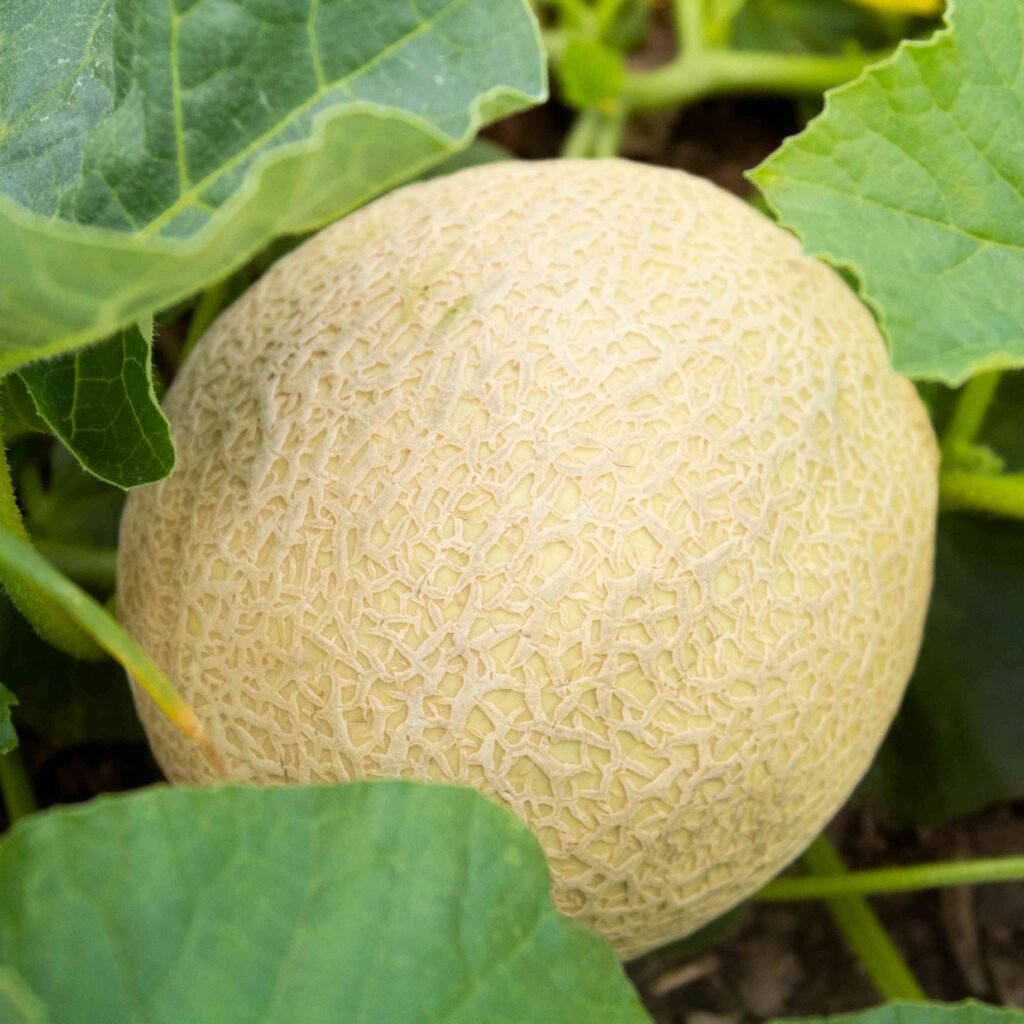
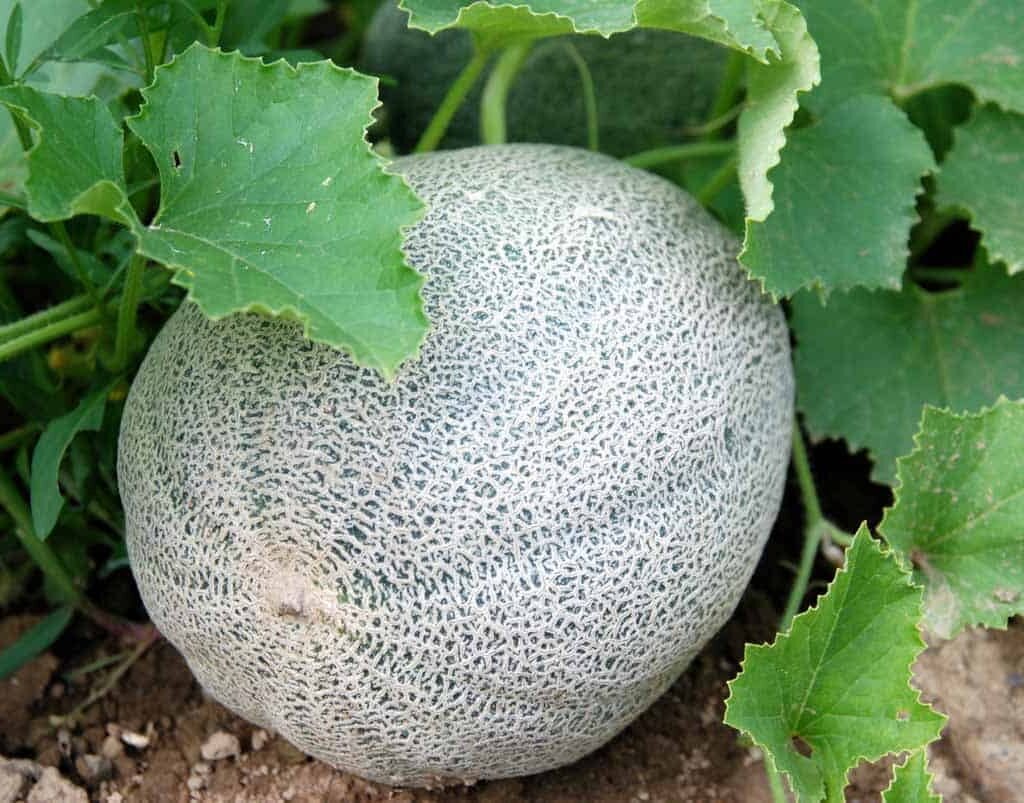
Signs Your Cantaloupe Is Ready:
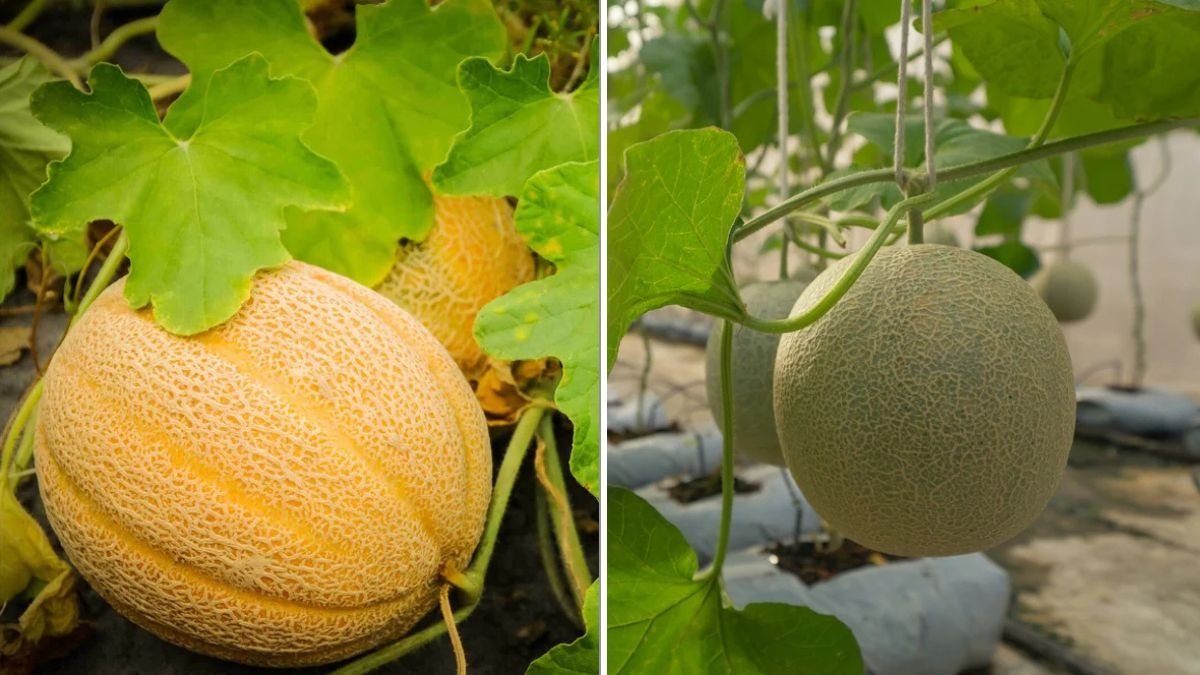
- The netting on the skin becomes pronounced and rough.
- The rind turns from green to golden beige.
- The fruit slips easily from the vine when gently lifted — known as the “slip stage.”
- You’ll also smell that signature sweet, musky aroma at the stem end.
Avoid refrigerating freshly picked melons for more than a few days — cold temperatures can dull their sweetness. Store them at room temperature until you’re ready to eat.
Bonus Tip: Growing in Containers
You can grow cantaloupe in containers if you choose compact varieties like ‘Minnesota Midget’.
Container Growing Tips:
- Use at least a 5-gallon container with drainage holes.
- Fill with well-draining potting mix enriched with compost.
- Provide a trellis for the vines to climb.
- Water regularly and feed every two weeks with liquid fertilizer.
Container-grown melons may produce smaller fruits, but the flavor is just as delightful.
Final Thoughts
Growing cantaloupe from seed is one of the most rewarding summer gardening projects. From tiny seeds to sprawling vines and golden fruits, the process is as enjoyable as the harvest itself.
By providing warm soil, full sun, consistent watering, and proper care, you can look forward to a bounty of sweet, homegrown melons that outshine anything from the grocery store.
So go ahead — plant those seeds, nurture your vines, and get ready for the taste of summer sweetness right from your own garden.
Leave A Comment