Bare patches in your lawn are unsightly—and they can be trouble in the making. They leave your yard vulnerable to weeds, soil erosion, and further turf damage. But don’t worry: with a relatively simple, methodical approach, you can restore those bare spots and revive a lush, healthy lawn. This guide walks you through the process, step by step, along with tips and options for different lawn types and conditions.
Why Bare Patches Happen in the First Place
Understanding why patches form will help you prevent them in the future. Common causes include:
- Compaction: Heavy foot traffic or machinery compacts soil, making it hard for roots to grow.
- Poor soil quality: Low nutrients, poor drainage, or a thin topsoil layer can stunt grass growth.
- Drought or heat stress: Extended dry spells can kill turf in vulnerable areas.
- Pests or disease: Insects, grubs, fungal diseases, or other turf pathogens may kill patches.
- Shade or competition: Too much shade from trees or competition from nearby plants can weaken turf.
- Improper mowing or maintenance: Mowing too short, mowing when grass is wet, or irregular care can damage grass.
Before you repair, take a moment to diagnose the cause. If you keep doing the same things that caused the patch, it may return.
Step 1: Choose the Right Time to Repair
Timing can make a big difference in success.

- Cool‑season grasses (e.g. fescue, bluegrass, rye) do best when repaired in early fall or early spring.
- Warm‑season grasses (e.g. Bermuda, Zoysia, St. Augustine) respond better in late spring to early summer, when they are actively growing.
Avoid extreme heat or drought. Plan repairs when soil is workable and the grass can establish itself before harsh conditions.
Step 2: Prepare the Area
A. Clear the Patch
Begin by removing dead grass, debris, rocks, and weeds from the bare area. Use a garden rake or shovel to loosen and clean.
B. Loosen the Soil / Loosen Compacted Layers
Use a garden fork, rake, or small tiller (in larger areas) to loosen the top 2–3 inches of soil. Break up any crusted surface so the new seed or sod can take root.
If the soil is extremely compacted, consider core aerating the surrounding area to reduce compaction, improve drainage, and enhance root growth.

C. Amend the Soil (If Necessary)
If your soil test (or past experience) suggests poor fertility, low organic matter, or poor structure, mix in a layer (¼ to ½ inch) of good topsoil or compost. Work it gently into the loosened soil so it blends with the existing base.
If the patch is low (a slight depression), you may need to add soil to level it before planting.
Step 3: Choose Between Seed, Sod, or Plugs
There are three main approaches to repair:
- Seed (Overseeding or Patch Seeding): Best for larger or irregular patches; cost-effective.
- Sod: Instant lawn cover; best for small patches and when aesthetics matter.
- Plugs / Sprigs / Slits: Useful for warm-season grasses; cost-effective but slower.
Here’s how to pick:

- For small, isolated patches, sod or plugs may be easiest.
- For larger areas, seeding tends to be more practical.
- Consider your grass species: warm-season grasses often respond better to plugs or sprigs in their growing season; cool-season grasses accept seed more readily.
Step 4: Seed / Sod / Plug the Bare Patch
If Using Seed
- Select the right seed: Use the same species or a blend compatible with the rest of your lawn.
- Calculate seeding rate: Check the seed package for rate per square foot.
- Distribute evenly: Use a hand spreader or spread by hand, then lightly rake to cover seed with ⅛ to ¼ inch of soil.
- Roll or press: Use a roller or tamp gently with your hand or board to ensure good seed-to-soil contact.
- Mulch lightly: Add a thin layer of straw or erosion-control mulch (if needed) to protect seeds.
- Water gently and frequently: Keep the topsoil moist (but not soggy) until grass seedlings are established.
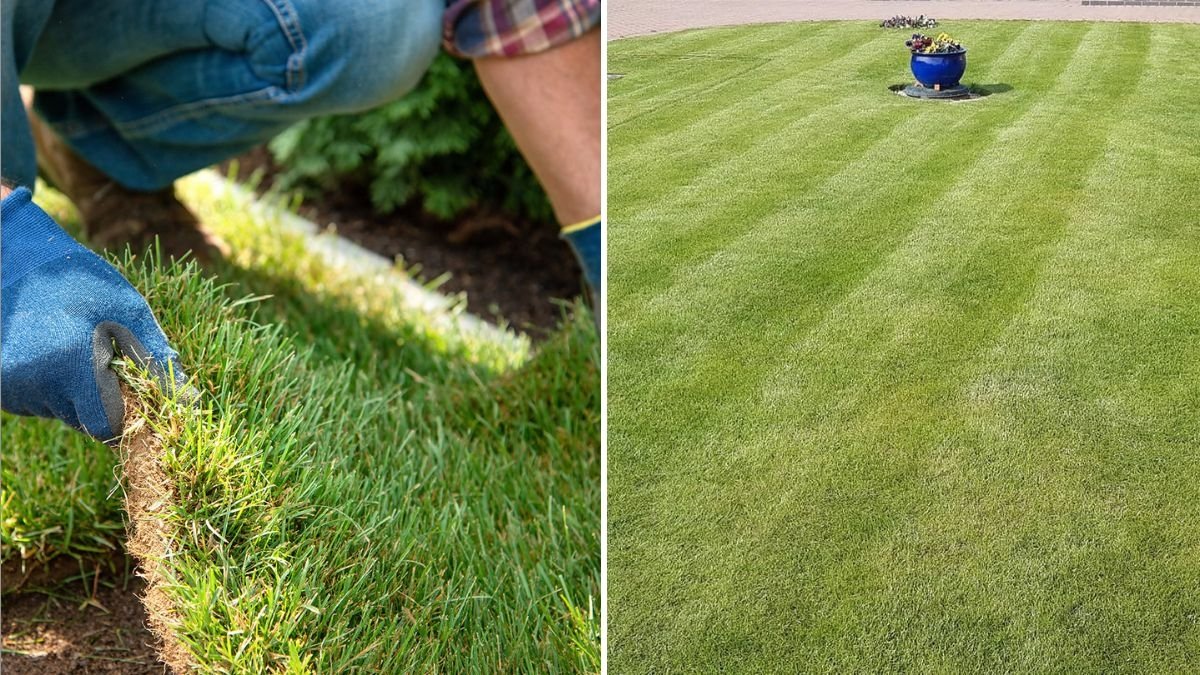
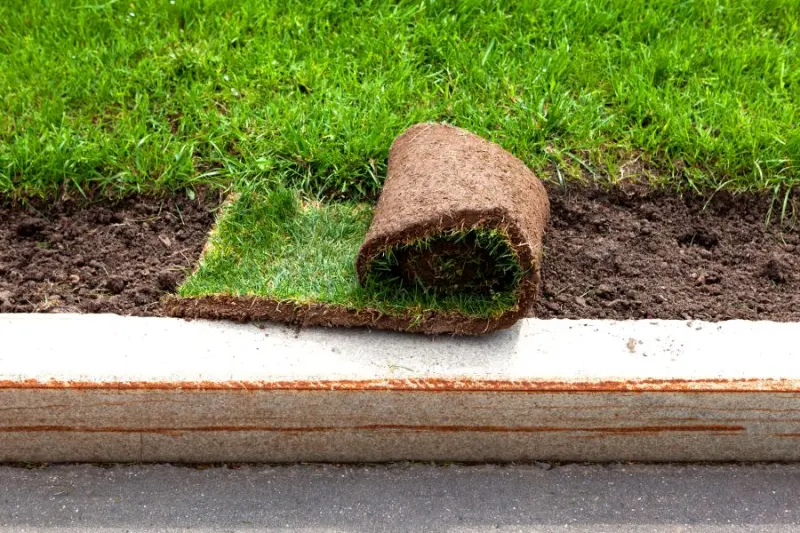
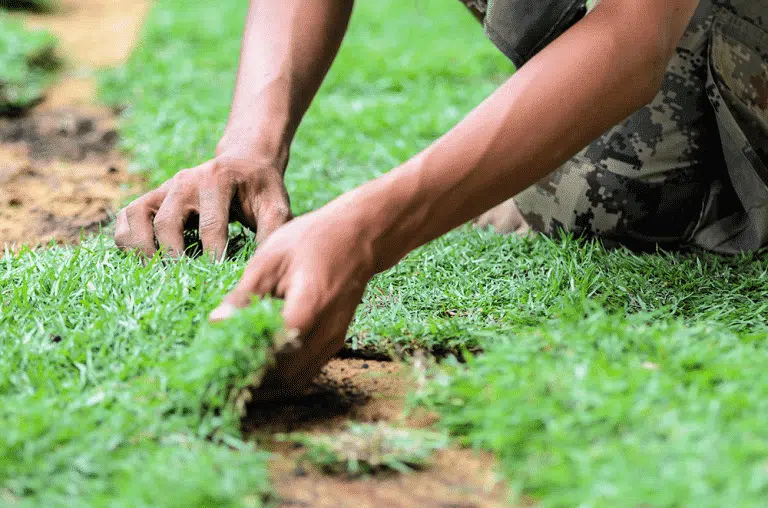
If Using Sod
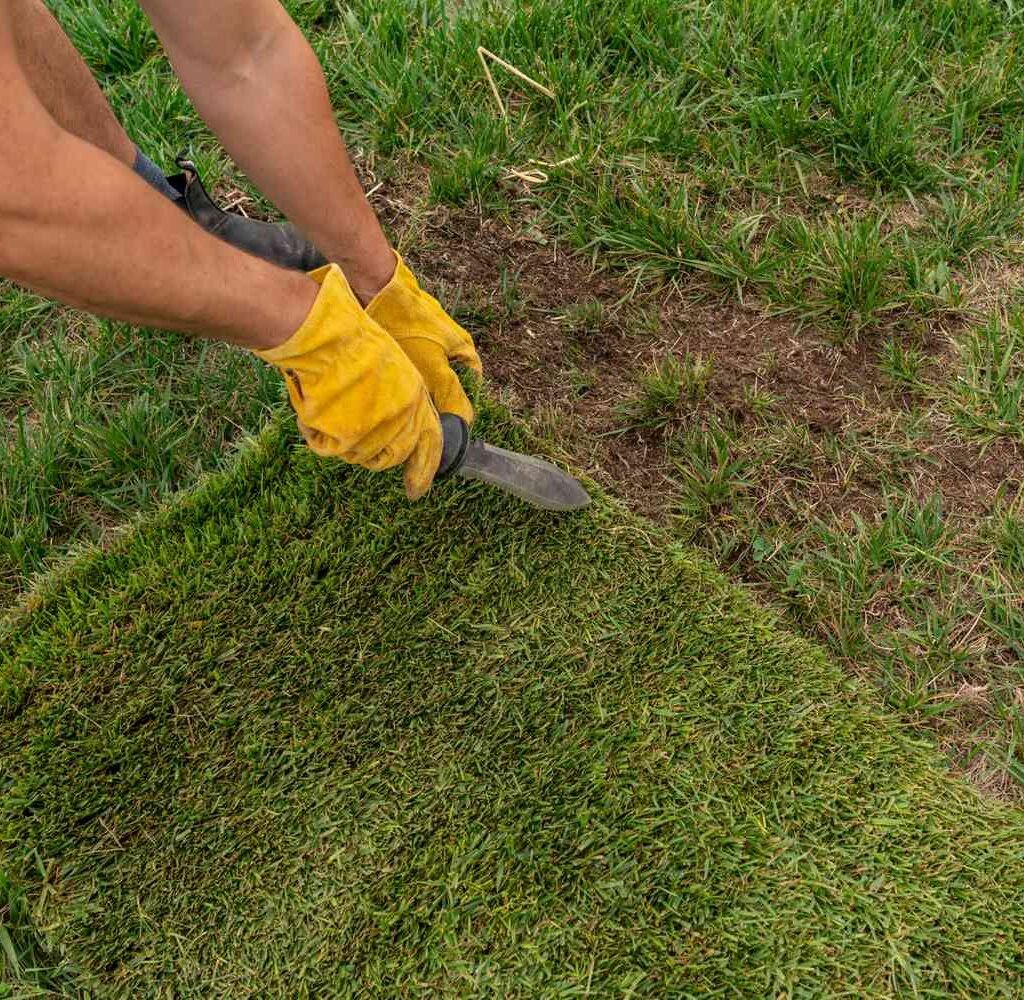
- Cut a sod patch: Match the bare spot dimensions.
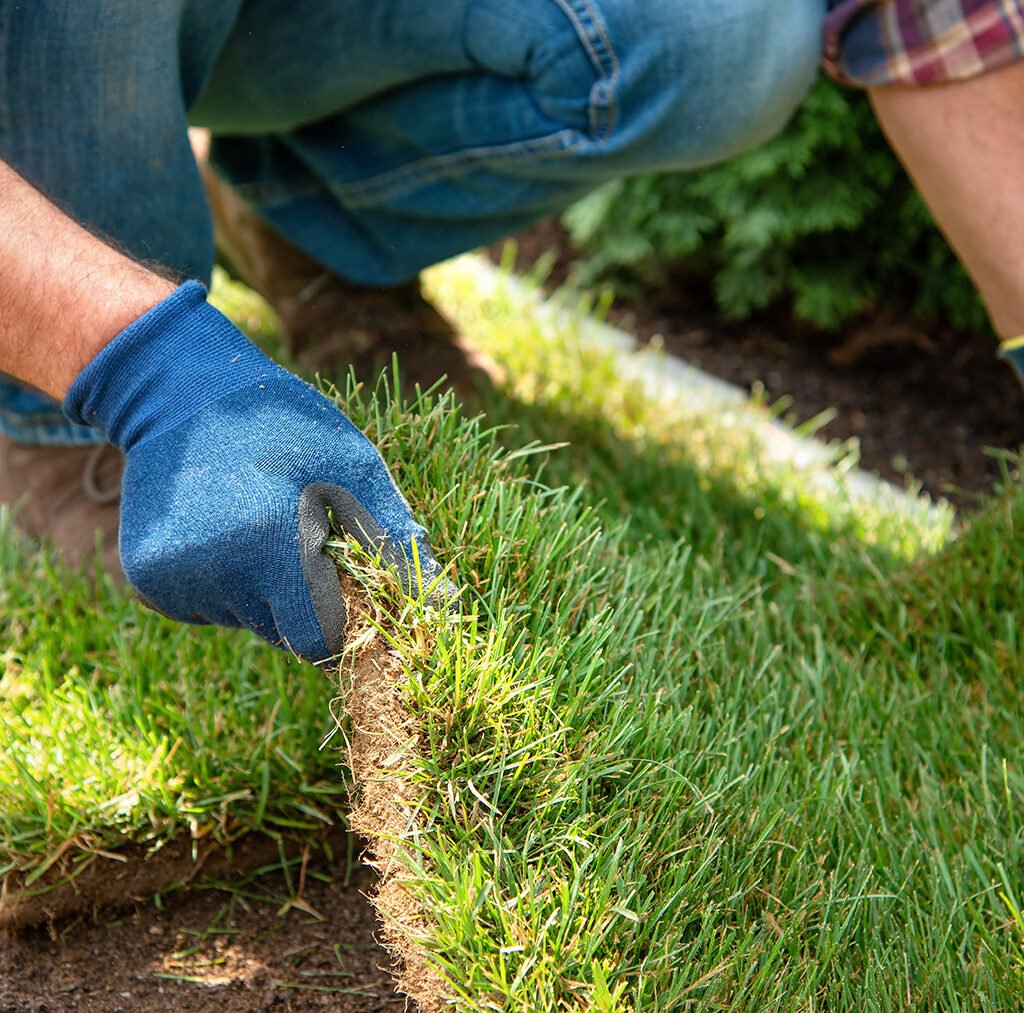
- Fit the patch snugly: Trim edges so the new sod fits without gaps.
- Press firmly: Use a roller or tamp to press the sod into good soil contact.
- Water thoroughly: Water immediately after placement and keep moist during establishment.
- Blend edges: Mow lightly once rooted, trimming any raised edges.
If Using Plugs / Slits / Sprigs
- Spacing: Plant plugs or sprigs in a grid pattern—commonly 6–12 inches apart for warm-season turf.
- Plunge, press, and water: Insert plugs firmly, press soil around them, and water well.
- Encourage spreading: Mow carefully, water deeply, and maintain conditions that favor lateral growth.
Step 5: Protect and Establish the New Grass
Watering Schedule
- First week: Light, frequent watering (2–3 times per day) to keep the soil surface moist.
- After seedlings emerge / sod roots: Gradually reduce frequency but increase duration to encourage deeper root growth.
- Always water early in the day to reduce evaporation and disease risk.
Shade and Foot Traffic
- Minimize foot traffic in that area until the new grass is well rooted.
- If birds or animals disrupt soil or seeds, consider using temporary netting or stakes to protect.
Fertilization
- Wait until the new grass has been mowed twice before applying a balanced, light fertilizer.
- Use a starter fertilizer high in phosphorus to help root growth (if phosphorus is not restricted in your area).
Mowing & Maintenance
- Don’t mow until new grass reaches about 3–3½ inches (or appropriate height for that grass).
- Use sharp blades to avoid tearing.
- Gradually return mowing height to match the rest of the lawn, following the “one‑third rule.”
Step 6: Monitor, Fill, and Blend
Monitor Its Progress
Check the patch regularly for new growth, moisture levels, and any signs of failure (such as thin areas or pest damage). Some die-back is normal, but if the patch fails, you may need to re-seed or replace.
Fill Thin Areas
After several weeks, if some gaps remain, reseed or plug those areas to fill in completely.
Blend with Surrounding Lawn
Once the repaired portion has matured, feather the edges—mow a little lower or scalp the border lightly (if appropriate) so the transition between the old and new turf is less visible.
Tips & Troubleshooting
- Test soil pH and nutrients: Before repair, a soil test helps you know whether lime, phosphorus, or other amendments are needed.
- Use local grass varieties: In places with heat and drought, choose drought-tolerant, regionally adapted grass cultivars.
- Don’t over-seed or overwater: Too much seed or water can cause competition, rot, or disease.
- Watch for pests and disease: Especially during the early weeks, pests like grubs or fungal pathogens may damage new turf. Act early if needed.
- Be patient: Restoration doesn’t happen overnight. Depending on grass type, full recovery may take several weeks to months.
- Address the root cause: If foot traffic, shade, drainage, or compaction caused the bare patch, make changes (e.g. redirect paths, trim tree branches, improve drainage) to prevent recurrence.
Sample Scenario: Fixing a Bare Patch in a Warm‑Season Lawn
Let’s say you have a warm-season lawn (e.g. Bermuda) and discover a 2 × 2 foot bare patch in June.

- Prepare the site: Remove debris, loosen soil, rent a core aerator around that area.
- Plug it: Plant plugs spaced 8 inches apart across the patch. Alternatively, if nearby grass is healthy and you’re okay with mixing types, you could seed with a warm-season blend.
- Water carefully: Lightly water morning and evening for the first week. Then switch to deeper, less frequent watering.
- Care for it: Avoid foot traffic, keep an eye on moisture. After two mowing cycles, begin light fertilization.
- Blend and observe: In a few months, the patch should fully fill in and match the surrounding lawn.
Why Your Repair Effort Matters
- Stops weeds and erosion: Bare soil invites weeds and allows rain to wash soil away.
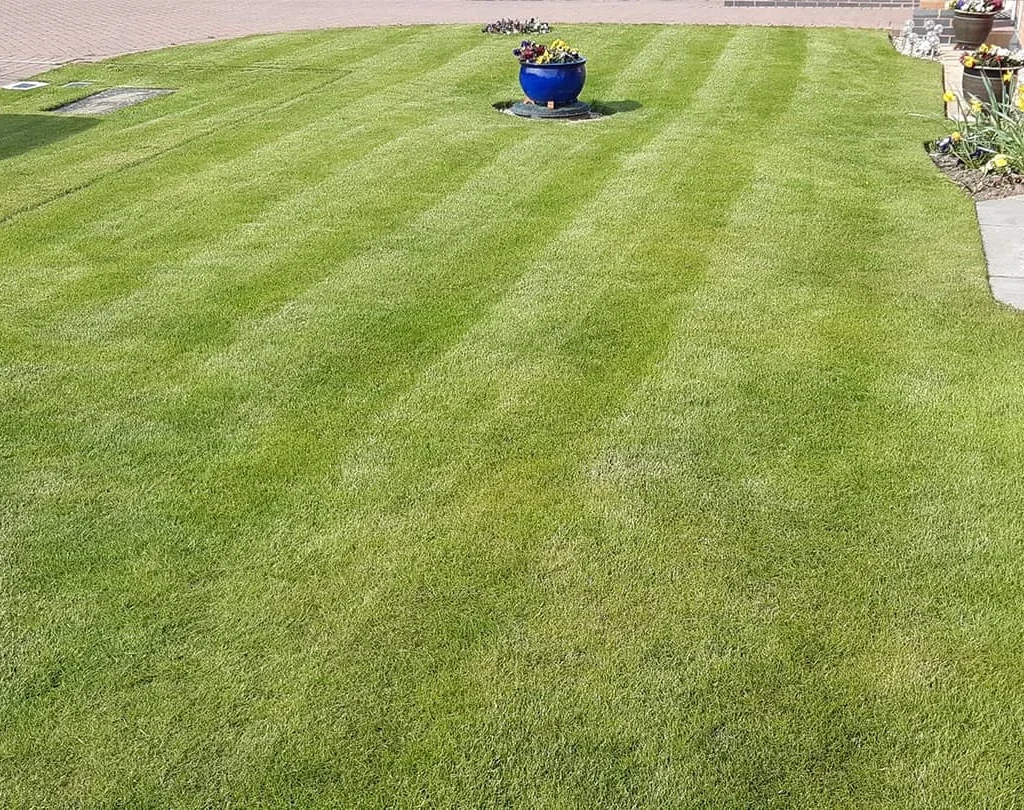
- Improves aesthetics: A uniform lawn looks healthier and more inviting.
- Prevents spread: Once a patch forms, it often grows outward if not addressed.
- Strengthens the lawn overall: Repairing encourages healthier root systems and fills in weak spots.
Final Thoughts
Fixing bare patches is about more than aesthetics—it’s about restoring your lawn’s health, resilience, and uniformity. When you follow these steps:
- Choose the right timing
- Prepare the soil properly
- Decide whether to seed, sod, or plug
- Plant carefully and correctly
- Nurture the new grass with water, fertilization, and protection
- Monitor, fill gaps, and blend edges
…you greatly increase your chance of success.
Leave A Comment