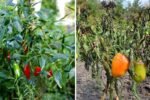
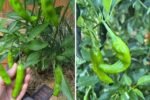
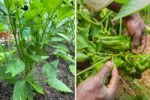
A lush, thriving garden is a gardener’s pride, but keeping it healthy often requires consistent watering. Traditional watering methods—whether by hand or hose—can be time-consuming and wasteful, particularly in hot or dry climates. That’s where drip irrigation comes in. This efficient, water-saving system delivers moisture directly to plant roots, ensuring they get the hydration they need without unnecessary runoff or evaporation. While commercial drip irrigation kits are available, creating your own DIY drip irrigation system is easier, cheaper, and highly customizable. This guide will walk you through everything you need to know to build a simple DIY drip irrigation system for your garden.
1. Understanding Drip Irrigation
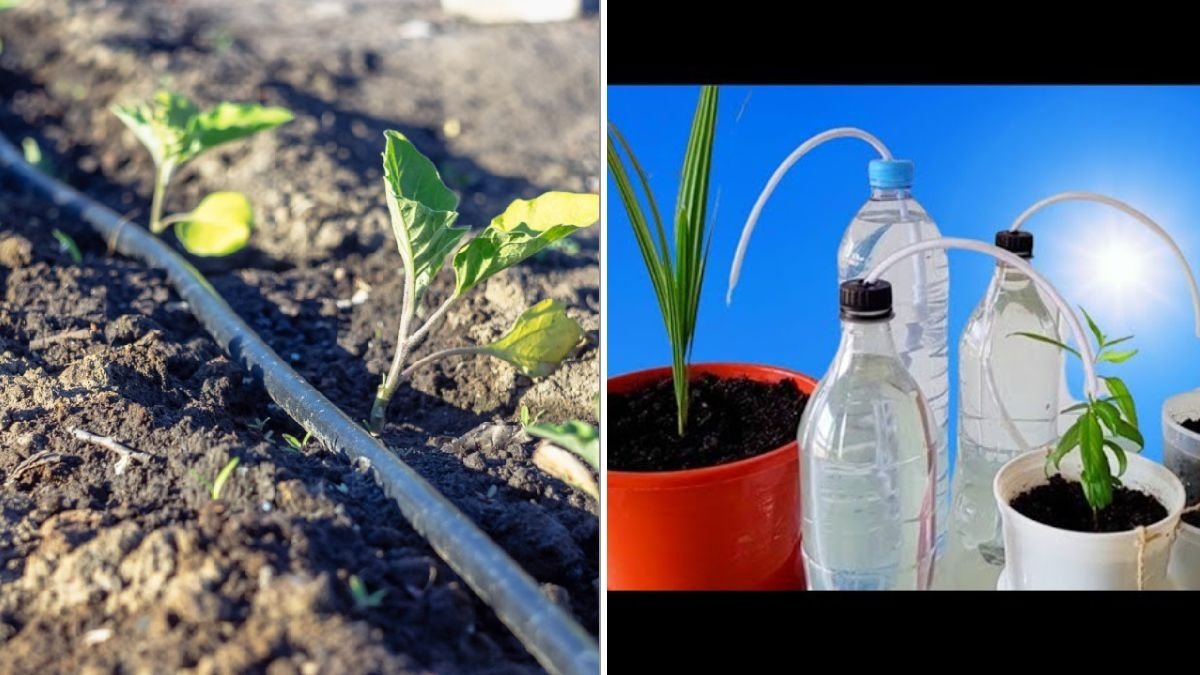
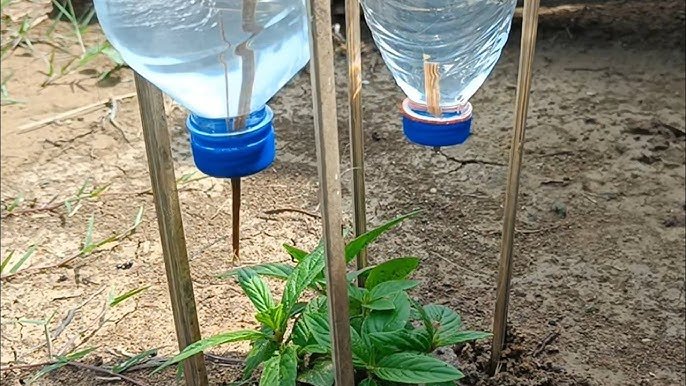
Drip irrigation is a watering technique that delivers water slowly and directly to the base of plants through a network of tubes, hoses, or pipes with small emitters. Unlike sprinklers, which spray water over a wide area, drip systems target the root zone, promoting healthier plant growth while conserving water.
Benefits of Drip Irrigation:
- Reduces water waste by minimizing evaporation and runoff.
- Prevents overwatering and waterlogged soil.
- Encourages deep root growth for stronger, drought-resistant plants.
- Can be customized for any garden size or shape.
- Helps prevent weed growth by watering only the plants you want.
By using a DIY approach, gardeners can create an efficient, eco-friendly system without breaking the bank.
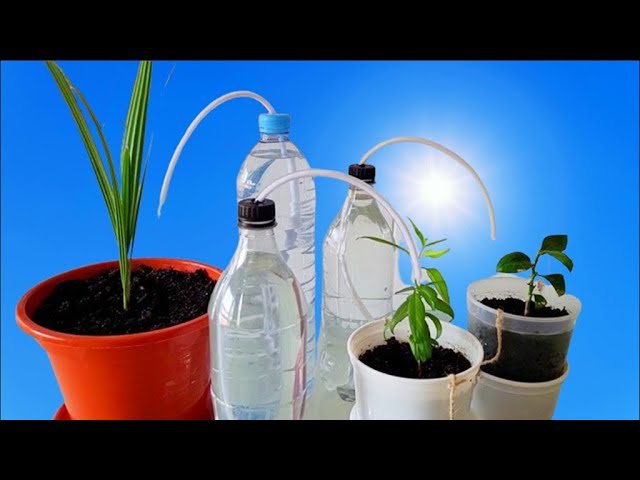
2. Gathering Your Materials
Creating a DIY drip irrigation system requires a few basic materials that are readily available at garden centers or online stores. Here’s what you’ll need:
Essential Materials:

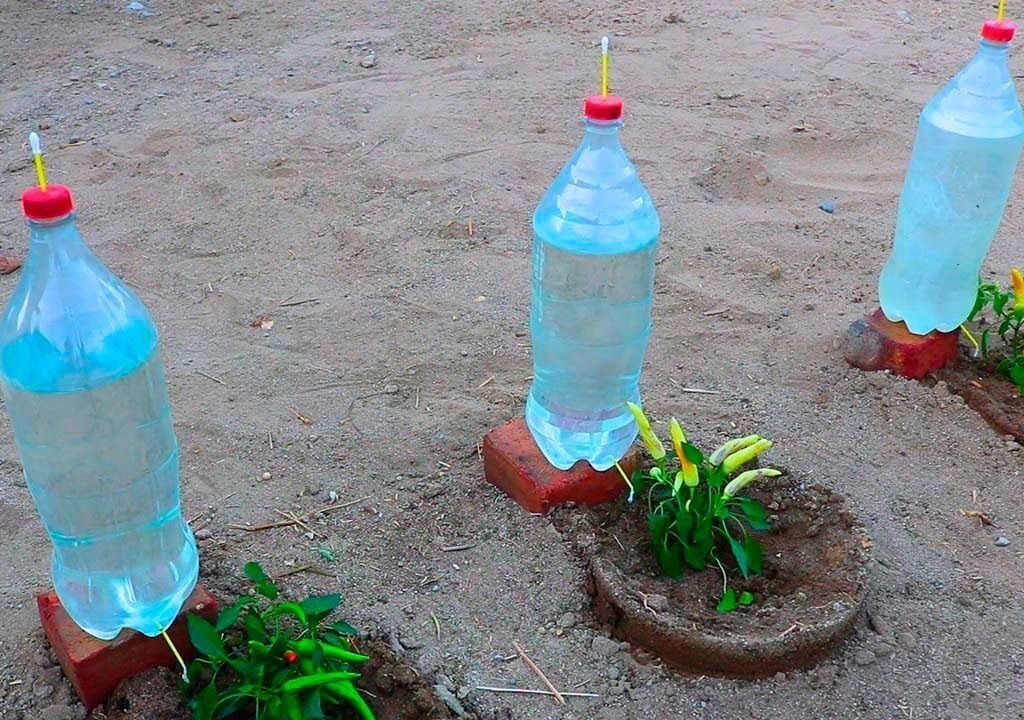
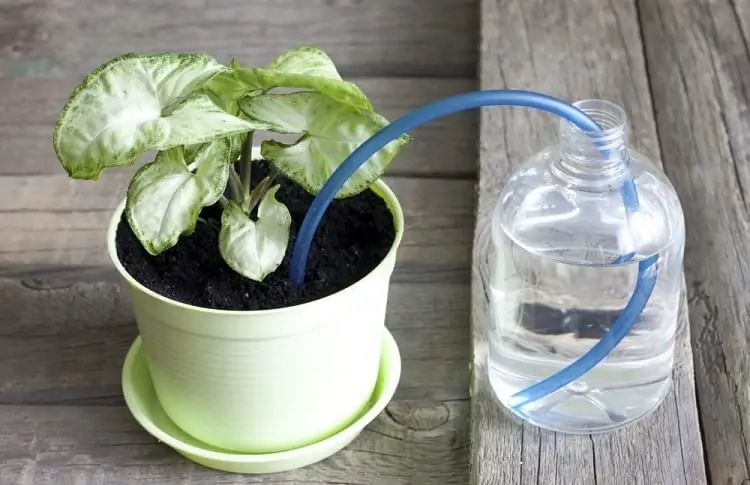
- PVC or polyethylene tubing: Serves as the main water delivery line.
- Drip emitters or micro-sprayers: Control the flow of water to individual plants.
- Hose connectors and fittings: Help branch the system to reach different garden areas.
- Backflow preventer: Prevents contaminated water from returning to your water supply.
- Filter: Removes debris from water to prevent clogs in the emitters.
- Pressure regulator: Ensures consistent water flow, preventing damage to delicate emitters.
- End caps or plugs: Seal the ends of tubing to maintain pressure.
Optional Materials:
- Stakes or clamps to secure tubing.
- Timer or irrigation controller for automated watering.
- Teflon tape to ensure leak-proof connections.
With these materials, you can set up a simple system that’s both efficient and durable.
3. Planning Your Irrigation Layout
Before cutting or connecting tubes, it’s important to plan your garden’s irrigation layout. A well-thought-out plan ensures that all plants receive adequate water without wasting resources.
Steps to Plan Your Layout:
- Map your garden: Draw a diagram of your garden beds, rows, and plant locations.
- Identify water sources: Determine where your main water supply is located.
- Decide tubing paths: Plan how the mainline will travel and where branches will split off.
- Position emitters: Place emitters near the base of each plant or group of plants.
- Calculate tubing length: Measure distances to ensure you have enough tubing to reach every area.
By visualizing your system before installation, you reduce mistakes, avoid unnecessary cuts, and ensure efficient water delivery.
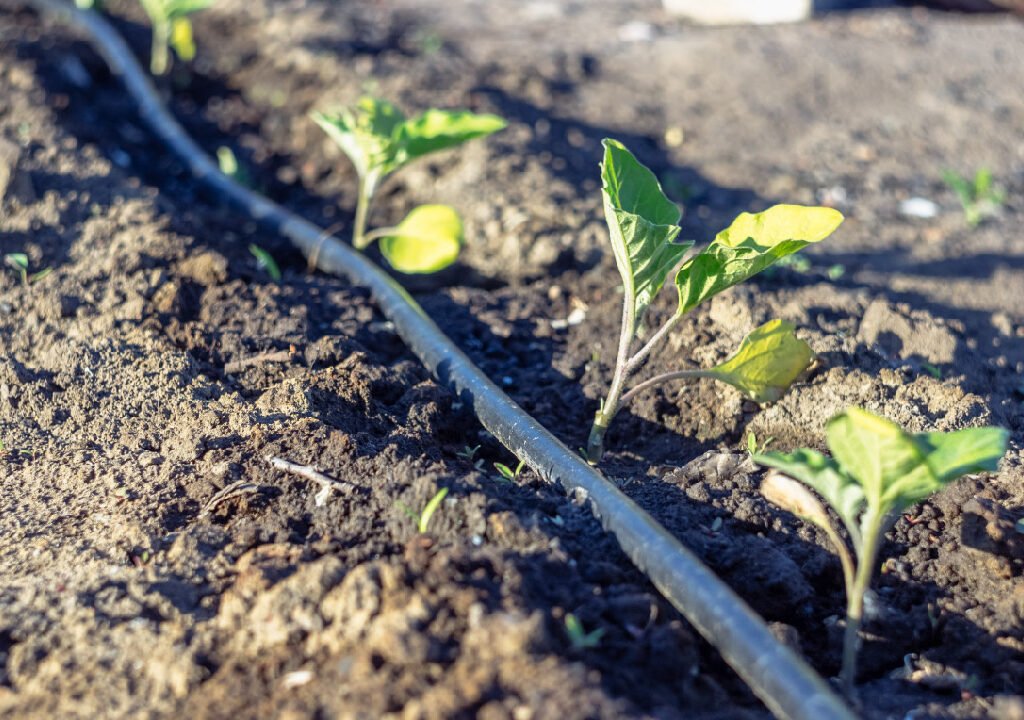
4. Installing the Mainline
The mainline is the backbone of your drip irrigation system. It carries water from the source to various sections of your garden.
Installation Steps:
- Connect the mainline tubing to your water source using a backflow preventer, filter, and pressure regulator.
- Lay the tubing along your planned path, keeping it close to the plants you intend to water.
- Secure the tubing with stakes or clamps to prevent movement.
Ensure all connections are tight to prevent leaks. Once the mainline is set up, you can branch out smaller lines to individual plants or garden rows.
5. Adding Branch Lines and Emitters
Branch lines deliver water from the mainline directly to your plants. They are usually smaller tubing or hoses connected with T-joints or connectors.
How to Add Branch Lines:
- Cut the mainline at the desired location using a tubing cutter.
- Insert a T-connector and attach the branch tubing.
- Secure the tubing with clamps or stakes along the plant row.
Installing Emitters:
- Punch small holes in the branch tubing where each plant is located.
- Insert drip emitters into the holes.
- For larger plants or shrubs, use multiple emitters for even coverage.
- If using micro-sprayers, position them to cover the plant’s root area adequately.
Test your system before burying or covering the tubing to ensure each emitter is functioning properly.
6. Securing and Covering the Tubing
To protect your DIY drip irrigation system from sunlight and accidental damage, it’s important to secure and, if possible, cover the tubing.
Tips for Securing Tubing:
- Use garden stakes every few feet to prevent movement.
- Avoid sharp bends that can restrict water flow.
- Consider covering tubing with mulch to hide it and retain soil moisture.
Mulching over the tubing not only protects it but also enhances the efficiency of your system by reducing evaporation.
7. Testing and Adjusting Water Flow
Before fully relying on your system, test it to ensure even water distribution. Turn on the water and observe each emitter.
What to Check:
- Ensure every emitter is dripping or spraying correctly.
- Adjust emitters for uneven flow by replacing clogged ones or repositioning.
- Monitor water pressure; use a pressure regulator if necessary.
- Check for leaks at connectors and joints.
Proper testing ensures your plants receive consistent hydration and prevents water wastage.
8. Automating Your System
For added convenience, you can automate your drip irrigation system with a timer or irrigation controller. Automation saves time and ensures your plants are watered consistently, even when you’re away.
Automation Tips:
- Set watering times during early morning or late evening to minimize evaporation.
- Adjust watering duration according to plant type, soil, and weather conditions.
- Consider using a rain sensor to prevent watering during rainfall.
Automated systems enhance the efficiency of your DIY drip irrigation setup, making gardening easier and more enjoyable.
9. Maintaining Your DIY Drip Irrigation System
A DIY drip irrigation system requires minimal maintenance, but regular checks will keep it running smoothly for years.
Maintenance Checklist:
- Clean filters regularly to prevent clogs.
- Inspect tubing and emitters for cracks or blockages.
- Flush the system at least once a season to remove sediment.
- Replace damaged or worn components promptly.
Routine maintenance ensures your system remains efficient and effective, supporting healthy, hydrated plants.
10. Benefits of Your DIY Drip Irrigation System
Creating a DIY drip irrigation system comes with multiple advantages:
- Water Efficiency: Reduces water use by delivering it precisely where needed.
- Healthier Plants: Prevents overwatering and promotes strong root growth.
- Time-Saving: Minimizes the time spent manually watering your garden.
- Cost-Effective: Avoids expensive commercial kits while still providing professional-level irrigation.
- Environmental Friendly: Reduces water waste and conserves natural resources.
By investing time upfront to build your system, you create a sustainable, productive garden that thrives with minimal effort.
Conclusion
A DIY drip irrigation system is one of the smartest ways to care for your garden efficiently and sustainably. By delivering water directly to the roots, conserving resources, and reducing manual labor, this system supports healthier plants and a more productive garden. With careful planning, simple materials, and a little DIY know-how, you can design an irrigation system tailored to your garden’s unique layout and plant needs.
Whether you’re a beginner gardener or a seasoned plant enthusiast, creating your own drip irrigation system empowers you to water smarter, save time, and enjoy the satisfaction of a thriving, well-hydrated garden. So roll up your sleeves, gather your materials, and start building your DIY drip irrigation system today—your plants will thank you for it!
Leave A Comment