In the ever-evolving world of health foods and natural supplements, one ingredient has been making headlines across America — the Lion’s Mane mushroom. With its striking shaggy appearance and powerhouse nutritional profile, this unique fungus has earned a reputation as both a culinary delicacy and a brain-enhancing superfood.
From wellness enthusiasts adding it to morning coffees to chefs featuring it in gourmet dishes, the Lion’s Mane mushroom has become one of the most talked-about functional foods in the U.S. today. Known for promoting mental clarity, focus, and nerve health, this mushroom is quickly transforming how Americans approach nutrition and natural medicine.
In this guide, we’ll explore the fascinating world of Lion’s Mane mushrooms — their origin, benefits, nutrition, cooking ideas, and how they’re reshaping both the American diet and the wellness industry.
1. What Is Lion’s Mane Mushroom?
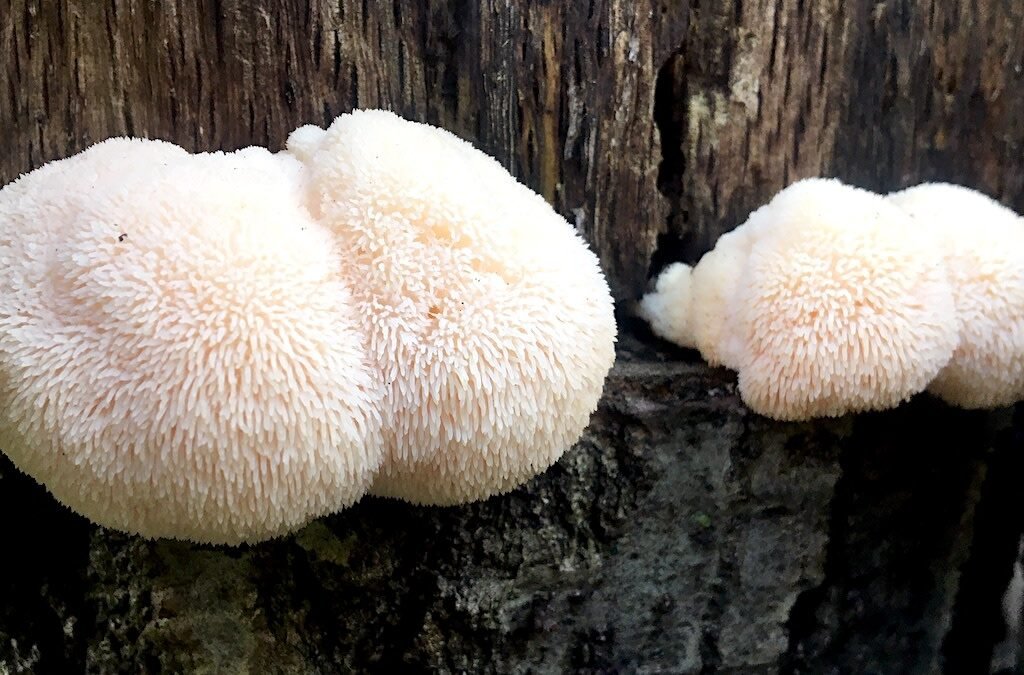
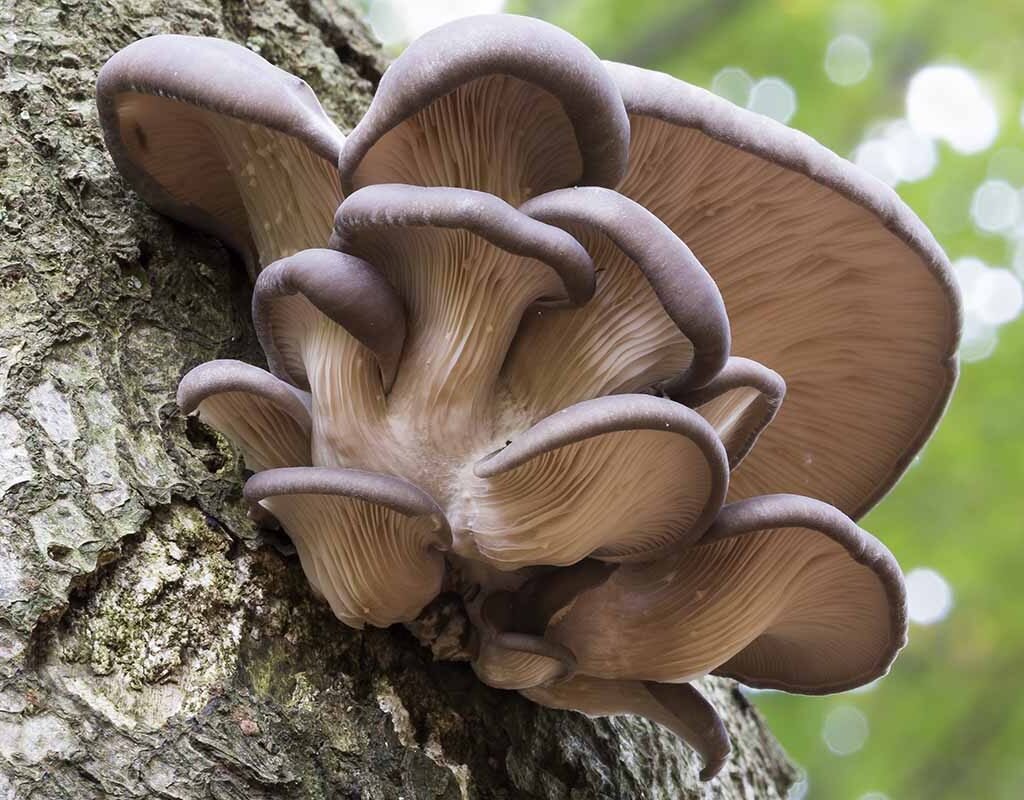
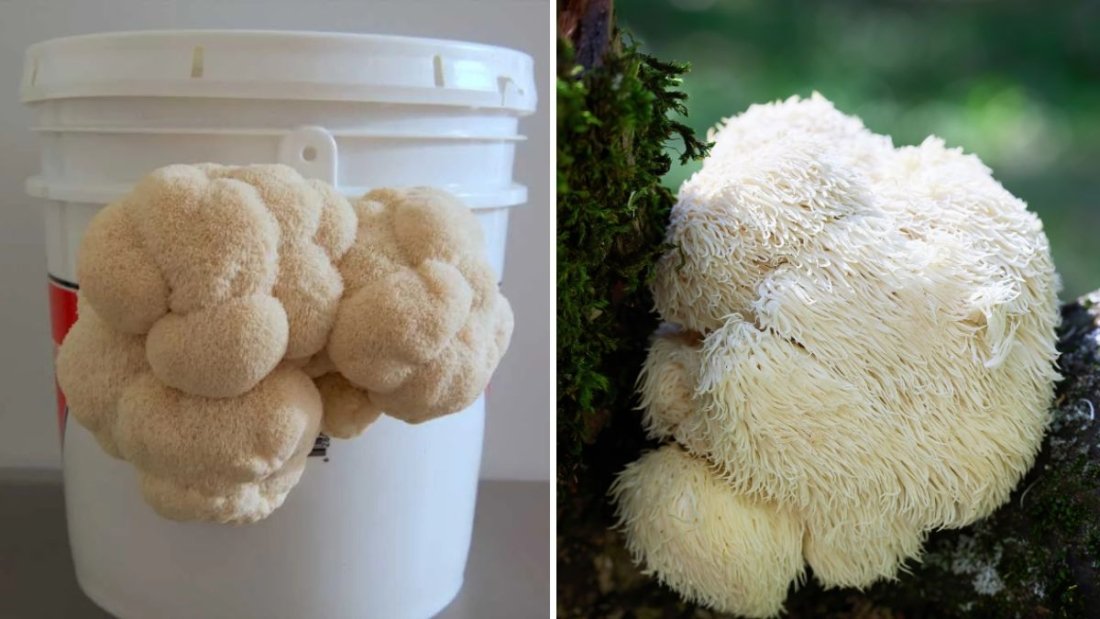
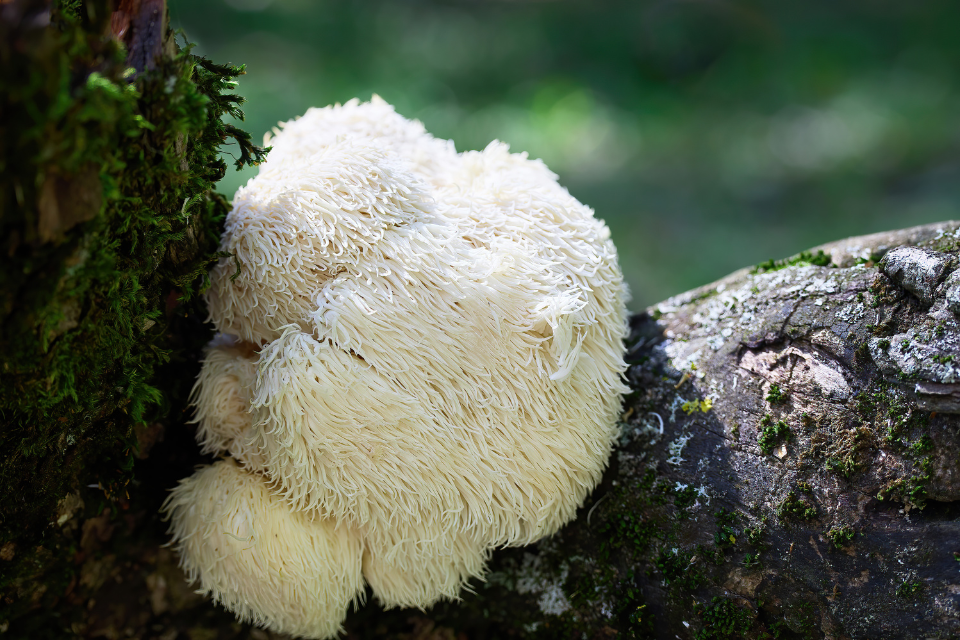
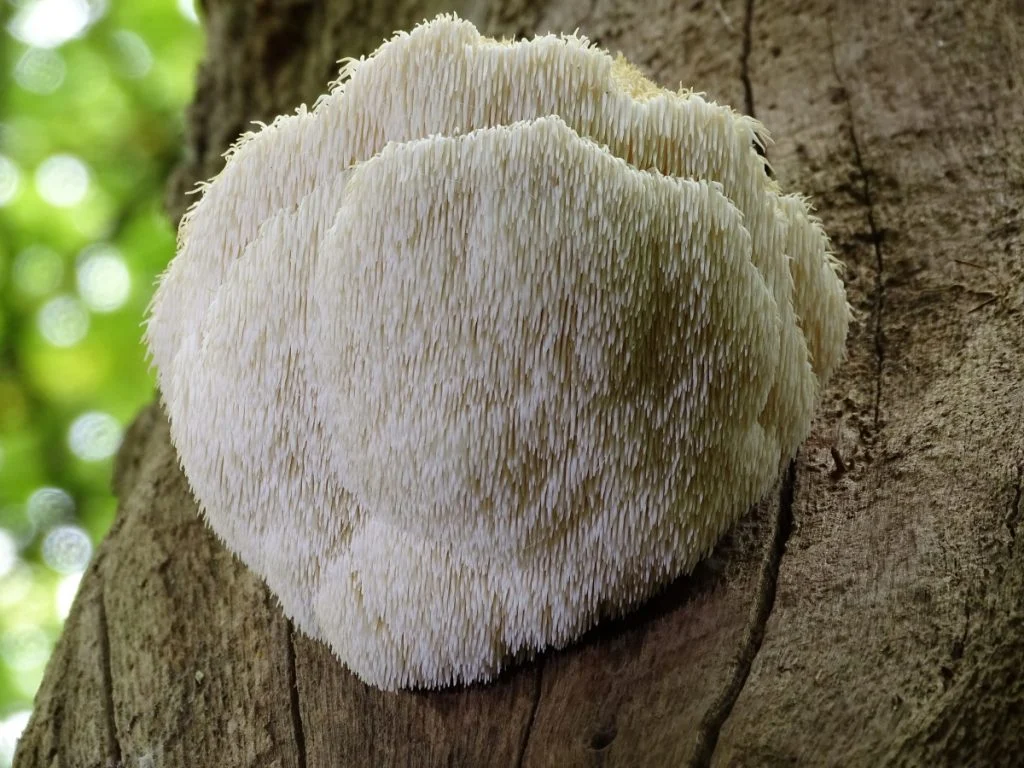
The Lion’s Mane mushroom (Hericium erinaceus), also known as bearded tooth mushroom or pom pom mushroom, is a white, globe-shaped fungus with long, shaggy spines resembling a lion’s mane — hence its name.
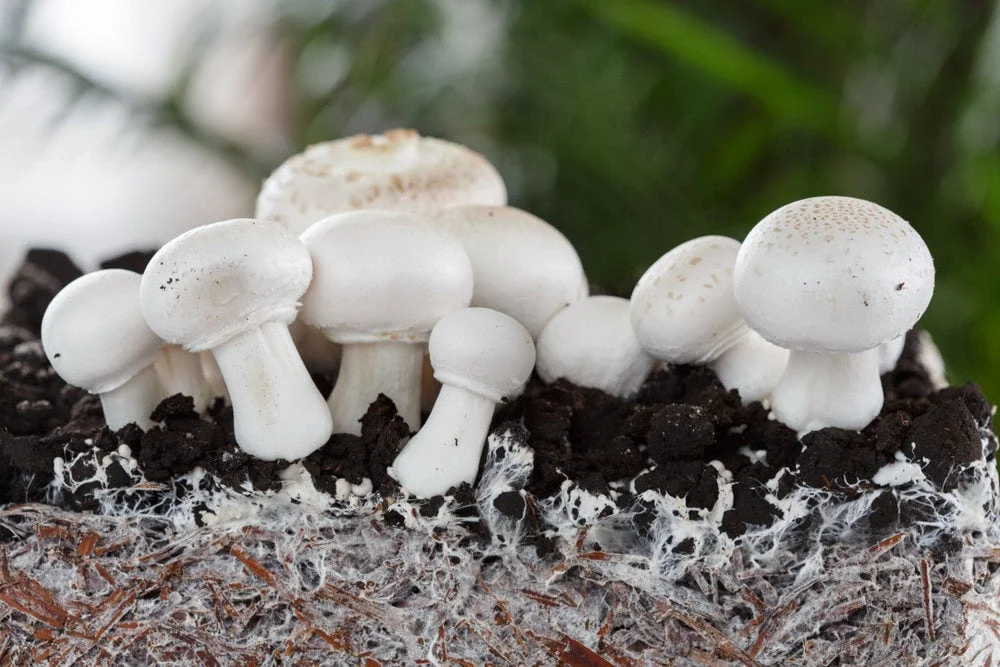
Native to North America, Europe, and Asia, Lion’s Mane grows naturally on hardwood trees, especially oak and beech. In the wild, it’s found in late summer to fall, clinging to logs or tree trunks in cool, damp forests.
In recent years, American mushroom farms — particularly in Oregon, California, and Pennsylvania — have perfected sustainable cultivation methods to meet the rising demand for this extraordinary fungus. It’s now readily available at health food stores, farmers’ markets, and online retailers, both as a fresh ingredient and in supplement form.
2. The Rise of Lion’s Mane in American Wellness Culture
The wellness movement in the U.S. has embraced functional mushrooms — varieties that not only nourish but also support cognitive, immune, and physical health. Among them, Lion’s Mane stands out for its impressive nootropic (brain-enhancing) potential.
From Silicon Valley professionals seeking mental focus to college students wanting a natural study aid, Lion’s Mane has become the go-to choice for boosting productivity and brainpower — without caffeine or synthetic stimulants.
Its growing popularity is also tied to the “mushroom coffee” trend, where powdered Lion’s Mane is blended with coffee or hot chocolate for a smoother energy boost and improved concentration. Brands across the U.S. — like Four Sigmatic, Mud\Wtr, and Ryze — are integrating Lion’s Mane into their signature wellness blends, further fueling its mainstream appeal.
3. Nutritional Profile of Lion’s Mane Mushroom
Lion’s Mane is more than just a brain tonic — it’s also a nutrient-dense food packed with plant-based protein, antioxidants, and bioactive compounds that promote overall wellness.
Nutritional Breakdown (per 100 grams of fresh Lion’s Mane):
- Calories: 43
- Protein: 3.6 g
- Carbohydrates: 7.6 g
- Fat: 0.3 g
- Fiber: 2.4 g
Vitamins and Minerals:
- Potassium, Zinc, and Iron – Support circulation and energy metabolism
- Niacin (Vitamin B3) and Thiamine (B1) – Promote nerve health and cognitive function
- Antioxidants and Polysaccharides – Strengthen immunity and reduce inflammation
But what truly sets Lion’s Mane apart are its unique bioactive compounds, such as hericenones and erinacines, which stimulate the production of nerve growth factor (NGF) — a protein crucial for brain and nerve regeneration.
4. Science-Backed Health Benefits of Lion’s Mane Mushroom
Lion’s Mane mushrooms are often referred to as “food for the brain,” and research continues to uncover how powerful they truly are. Here are the top health benefits backed by science:
1. Cognitive Enhancement and Brain Health
Lion’s Mane is known to boost memory, focus, and mental clarity. Studies show that its compounds can stimulate nerve cell growth, potentially improving cognitive performance and protecting against neurodegenerative diseases like Alzheimer’s and Parkinson’s.
2. Nerve Regeneration and Repair
Thanks to its ability to promote nerve growth factor (NGF), Lion’s Mane supports nerve healing after injury and may enhance the communication between neurons, aiding in better coordination and motor function.
3. Mood and Stress Support
Lion’s Mane may help reduce symptoms of anxiety and depression by promoting brain cell regeneration and balancing mood-related neurotransmitters. Many users report a calm yet focused feeling after regular use.
4. Immune System Boost
Rich in beta-glucans and antioxidants, Lion’s Mane strengthens the immune system by activating protective white blood cells, helping the body fight infections and inflammation naturally.
5. Gut Health and Digestion
Emerging research suggests that Lion’s Mane supports a healthy gut microbiome. Its prebiotic fibers encourage the growth of beneficial bacteria, improving digestion and nutrient absorption.
6. Anti-Inflammatory and Antioxidant Properties
Chronic inflammation can lead to fatigue, aging, and disease. Lion’s Mane’s high antioxidant content helps combat oxidative stress, supporting long-term wellness and vitality.
5. Culinary Uses: How to Cook Lion’s Mane Mushroom
Beyond its medicinal value, Lion’s Mane is a culinary gem. Its texture is tender yet meaty, with a flavor often compared to lobster, crab, or scallops. This makes it a popular choice among vegans and vegetarians looking for seafood-like dishes.
Preparation Tips
- Gently clean the mushroom with a brush or damp cloth (avoid soaking).
- Slice or tear it into chunks before cooking.
- Cook thoroughly to enhance its umami flavor and texture.
Cooking Methods
- Sautéed Lion’s Mane: Cook with butter, garlic, and thyme for a rich, seafood-like dish.
- Lion’s Mane “Crab” Cakes: Mix cooked mushroom pieces with breadcrumbs, mayo, and seasoning for a tasty plant-based version of a classic.
- Grilled Lion’s Mane Steaks: Brush thick slices with olive oil and grill until golden.
- Lion’s Mane Pasta: Toss sautéed pieces with spaghetti, cream sauce, and parmesan for a decadent dinner.
- Lion’s Mane Coffee or Smoothies: Add powdered Lion’s Mane for a morning mental boost.
Whether fresh or powdered, this mushroom adds depth, nutrition, and creativity to any meal.
6. Fresh vs. Supplement Form: Which Should You Choose?
Lion’s Mane comes in several forms — each offering unique benefits depending on your lifestyle.
Fresh Mushrooms
- Ideal for cooking and meal preparation
- Contains natural fiber and full nutrient range
- Best for those who prefer whole foods
Powders and Capsules
- Convenient for busy lifestyles
- Great for daily supplementation
- Easy to mix into coffee, smoothies, or tea
Tinctures and Extracts
- Concentrated form with fast absorption
- Often used for targeted cognitive or nerve support
If you’re new to Lion’s Mane, start with a powdered extract for consistency, then add fresh mushrooms to your diet for variety and flavor.
7. How to Buy and Store Lion’s Mane Mushrooms
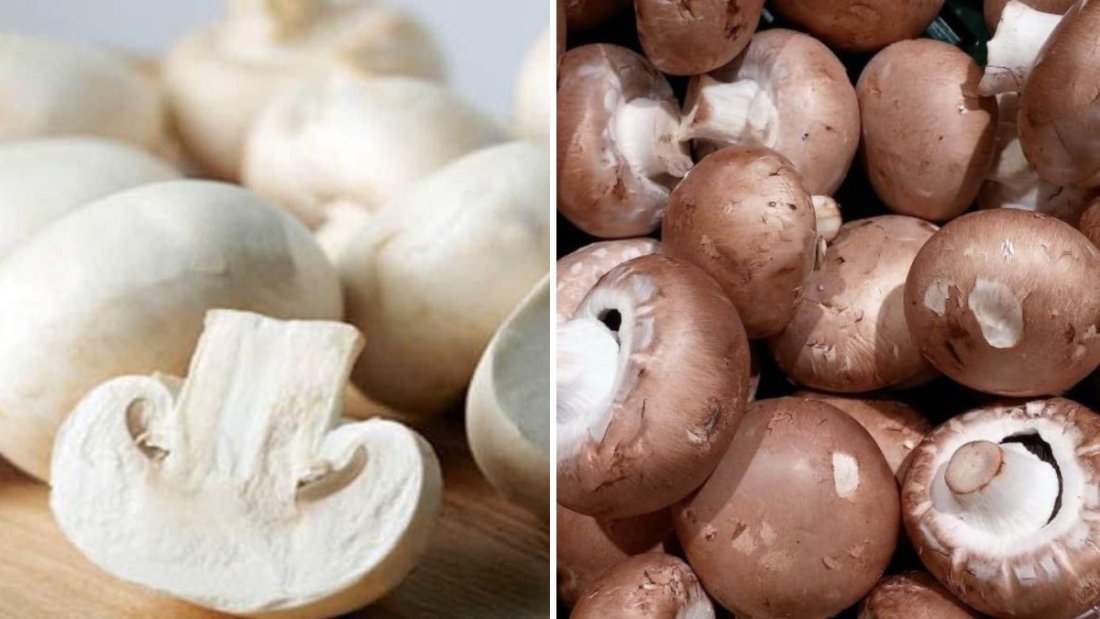
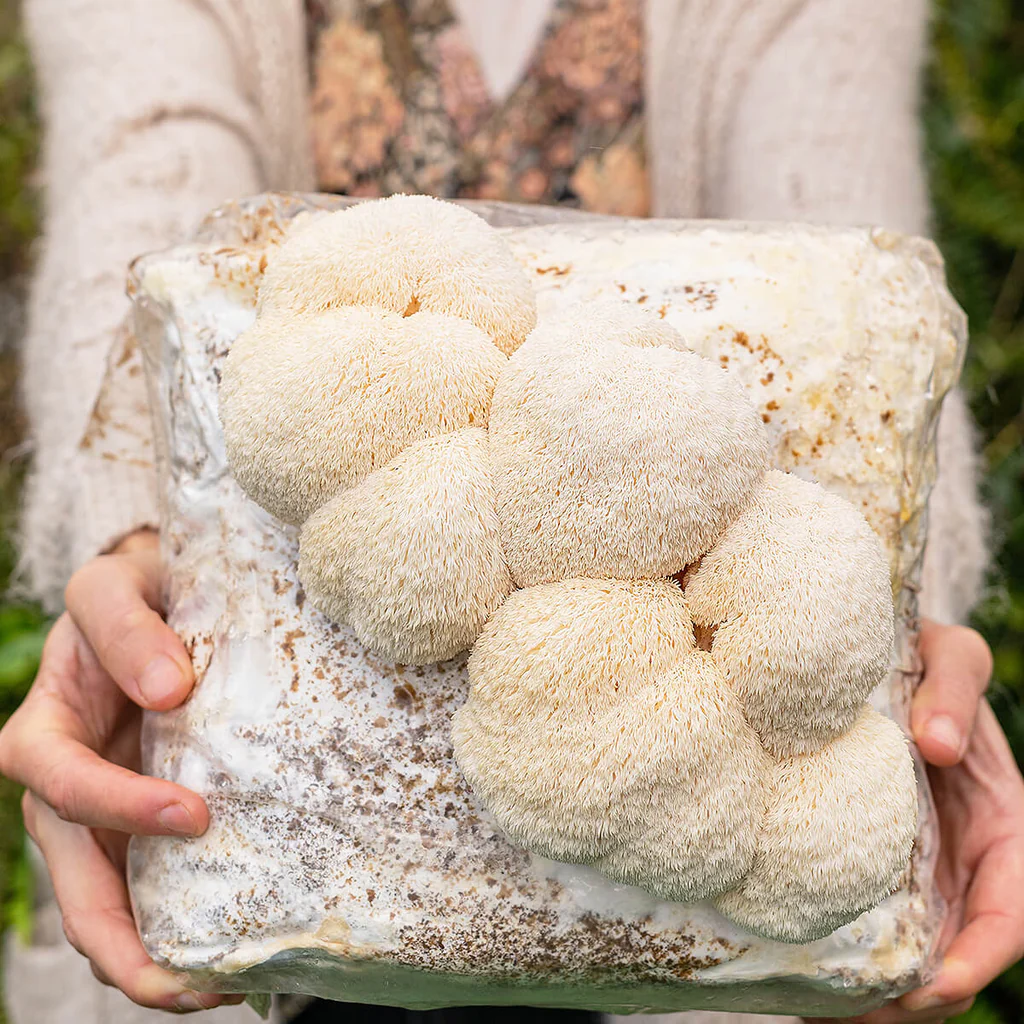
When purchasing fresh Lion’s Mane:
- Look for firm, white, fluffy clusters without dark or slimy spots.
- Avoid mushrooms that appear overly dry or shriveled.
- Buy from trusted local farms or organic markets whenever possible.
Storage Tips:
- Keep fresh mushrooms in a paper bag in the refrigerator.
- Use within 5–7 days for optimal flavor.
- For long-term use, dehydrate or freeze them.
- Powders and capsules should be stored in a cool, dry place away from sunlight.
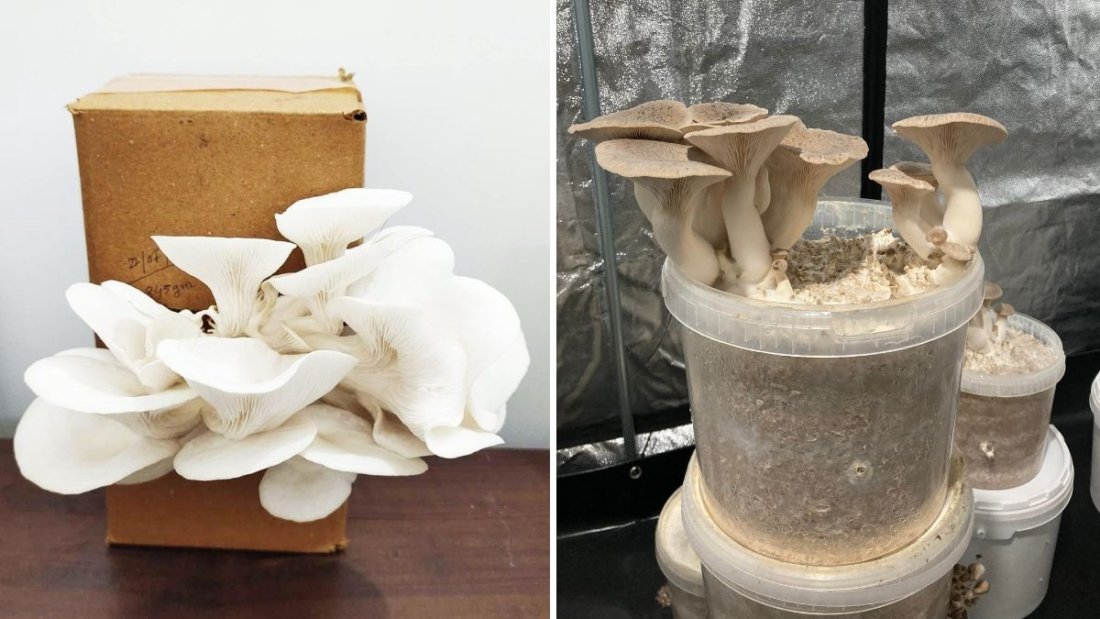
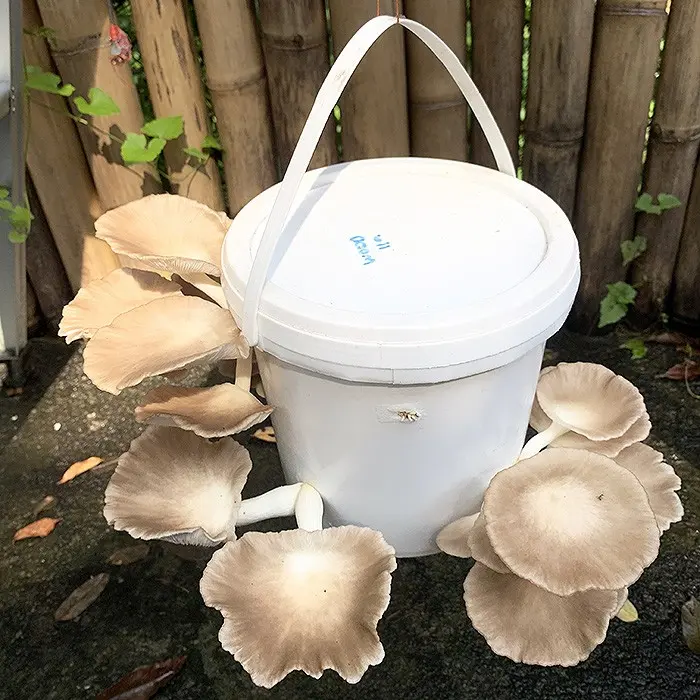
8. Growing Lion’s Mane at Home
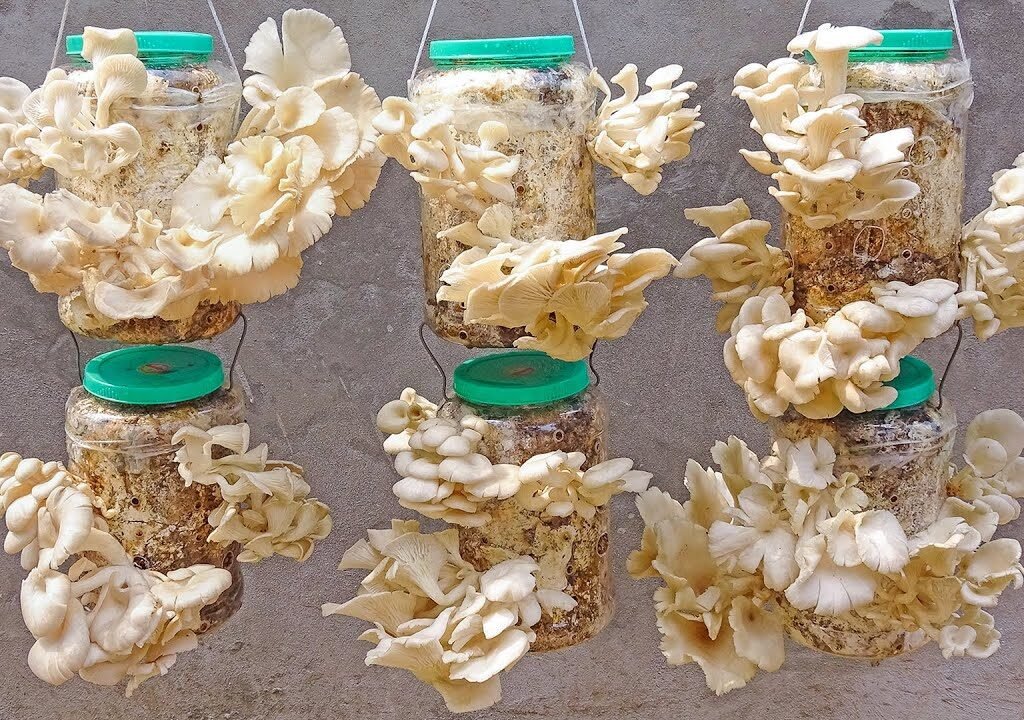
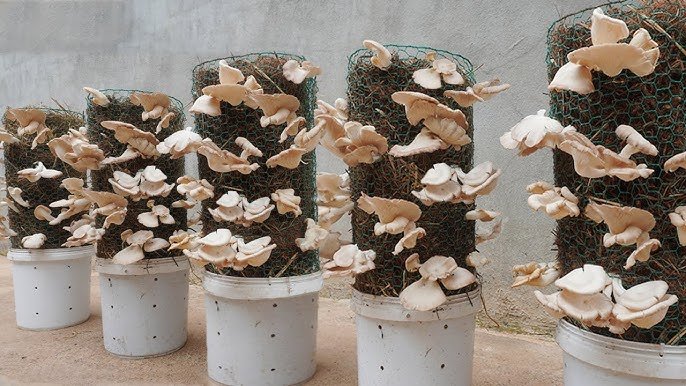
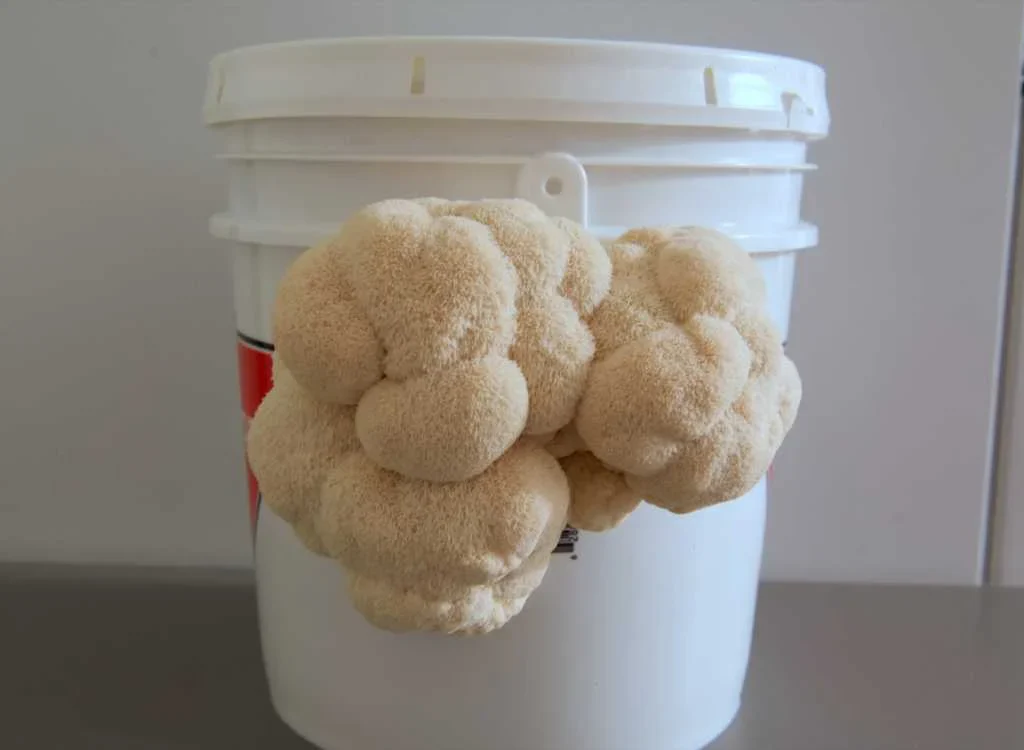
Growing your own Lion’s Mane mushrooms is easier than you might think — and incredibly rewarding!
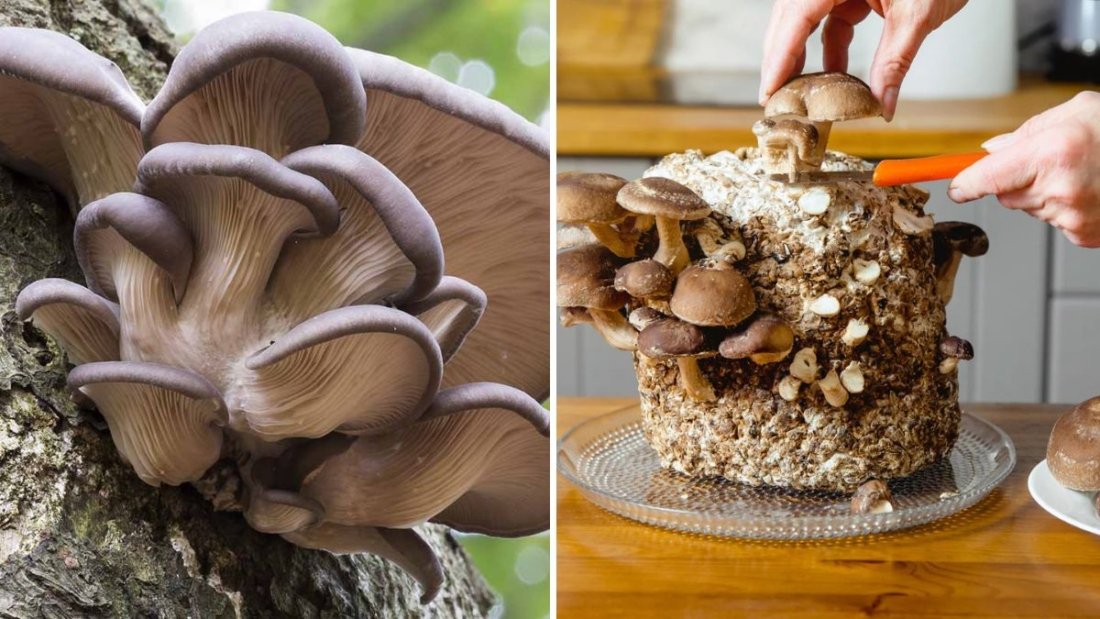
You can cultivate them using grow kits or on hardwood logs, similar to shiitake cultivation.
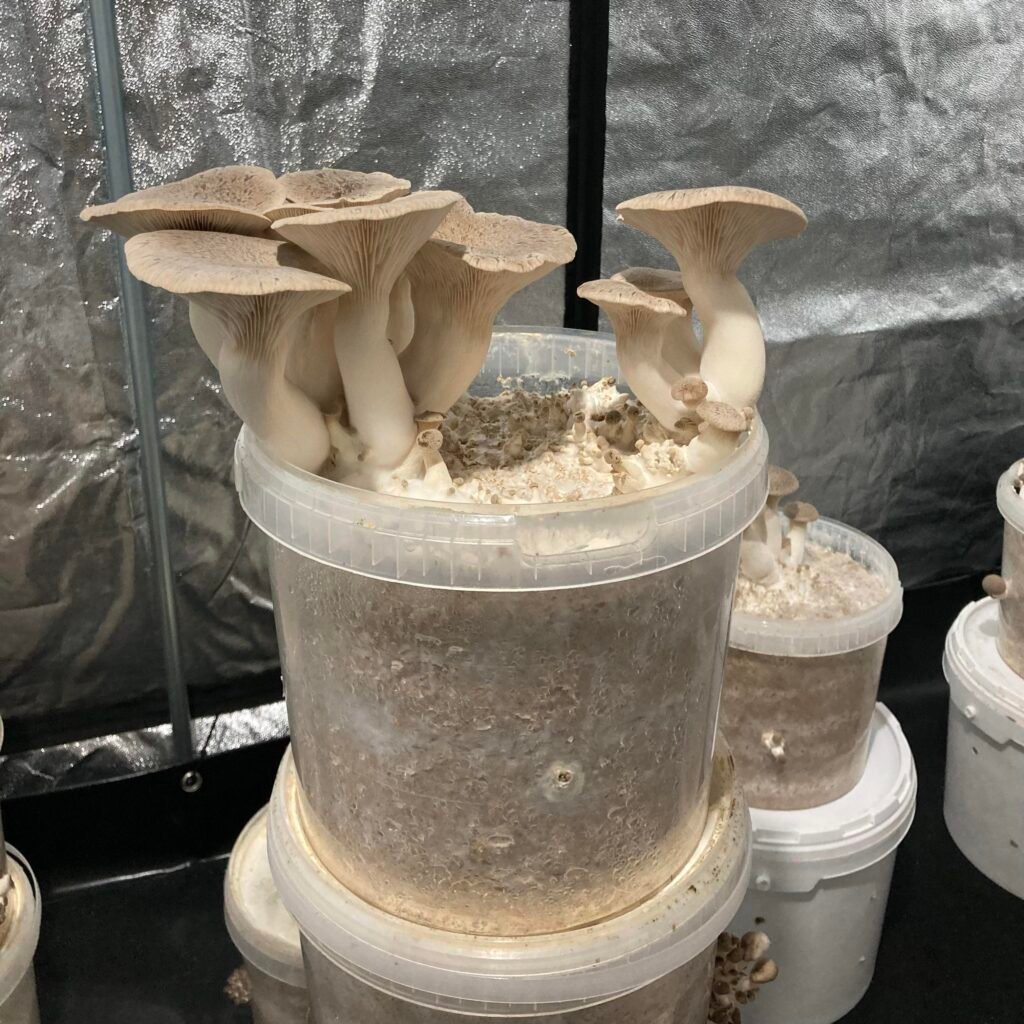
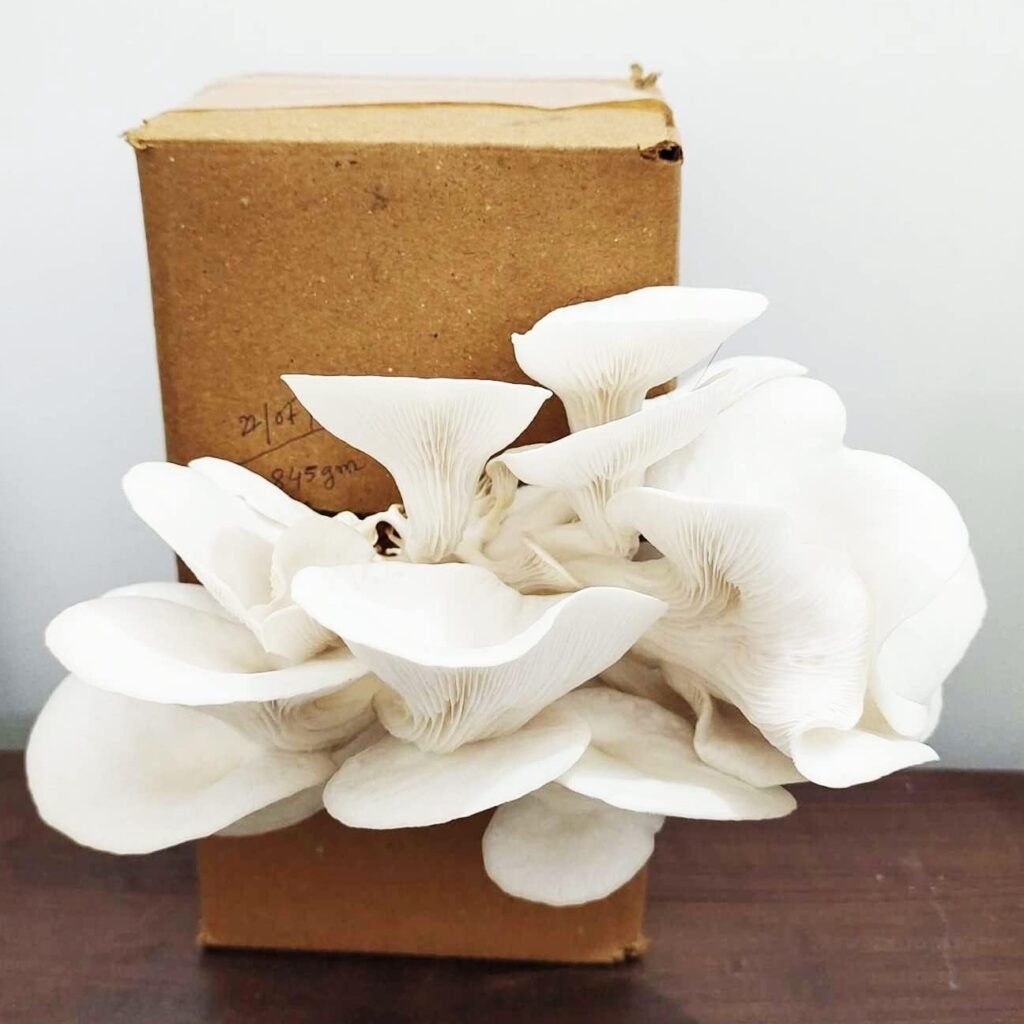
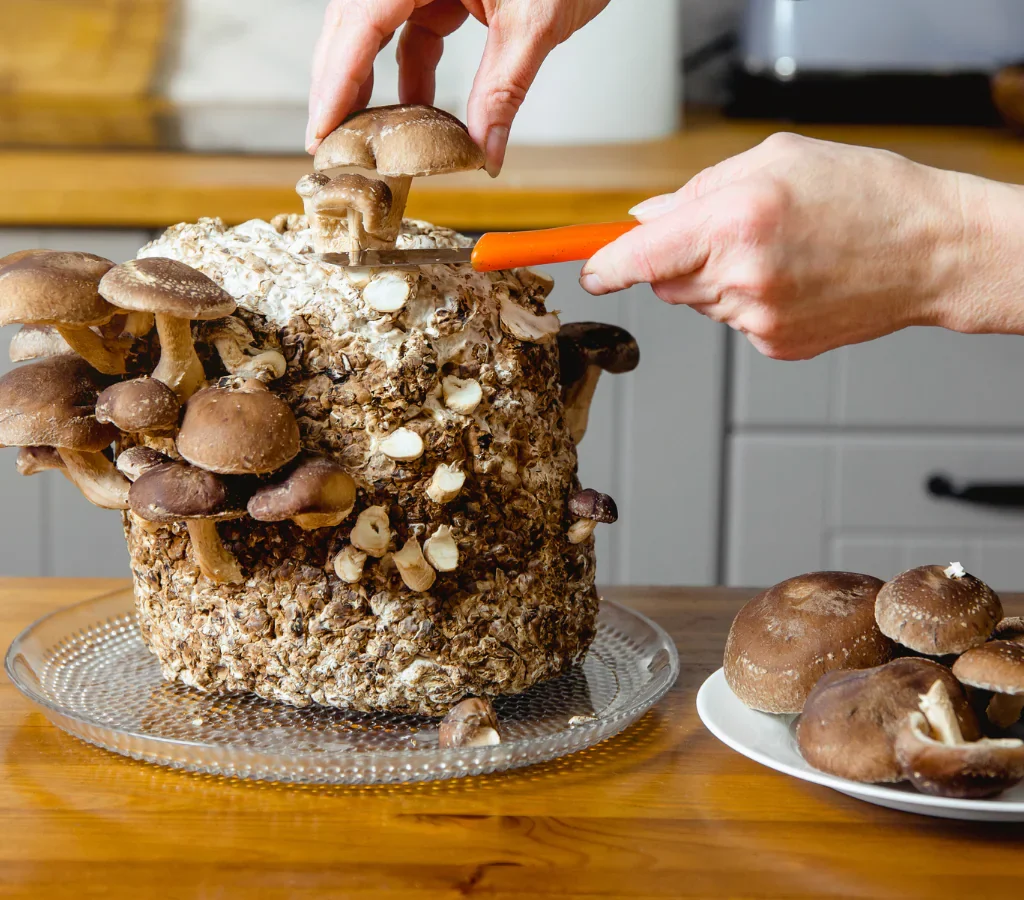
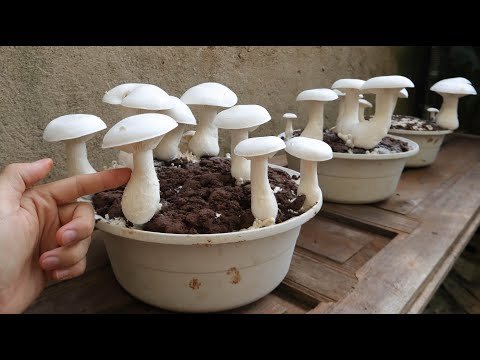
a. Indoor Grow Kits
- Beginner-friendly and low-maintenance
- Mushrooms grow from pre-inoculated substrate blocks
- Fruiting occurs within 3–5 weeks under humid conditions
b. Log Cultivation
- Best for outdoor setups using oak or maple logs
- Yields multiple harvests over several years
- Requires patience but produces high-quality mushrooms
Home cultivation ensures a fresh, organic, and sustainable supply while supporting eco-friendly living.
9. Sustainability and Environmental Impact
Lion’s Mane mushrooms are one of the most sustainable foods on the planet. They require:
- Minimal water and land resources
- No synthetic fertilizers or pesticides
- Organic waste recycling — they grow on sawdust or agricultural byproducts
Many U.S. farms are now integrating mushroom cultivation into regenerative agriculture, turning food waste into nutrient-rich soil and reducing carbon emissions. By choosing Lion’s Mane, you’re supporting eco-conscious farming and local food systems.
10. Safety and Side Effects
Lion’s Mane is considered safe and well-tolerated for most people. However, those with mushroom allergies or on prescription medications should consult a healthcare provider before use.
Mild side effects such as stomach upset or skin sensitivity are rare and usually occur with high supplement doses.
Conclusion
The Lion’s Mane mushroom is far more than a wellness trend — it’s a symbol of how food can heal, energize, and inspire. With its incredible brain-boosting power, culinary versatility, and eco-friendly footprint, it has earned its place as one of America’s favorite superfoods.
Whether you sauté it for dinner, sip it in your morning coffee, or take it as a daily supplement, Lion’s Mane can help you think sharper, feel calmer, and live healthier.
As Americans continue to embrace mindful nutrition and sustainable living, one thing is clear — the Lion’s Mane mushroom is here to stay, roaring loud in kitchens and wellness routines across the nation.