Few foods embody summer freshness quite like the cherry tomato. These tiny, juicy bursts of flavor have become a staple in American kitchens, finding their way into salads, pastas, pizzas, and even backyard snack bowls. Loved for their vibrant color, sweet flavor, and versatility, cherry tomatoes are much more than a garnish — they’re a nutrient-packed superfood that’s easy to grow and enjoy year-round.
From farmers’ markets in California to urban balcony gardens in New York, cherry tomatoes are flourishing across the country. Whether you’re a home gardener, a health enthusiast, or just someone who loves good food, understanding why these small tomatoes have become such a big deal can help you get the most out of this garden favorite.
Let’s dive into everything you need to know about cherry tomatoes — their origins, health benefits, popular varieties, and delicious ways to use them in your everyday American meals.
What Are Cherry Tomatoes?

Cherry tomatoes are small, round or oval fruits that belong to the Solanum lycopersicum var. cerasiforme species. They typically measure 1–2 inches in diameter and can range in color from bright red and golden yellow to deep purple and even striped varieties.
While they may be miniature in size, cherry tomatoes pack the same punch — and sometimes even more — than their larger tomato cousins when it comes to flavor and nutrition.
Originally native to South America, cherry tomatoes were domesticated by the Aztecs centuries ago before spreading worldwide. Today, they’re beloved in American cuisine for their sweetness, juiciness, and adaptability in recipes.
Nutritional Powerhouse: What Makes Cherry Tomatoes So Healthy
Don’t let their size fool you — cherry tomatoes are bursting with essential nutrients that support everything from heart health to glowing skin. Here’s what makes them such a valuable part of a balanced diet:
A 100-gram serving (about 6–8 cherry tomatoes) contains:
- Calories: 18
- Carbohydrates: 3.9g
- Protein: 0.9g
- Fiber: 1.2g
- Vitamin C: 30% of Daily Value (DV)
- Vitamin A: 25% of DV
- Potassium: 6% of DV
- Lycopene: 2573 µg (a powerful antioxidant)
Health Highlights:
- Rich in antioxidants like lycopene and beta-carotene that help protect against oxidative stress.
- Low in calories and fat, making them perfect for weight management.
- Hydrating, since they’re nearly 95% water.
- High in fiber, supporting digestion and gut health.
- Packed with vitamins A, C, and K for immune, bone, and skin health.
Top Health Benefits of Cherry Tomatoes
1. Heart-Healthy and Cholesterol-Friendly
The lycopene in cherry tomatoes helps lower LDL (“bad”) cholesterol and improve heart function. Combined with potassium, they help regulate blood pressure and support cardiovascular health — a major win for Americans looking to eat heart-smart.
2. Boosts Immunity and Fights Inflammation
Vitamin C and antioxidants work together to strengthen the immune system and combat inflammation. Regularly eating cherry tomatoes can help your body resist infections and promote faster recovery from illnesses.
3. Supports Eye and Skin Health
Cherry tomatoes are rich in vitamin A and beta-carotene, which protect the eyes from age-related vision problems. Meanwhile, lycopene helps guard the skin against UV damage, promoting a radiant, youthful complexion.
4. Hydration and Weight Management
With their high water content and low calorie count, cherry tomatoes are a refreshing way to stay hydrated and curb cravings. They make for a perfect healthy snack that satisfies hunger without the guilt.
5. May Help Prevent Certain Cancers
Lycopene, the compound that gives tomatoes their red color, is linked to a reduced risk of prostate, lung, and stomach cancers. Its antioxidant properties help neutralize free radicals that contribute to cellular damage.
Popular Varieties of Cherry Tomatoes in the U.S.

The American gardening and farming scene boasts an incredible diversity of cherry tomato varieties. Here are some of the most popular and delicious ones:
1. Sweet 100
Famous for their candy-like sweetness, these bright red tomatoes grow in long clusters and are perfect for snacking or adding to salads.
2. Sun Gold
One of America’s top garden favorites, these golden-orange tomatoes are exceptionally sweet and fruity, ideal for fresh eating.
3. Black Cherry
These deep, burgundy-colored tomatoes offer a rich, smoky flavor, making them a gourmet choice for appetizers and roasted dishes.
4. Green Grape
Tangy and slightly spicy, this variety stays green when ripe and adds a fun pop of color to your plate.
5. Tiny Tim
A compact variety perfect for containers or balcony gardens, Tiny Tims produce abundant clusters of juicy red fruits all summer long.
6. Yellow Pear
Known for their adorable teardrop shape and mild sweetness, Yellow Pear tomatoes are great for decorative salads and charcuterie boards.
How to Grow Cherry Tomatoes in Your Backyard or Balcony
One of the reasons cherry tomatoes are so beloved across the U.S. is their ease of cultivation. Whether you have a sprawling backyard or a sunny apartment balcony, you can grow them successfully.
1. Choose the Right Location
Cherry tomatoes thrive in full sunlight, needing at least 6–8 hours of direct light daily. Choose a warm, sunny spot with good air circulation.
2. Soil Preparation
Use well-draining, nutrient-rich soil with plenty of organic compost or aged manure. A slightly acidic pH (6.0–6.8) is ideal.
3. Watering
Keep the soil consistently moist but not soggy. Water deeply 2–3 times a week, especially during dry spells. Avoid overhead watering to prevent fungal diseases.
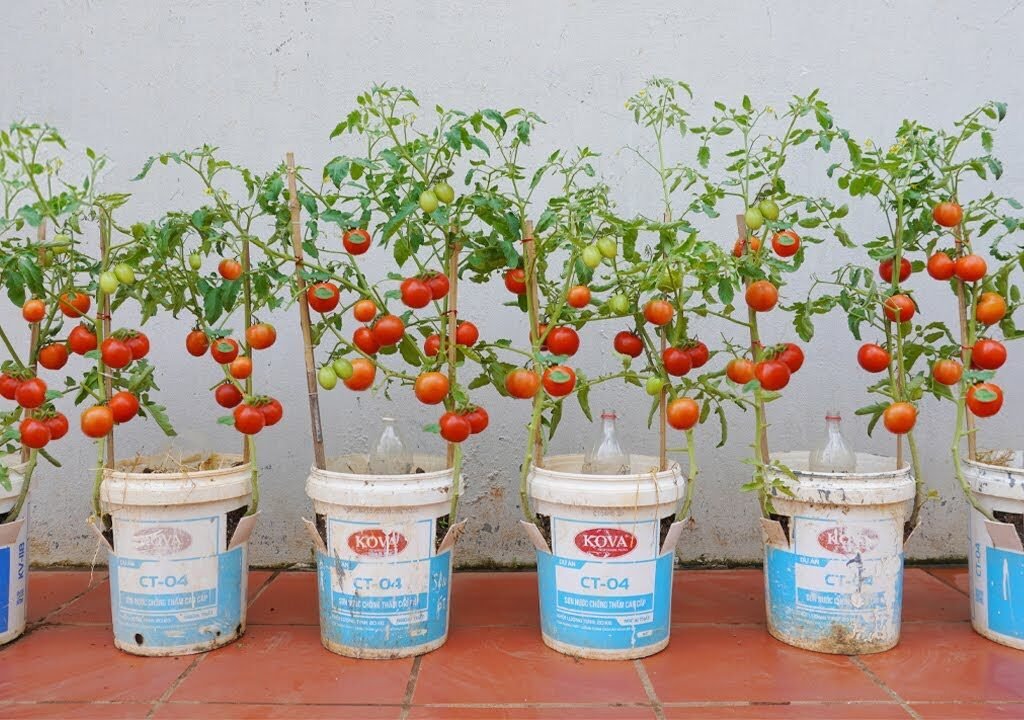
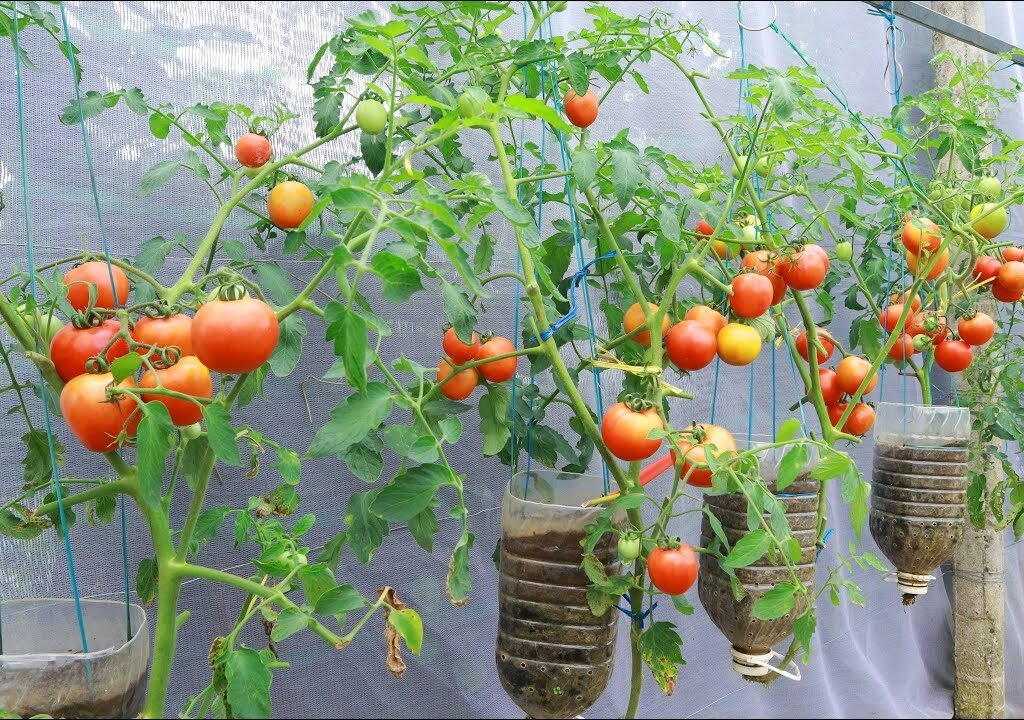
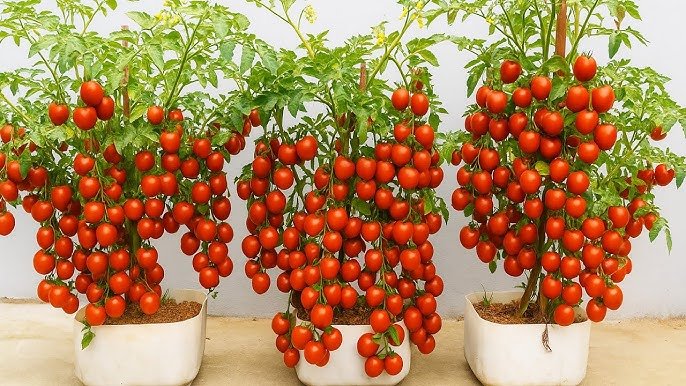
4. Container Gardening
If space is limited, cherry tomatoes grow beautifully in containers. Use a 5-gallon pot or grow bag with proper drainage holes and a stake or cage for support.
5. Fertilizing
Feed plants every 2–3 weeks with a balanced organic fertilizer or compost tea. Once flowers appear, switch to a low-nitrogen mix to encourage fruiting.
6. Pruning and Maintenance
Prune suckers (small shoots between the main stem and branches) to improve airflow and yield. Mulching also helps retain soil moisture and reduce weeds.
Harvesting and Storing Cherry Tomatoes
Cherry tomatoes ripen 60–80 days after planting, depending on the variety. You’ll know they’re ready when they turn fully colored and come off the vine easily with a gentle tug.
For storage:
- Keep fresh tomatoes at room temperature until fully ripe.
- Once ripe, refrigerate them to extend shelf life (but let them warm before eating to restore flavor).
- For long-term use, roast and freeze them or make tomato sauce or sun-dried tomatoes.
Delicious Ways to Enjoy Cherry Tomatoes
Cherry tomatoes shine in both simple and gourmet dishes. Here are some American-favorite ways to savor them:
1. Fresh Summer Salad
Toss halved cherry tomatoes with mozzarella, basil, olive oil, and balsamic glaze for a classic Caprese salad.
2. Roasted Tomato Pasta
Roast cherry tomatoes with garlic, olive oil, and herbs until caramelized, then toss with pasta and Parmesan for a flavorful weeknight meal.
3. Grilled Skewers
Thread cherry tomatoes, zucchini, and bell peppers on skewers, brush with olive oil, and grill for a colorful BBQ side.
4. Breakfast Upgrade
Add sliced cherry tomatoes to omelets, avocado toast, or scrambled eggs for a burst of color and freshness.
5. Bruschetta or Crostini
Top toasted baguette slices with diced cherry tomatoes, basil, and garlic for a crowd-pleasing appetizer.
6. Slow-Roasted Tomato Soup
Simmer roasted cherry tomatoes with onions, vegetable broth, and cream for a rich, velvety homemade soup.
Cherry Tomatoes in American Wellness and Culinary Trends
As Americans continue embracing farm-to-table dining, home gardening, and plant-based diets, cherry tomatoes have become a symbol of freshness and sustainability.
- Urban Gardening: Cherry tomatoes are the go-to choice for apartment gardeners who want fresh produce without needing large plots.
- Farmers’ Markets: Locally grown cherry tomatoes are one of the most in-demand summer produce items nationwide.
- Healthy Eating: Dietitians recommend them as a low-calorie, nutrient-dense food perfect for Mediterranean and clean-eating diets.
- Restaurant Menus: From farm-fresh pizza toppings to colorful salad garnishes, cherry tomatoes add a gourmet touch to American dining.
Fun Facts About Cherry Tomatoes
- Cherry tomatoes were first commercialized in Israel in the 1970s but became a U.S. hit soon after.
- They’re technically a fruit, though treated as a vegetable in cooking.
- Sun Gold is often voted America’s favorite tomato variety for its unbeatable sweetness.
- A single cherry tomato plant can yield up to 200 fruits per season.
- The largest cherry tomato cluster ever grown contained over 1,300 fruits!
Conclusion: Why Cherry Tomatoes Belong in Every American Kitchen
Bright, flavorful, and incredibly versatile, cherry tomatoes are the perfect blend of taste and nutrition. Whether you grow them in your backyard, pick them up fresh from your local farmers’ market, or toss them into your favorite recipes, these bite-sized beauties deliver big rewards in health and flavor.
From garden to table, cherry tomatoes embody the essence of American summer — fresh, colorful, and full of life. So, plant a few vines, enjoy the harvest, and let these little red gems add sunshine to every meal.