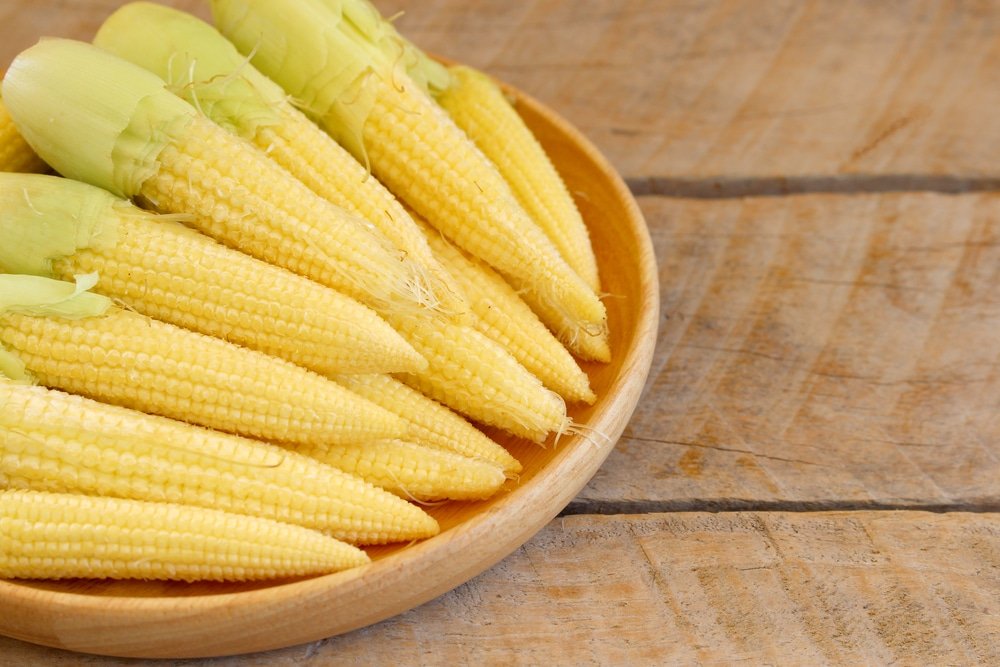
Baby corn—those small, tender, golden ears often found in stir-fries and salads—might look exotic, but it’s surprisingly easy to grow right in your backyard. This miniature version of regular sweetcorn is not only delicious and nutritious but also adds a unique touch to home gardening. With its delicate crunch and mild sweetness, baby corn has become increasingly popular in American kitchens, both for healthy eating and gourmet cooking.
In this comprehensive guide, we’ll explore everything you need to know about growing baby corn at home—from soil preparation and planting tips to harvesting and creative culinary uses. Whether you’re a seasoned gardener or a beginner looking for a fun summer project, baby corn is a rewarding and space-efficient crop that delivers quick results.
What Is Baby Corn?
Baby corn is the immature ear of regular corn (Zea mays), harvested before fertilization when the kernels are still tiny and undeveloped. The entire cob is edible—tender, crisp, and slightly sweet. Unlike sweetcorn, which is harvested after pollination, baby corn is picked just 1–2 days after the silk emerges.
This versatile vegetable is a staple in Asian cuisine but has gained popularity across the United States for its mild flavor and crunchy texture. It’s used in stir-fries, salads, soups, pickles, and even grilled dishes.
There are two ways to grow baby corn:
- From regular sweetcorn varieties harvested early.
- From specialized baby corn hybrids bred specifically for smaller, uniform ears.
If you’re growing specifically for baby corn, choose compact, high-yielding varieties such as Baby Sweetcorn, Mini Pop, or Supersweet Babycorn Hybrid.
Choosing the Right Spot for Growing Baby Corn
Like its full-sized cousin, baby corn thrives in warm, sunny environments. It needs at least 6–8 hours of direct sunlight per day and fertile, well-drained soil.
Ideal soil conditions:
- pH: 6.0–6.8
- Texture: Loamy or sandy soil with good drainage
- Nutrients: Enriched with organic compost or aged manure
Corn is a heavy feeder, so starting with nutrient-rich soil is crucial. Before planting, work 2–3 inches of compost or organic fertilizer into the top 6 inches of soil.
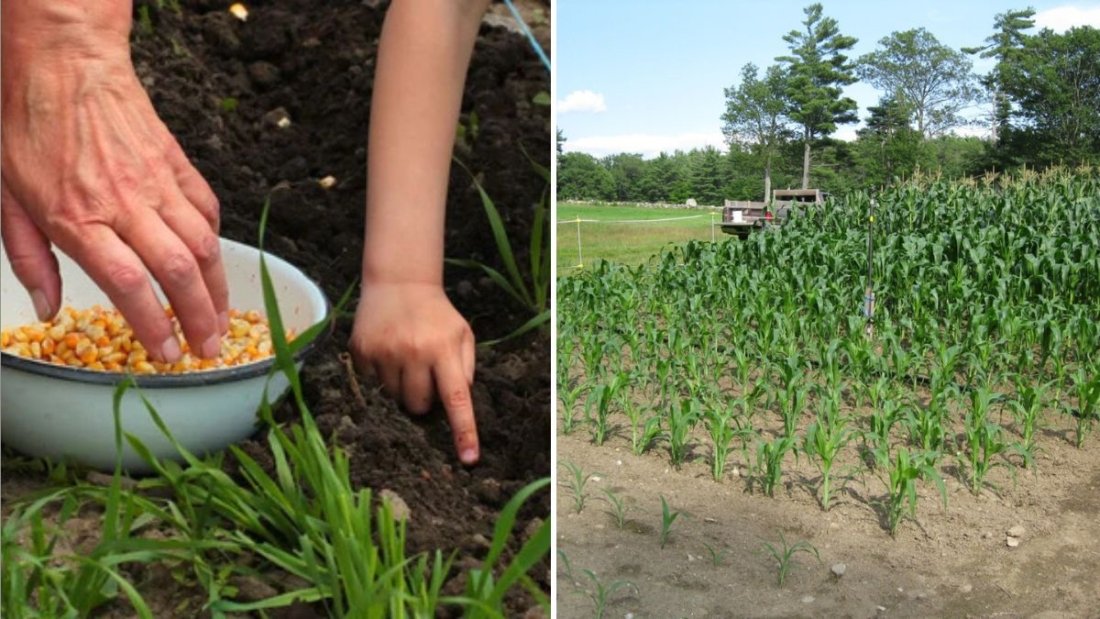
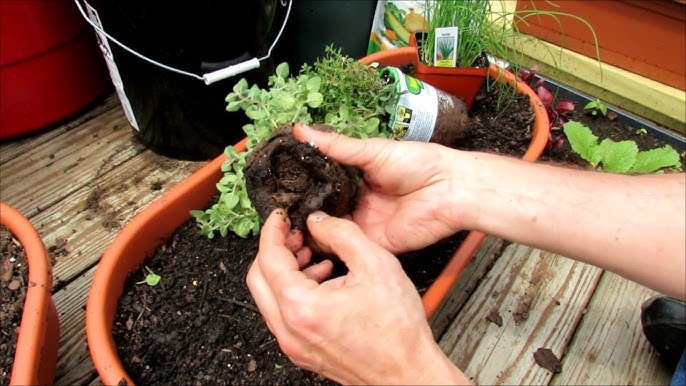
How to Plant Baby Corn Seeds
1. Timing the Planting:
Baby corn is a warm-season crop. Wait until all danger of frost has passed and the soil temperature is above 60°F (16°C)—typically late spring or early summer in most parts of the U.S.
2. Planting Depth and Spacing:
- Sow seeds about 1 inch deep and 6–8 inches apart.
- Space rows 2½ feet apart for proper air circulation and sunlight exposure.
- To ensure good pollination (even though you’ll harvest before full pollination), plant corn in blocks of short rows rather than one long row.
3. Watering After Planting:
Keep the soil consistently moist until seeds germinate. This usually takes 7–10 days, depending on temperature and soil moisture.
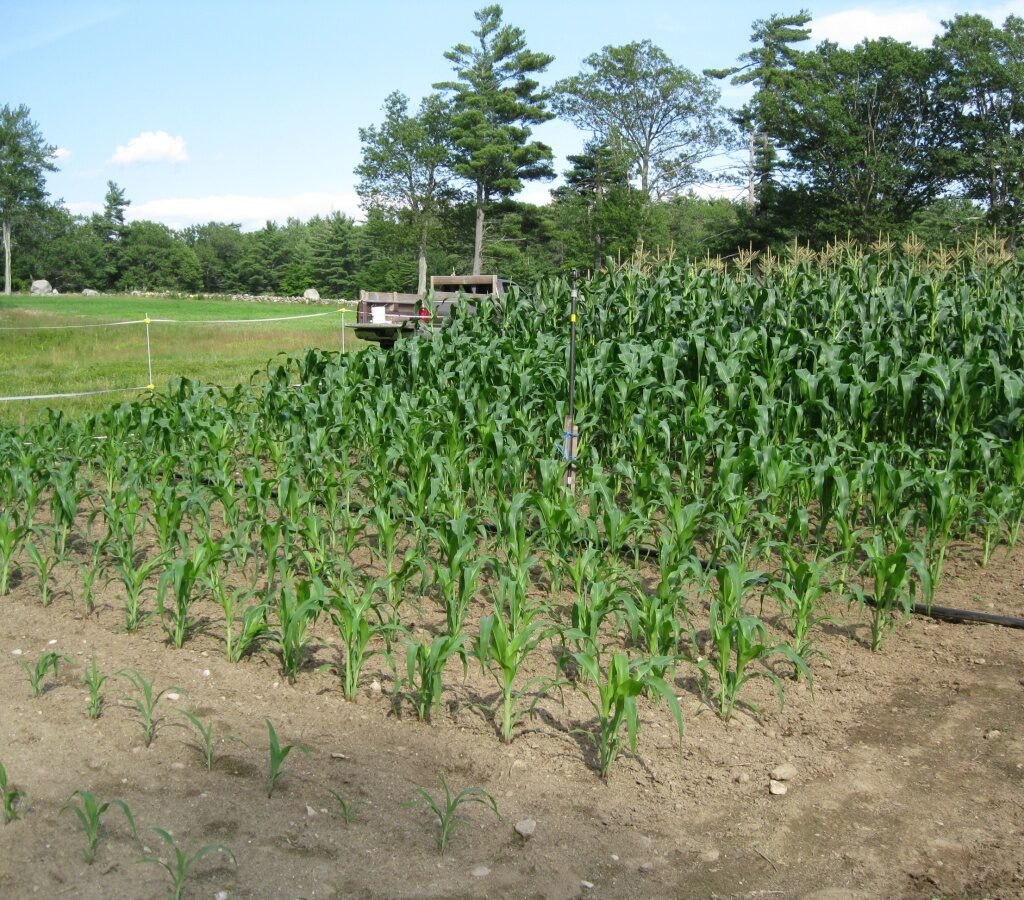
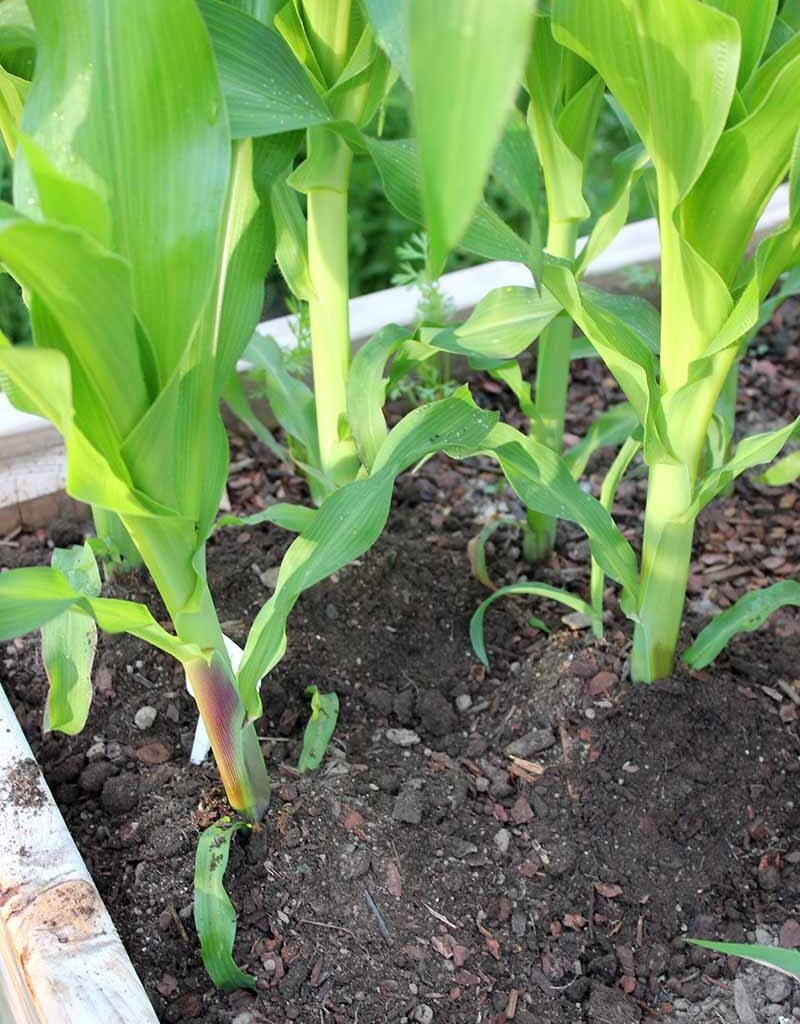
Caring for Baby Corn Plants
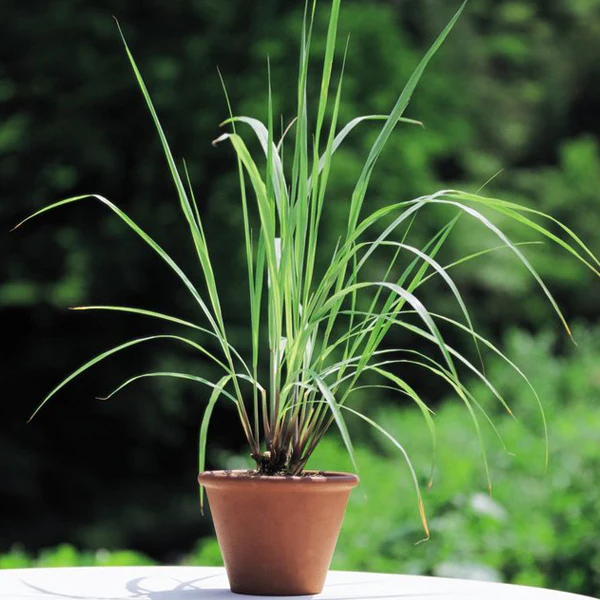
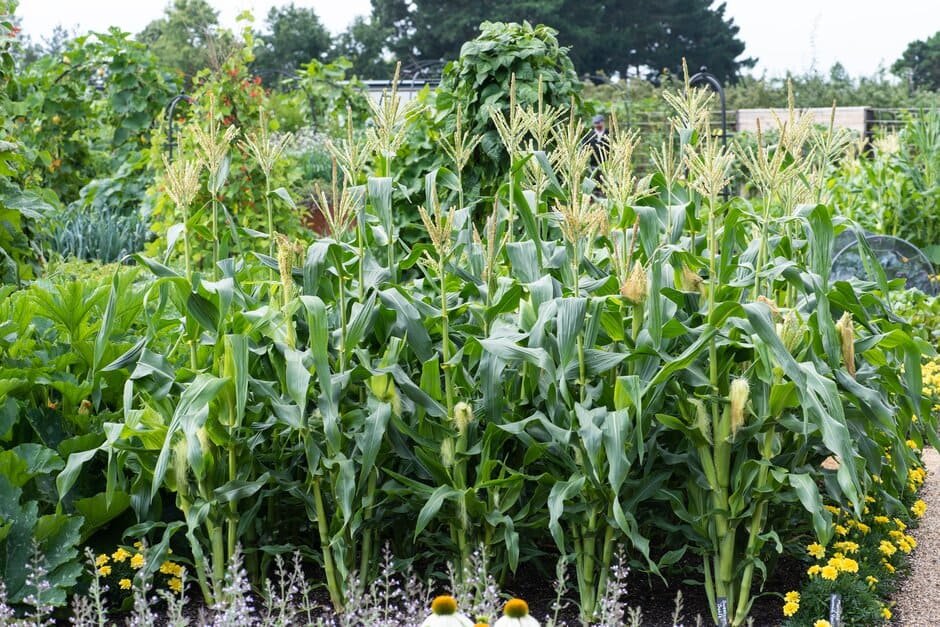
Baby corn plants grow rapidly once established, often reaching 5–7 feet tall depending on the variety. Consistent care throughout the season ensures tender, flavorful cobs.
1. Watering:
Corn has shallow roots and needs steady moisture. Water deeply once or twice a week, aiming for 1–1.5 inches of water weekly. Avoid overhead watering to reduce the risk of fungal issues.
2. Mulching:
Mulch helps retain moisture and suppress weeds. Apply 2–3 inches of straw or shredded leaves around the base of plants, keeping mulch away from the stalks.
3. Fertilizing:
Baby corn requires nutrients, particularly nitrogen, to promote strong stalks and foliage. Feed your plants:
- Once when they are 12 inches tall (use a high-nitrogen fertilizer or fish emulsion).
- Again when tassels begin to appear.
4. Weed Control:
Hand-pull weeds or use light hoeing to avoid disturbing the shallow root system.
Common Pests and Diseases
Like all corn crops, baby corn can attract pests. The good news is that since it’s harvested early, there’s less time for infestations to cause major damage. Still, it’s wise to stay alert.
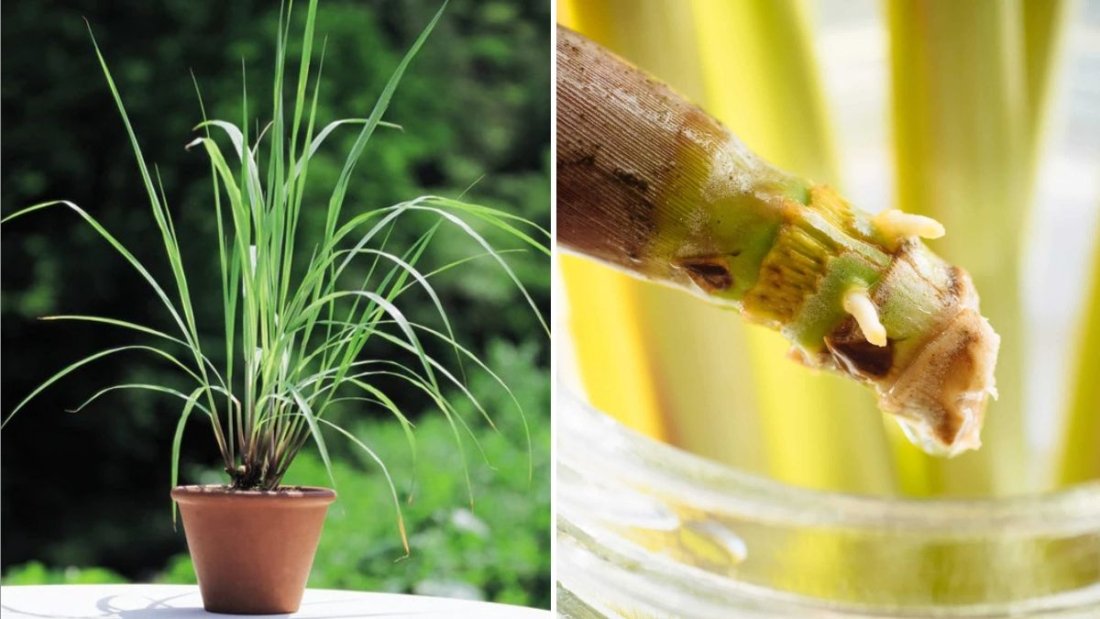
1. Corn Earworms:
These pests burrow into ear tips. Prevent infestations by placing a few drops of vegetable oil or neem oil at the silk ends.
2. Aphids and Cutworms:
Aphids cluster on young plants and suck sap, while cutworms chew stems at soil level. Protect seedlings with paper collars and spray aphids with insecticidal soap or neem oil.
3. Fungal Diseases (Rust, Smut):
Ensure good airflow between plants and avoid overhead watering. Crop rotation also helps prevent fungal buildup.
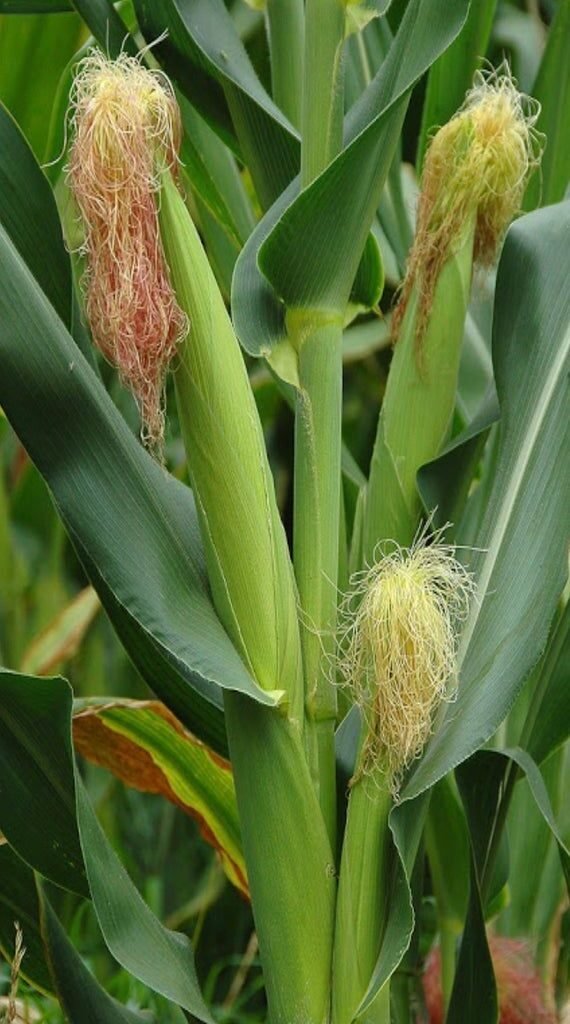
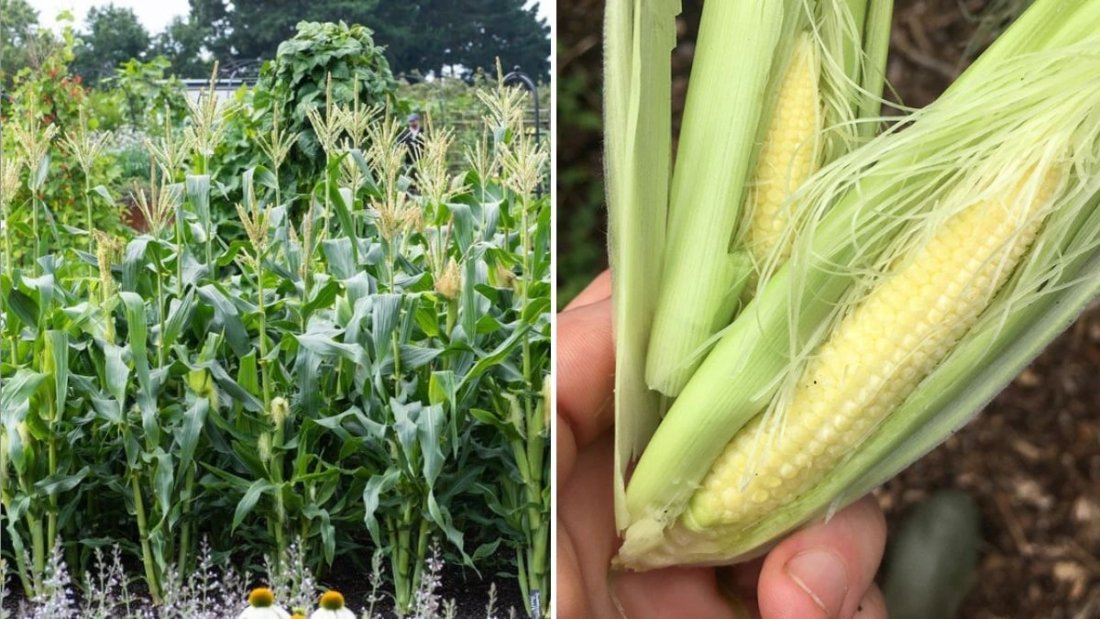
Pollination and Timing the Harvest
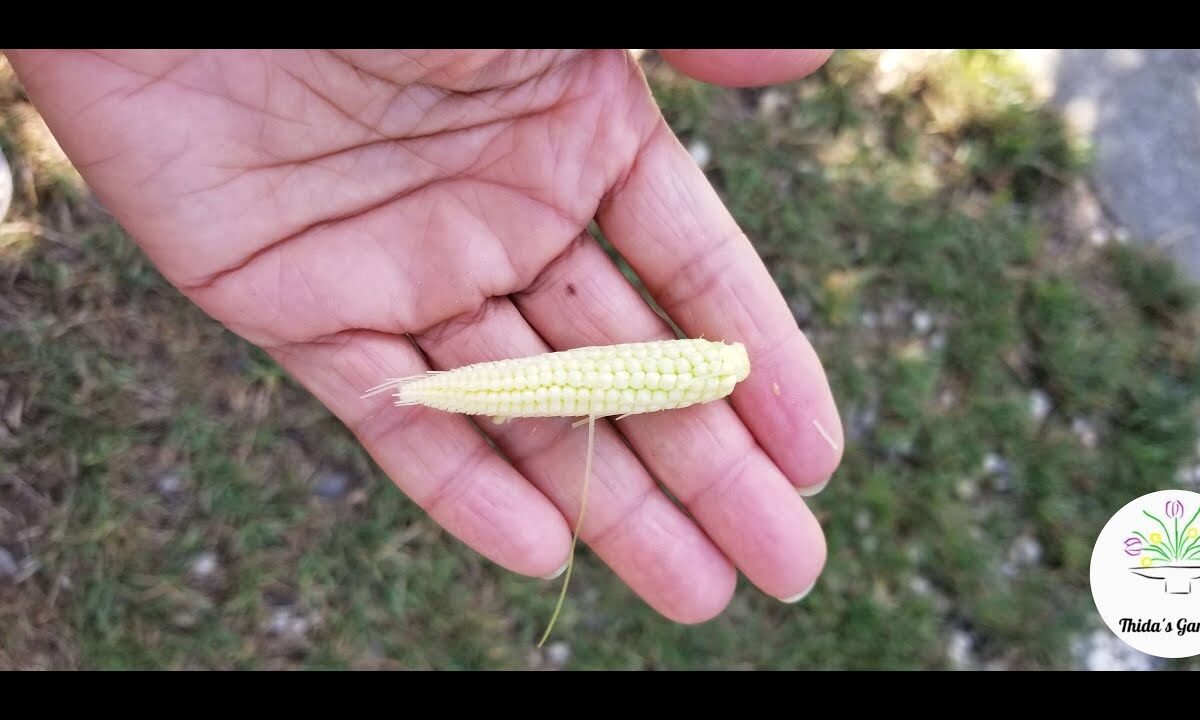
Baby corn is harvested before pollination, making it different from growing sweetcorn. Pollination occurs when pollen from tassels (male flowers) lands on the silks (female flowers). For baby corn, you’ll want to pick ears 1–3 days after the silk appears, before the pollen has a chance to fertilize.
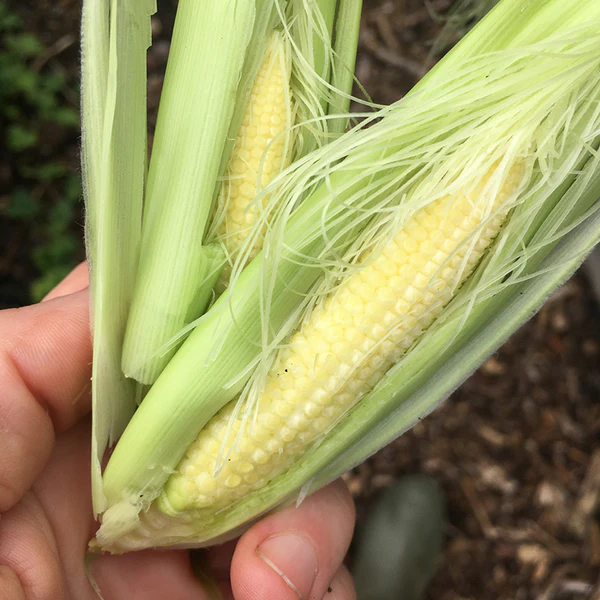
How to Identify Harvest-Ready Ears:
- The silks are pale, fresh, and about 1–2 inches long.
- The ear feels firm but small (about 3–5 inches long).
- The husk is tight and light green.
Harvest early in the morning for the best flavor and tenderness.
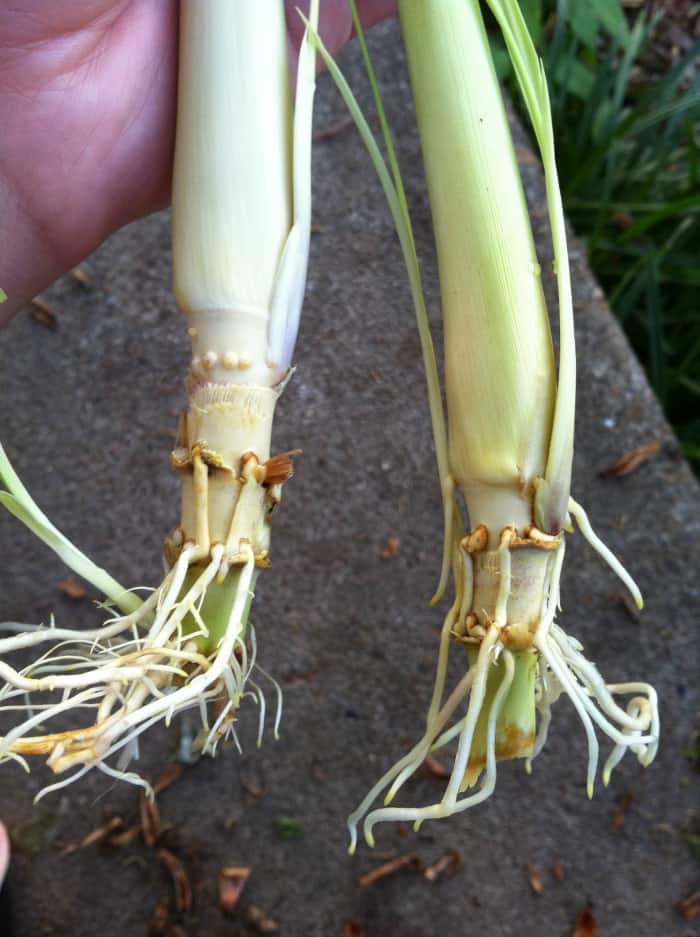
To harvest, hold the stalk with one hand and twist the ear downward with the other—it should snap off easily.
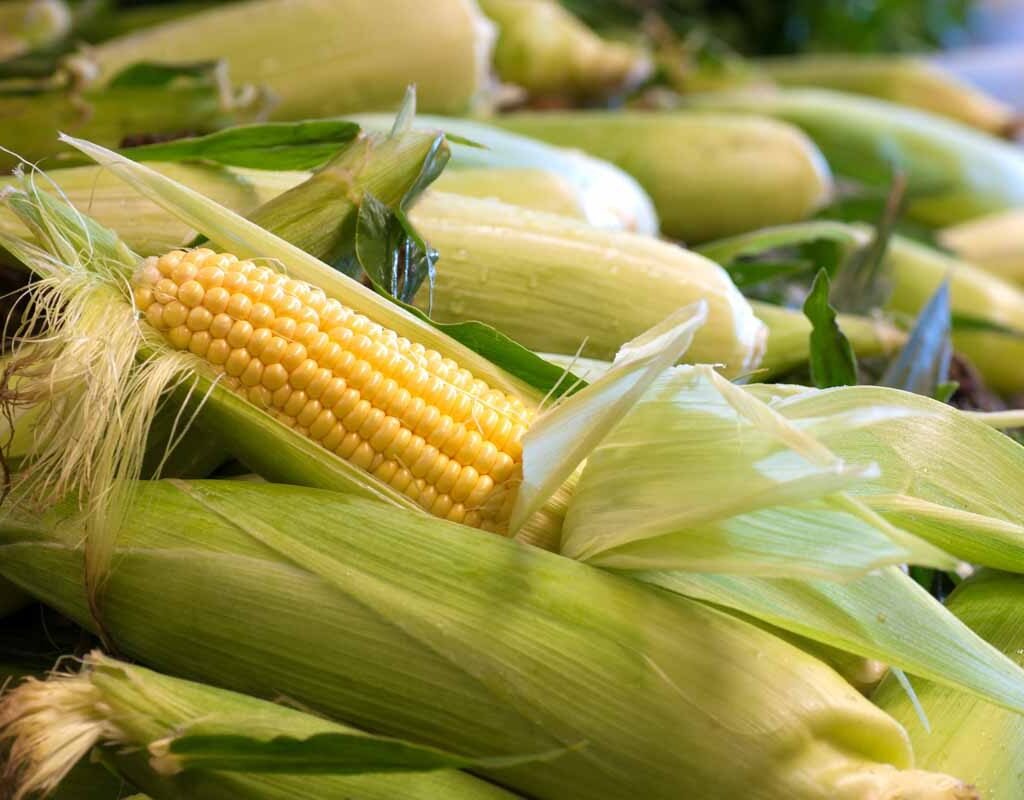
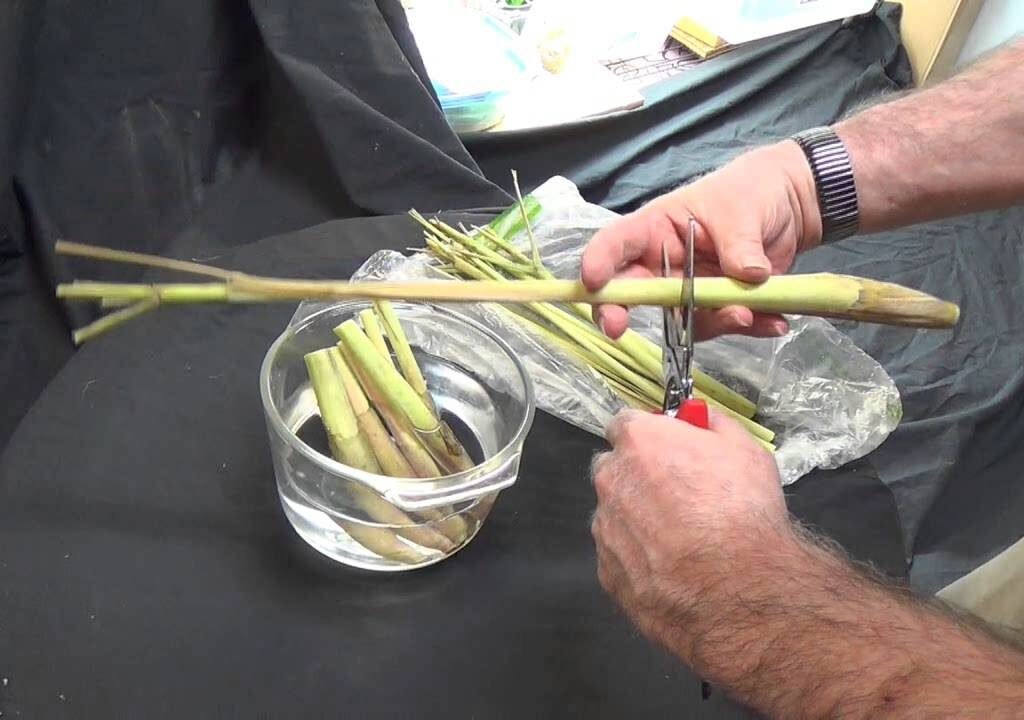
How to Harvest and Store Baby Corn
Harvesting baby corn is fast-paced since the ideal window lasts only a few days. Pick every 1–2 days once the first silks appear to ensure consistent yield and size.
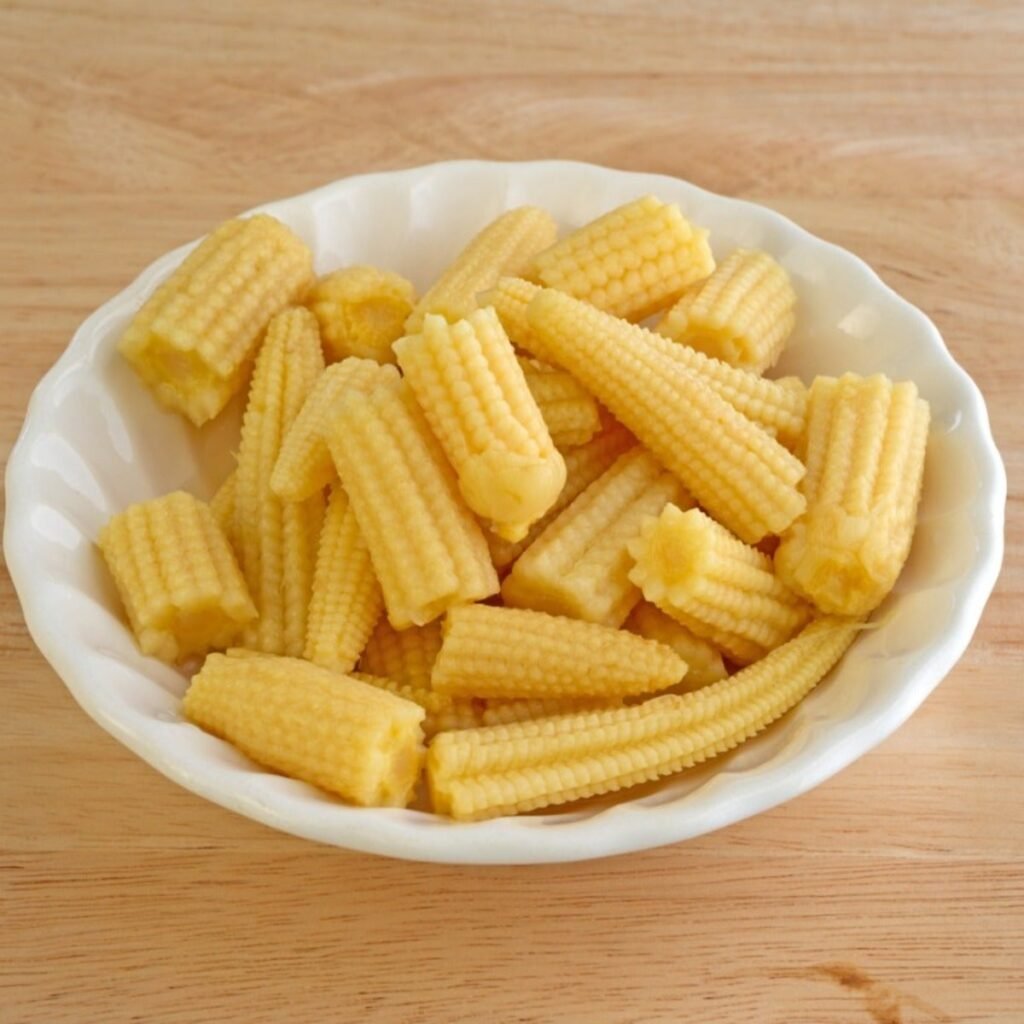
After harvesting, remove the husks and use the corn immediately for the best flavor and crunch. Baby corn can be:
- Refrigerated: Store in a paper bag for up to 5 days.
- Blanched and Frozen: Boil for 2 minutes, plunge into ice water, drain, and freeze in airtight bags.
- Pickled: Combine vinegar, garlic, and spices for a delicious preserved snack.
Delicious Ways to Enjoy Baby Corn
Baby corn’s versatility makes it a favorite in many cuisines. Its mild, slightly sweet flavor pairs well with both bold and subtle ingredients. Here are some tasty ideas:
- Stir-Fried Baby Corn and Vegetables: A classic Asian-inspired side with soy sauce, garlic, and sesame oil.
- Grilled Baby Corn: Brush with butter and herbs, then grill until lightly charred.
- Baby Corn Salad: Combine with cherry tomatoes, avocado, and lemon dressing for a refreshing dish.
- Baby Corn Pickles: Tangy, crunchy, and perfect for snacking.
- Creamy Corn Soup: Add baby corn to chowders or creamy vegetable soups for texture.
Not only is baby corn delicious, but it’s also low in calories and high in fiber, making it an excellent addition to healthy diets. It provides small amounts of vitamin C, folate, and antioxidants.
Companion Planting for Baby Corn
Baby corn grows well alongside beans, cucumbers, pumpkins, and squash, following the traditional “Three Sisters” method:
- Corn acts as a support for climbing beans.
- Beans fix nitrogen in the soil.
- Squash covers the ground, suppressing weeds and conserving moisture.
Avoid planting corn near tomatoes or celery, as they can compete for nutrients and space.
Tips for a Successful Baby Corn Harvest
- Succession Planting: Sow new batches every 2–3 weeks for continuous harvests throughout summer.
- Keep Soil Moist: Dry soil can stunt growth and reduce yield.
- Watch for Silks: Timing is crucial—harvest before the kernels develop.
- Use Organic Practices: Compost, natural fertilizers, and neem oil sprays support healthy, sustainable crops.
Final Thoughts: The Joy of Growing Baby Corn
Growing baby corn is one of the most enjoyable and rewarding gardening experiences. It offers quick results, minimal maintenance, and gourmet rewards that elevate home-cooked meals. Perfect for small gardens or urban plots, baby corn provides the charm of traditional corn growing without requiring large amounts of space or time.
Whether you’re preparing a sizzling stir-fry, a summer salad, or homemade pickles, the delicate sweetness of freshly harvested baby corn will elevate your dishes and impress your guests. Once you experience the satisfaction of harvesting your own mini ears, you’ll never look at store-bought baby corn the same way again.
So grab your seeds, prepare your garden bed, and start growing this delightful crop—baby corn is the small but mighty vegetable your garden (and dinner table) has been waiting for!