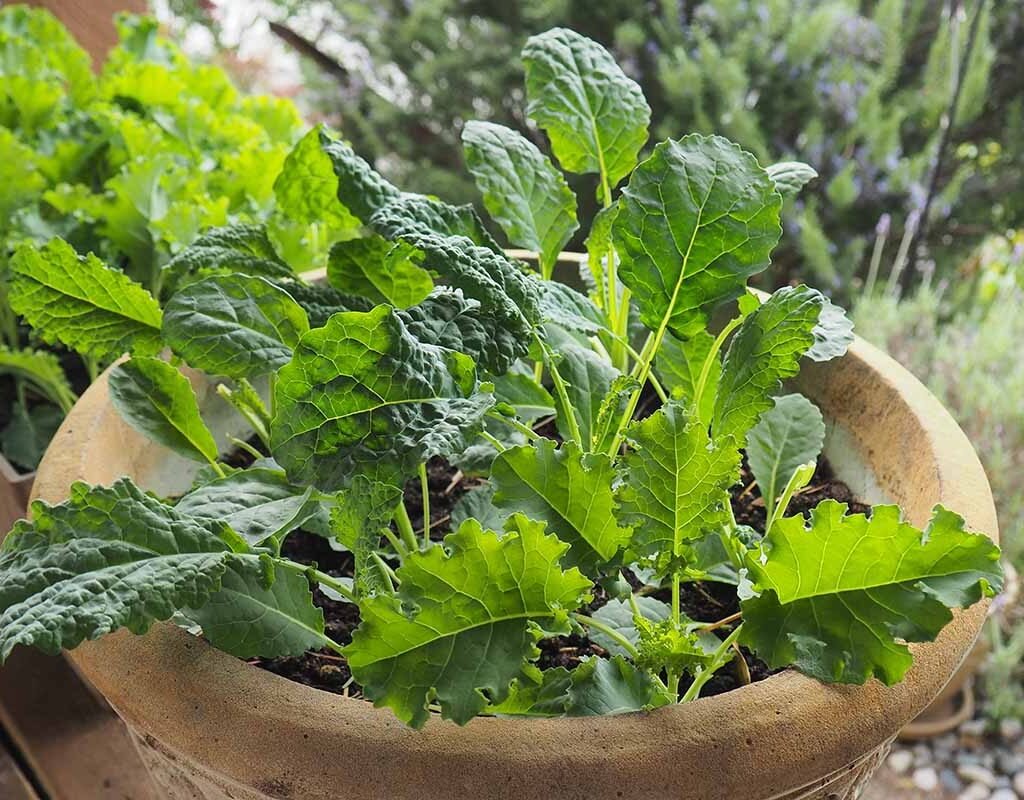
Move over, kale — there’s a new leafy star shining in American kitchens. Swiss chard, with its rainbow-colored stems and nutrient-packed leaves, has emerged as one of the most versatile and visually stunning vegetables on the plate. From green smoothies and grain bowls to elegant side dishes and hearty soups, Swiss chard brings both beauty and health to your meals.
Known for its mild, slightly earthy flavor and striking appearance, Swiss chard isn’t just another leafy green — it’s a nutrient powerhouse that supports heart health, boosts energy, and enhances immunity. Whether you’re a home cook experimenting with superfoods or a health-conscious eater aiming to boost your vitamin intake, Swiss chard deserves a permanent spot in your kitchen.
Let’s dive into everything you need to know about Swiss chard — its history, nutrition, health benefits, cooking tips, and how it’s becoming a staple in modern American cuisine.
1. What Is Swiss Chard?
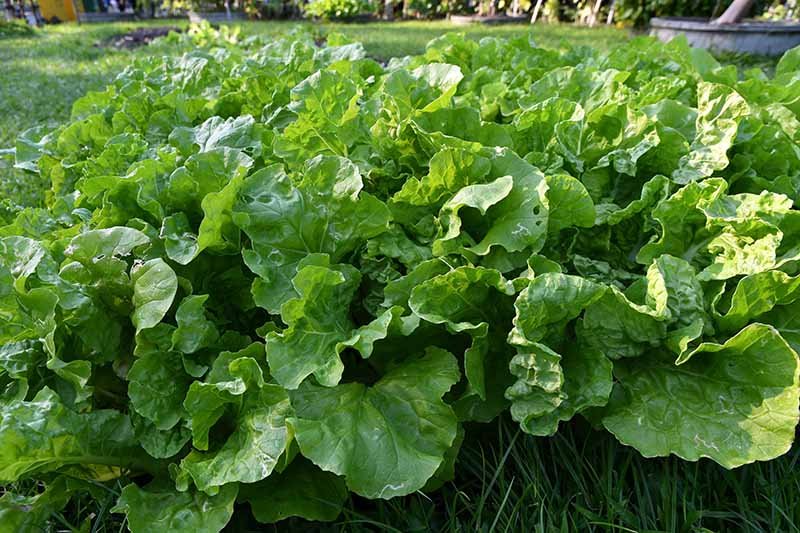
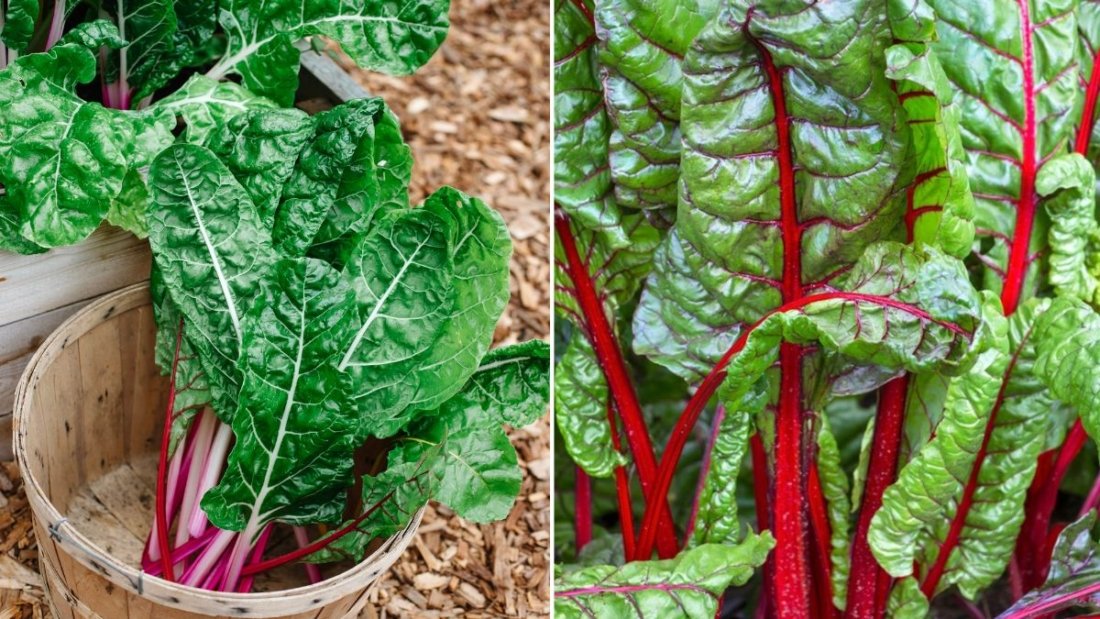
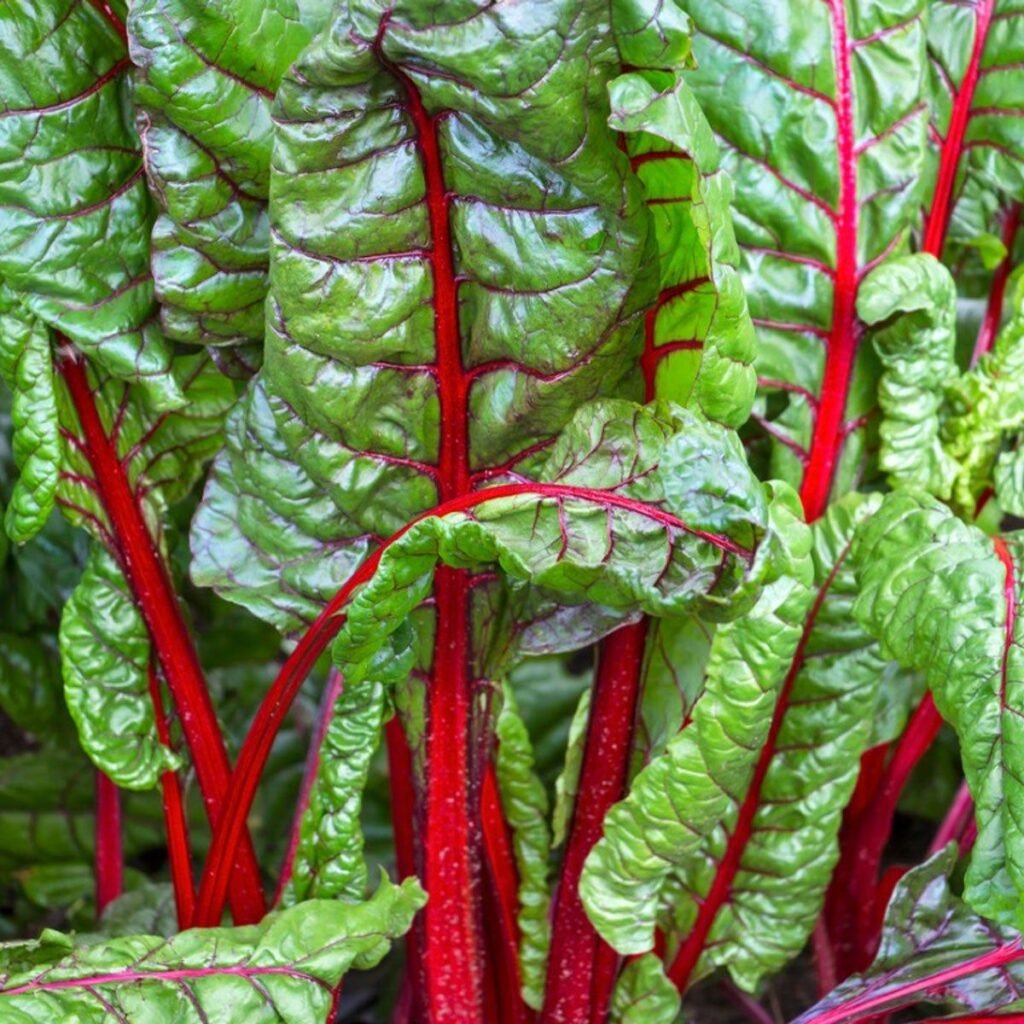
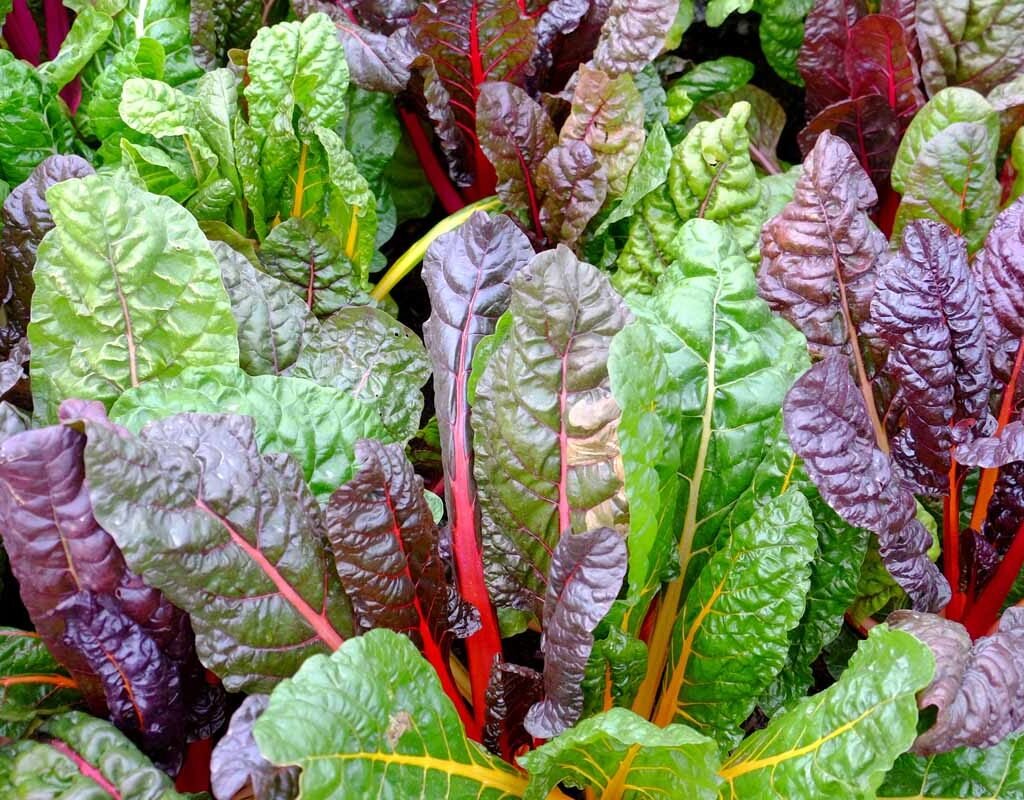
Swiss chard (Beta vulgaris subsp. cicla) is a leafy green vegetable from the same family as beets and spinach. Its large, dark-green leaves are supported by thick, colorful stems — often in shades of red, yellow, orange, pink, or white — earning it the nickname “rainbow chard.”
Despite the name, Swiss chard isn’t from Switzerland. The plant was first classified by a Swiss botanist, which gave it its modern name. It has long been a Mediterranean favorite, especially in Italy, Spain, and Greece, and is now widely grown across the United States, particularly in California, Arizona, and Texas.
Swiss chard is prized not only for its vibrant colors but also for its mildly sweet, earthy flavor, which becomes even more delicate when cooked.
2. Why Swiss Chard Is America’s New Supergreen
In the U.S., the popularity of Swiss chard has skyrocketed in recent years, thanks to its appearance in farmers’ markets, grocery stores, and health-focused restaurants. It’s often featured in farm-to-table menus, vegan meal plans, and wellness recipes because it’s rich in essential nutrients yet low in calories.
Health-conscious Americans are turning to Swiss chard for its versatility — you can eat it raw, sautéed, roasted, or even baked into chips. Plus, it’s one of the few greens that retain their vibrant color and texture after cooking.
3. Nutritional Value of Swiss Chard
Swiss chard is often called a “nutrient-dense supergreen,” meaning it packs a ton of vitamins and minerals into very few calories.
Per 100 grams (about 1 cup cooked):
- Calories: 35
- Carbohydrates: 7 g
- Protein: 3.3 g
- Fiber: 3.7 g
- Vitamin A: 122% DV
- Vitamin K: 636% DV
- Vitamin C: 50% DV
- Magnesium: 20% DV
- Iron: 13% DV
- Calcium: 10% DV
- Potassium: 20% DV
Swiss chard is also rich in antioxidants such as beta-carotene, lutein, and zeaxanthin — compounds that help protect your eyes and skin from damage. Its high vitamin K content supports bone health and blood clotting, while magnesium and potassium aid in muscle and nerve function.
4. Health Benefits of Swiss Chard
Including Swiss chard in your weekly meals can provide a significant boost to your overall health. Here’s how this vibrant vegetable supports your body:
a) Promotes Heart Health
Swiss chard is loaded with potassium and magnesium, which help regulate blood pressure. Its antioxidants also reduce inflammation and support healthy arteries, lowering your risk of heart disease.
b) Strengthens Bones
One serving of Swiss chard provides more than six times your daily vitamin K requirement — a nutrient essential for calcium absorption and bone strength.
c) Boosts Immunity
With high levels of vitamins A and C, Swiss chard helps strengthen your immune system, protecting your body from seasonal infections and environmental stress.
d) Supports Healthy Eyes
The antioxidants lutein and zeaxanthin in Swiss chard are known to promote eye health and reduce the risk of macular degeneration.
e) Aids Digestion
The vegetable’s high fiber content promotes regular digestion, supports gut health, and helps maintain healthy blood sugar levels.
f) Natural Detoxifier
Swiss chard contains chlorophyll and betalains — natural compounds that assist the liver in flushing toxins and purifying the bloodstream.
g) Helps Manage Weight
Low in calories yet rich in nutrients, Swiss chard is ideal for weight-loss or clean-eating diets. Its fiber keeps you full longer, curbing unhealthy cravings.
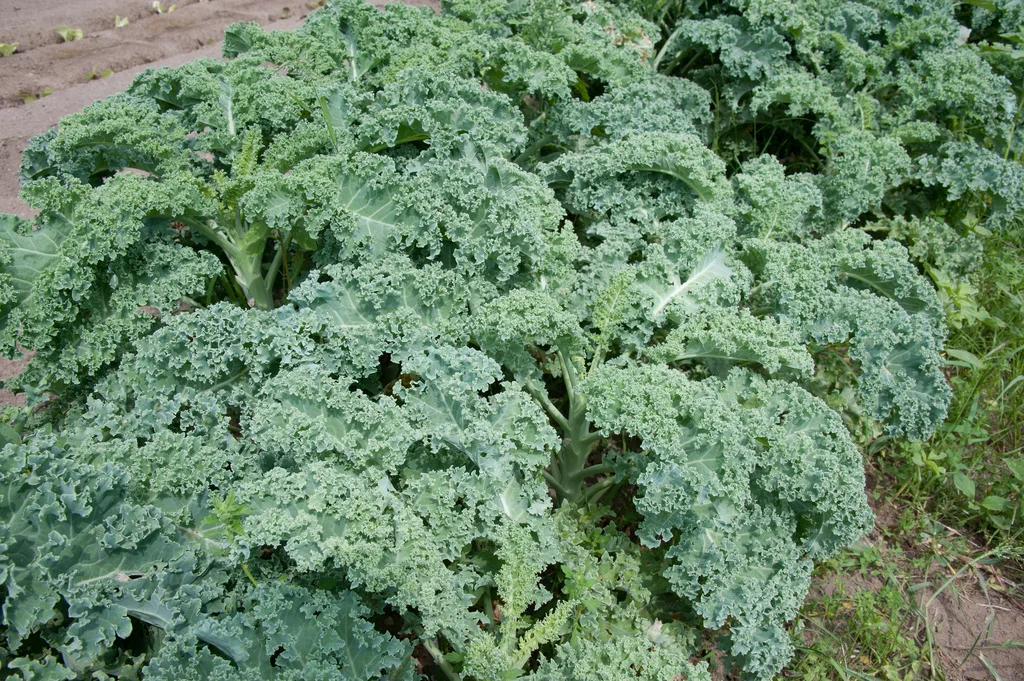
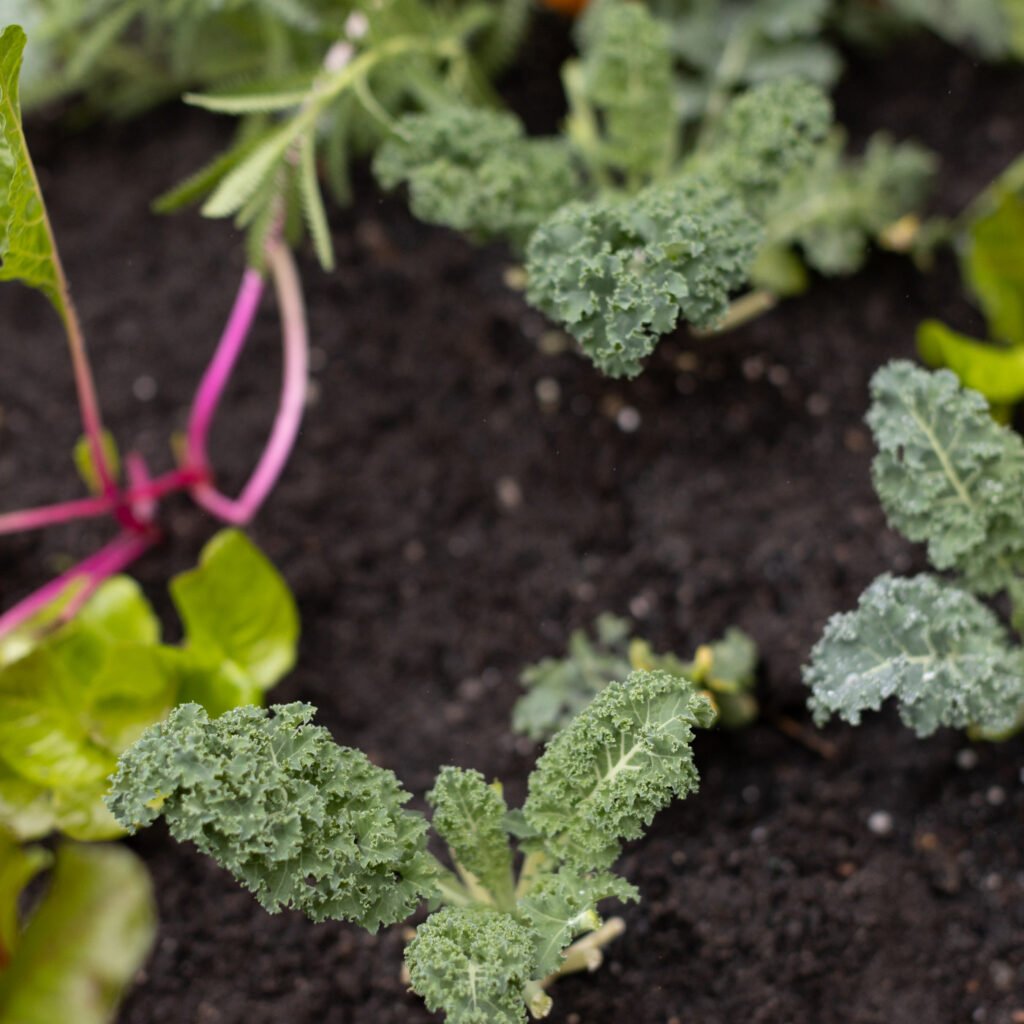
5. Swiss Chard vs. Spinach vs. Kale
While spinach and kale often dominate the supergreen spotlight, Swiss chard brings its own unique advantages to the table.
| Feature | Swiss Chard | Spinach | Kale |
|---|---|---|---|
| Flavor | Mild and earthy | Soft and neutral | Slightly bitter |
| Texture | Crisp stems, tender leaves | Soft | Tougher and fibrous |
| Best For | Sautéing, soups, salads | Smoothies, omelets | Chips, salads, stews |
| Vitamin K | Very high | Moderate | High |
| Color Appeal | Rainbow stems | Green only | Dark green |
In short, Swiss chard gives you the nutrition of kale with the tenderness of spinach — plus the bonus of stunning colors that brighten any dish.
6. Culinary Uses: How to Cook with Swiss Chard
Swiss chard’s versatility makes it a favorite ingredient in both American home kitchens and restaurant menus. Whether you prefer it raw, wilted, or baked, there’s no shortage of ways to enjoy this leafy gem.
a) Sautéed Swiss Chard with Garlic
Ingredients:
- 1 bunch Swiss chard (stems and leaves separated, chopped)
- 2 tbsp olive oil
- 3 cloves garlic, sliced
- Salt, pepper, and lemon juice
Instructions:
- Heat olive oil in a skillet.
- Add chopped stems first and sauté for 2–3 minutes until tender.
- Add the leaves and garlic; cook for another 3–4 minutes until wilted.
- Finish with a splash of lemon juice and cracked pepper.
This quick and simple side dish pairs beautifully with grilled fish, chicken, or tofu.
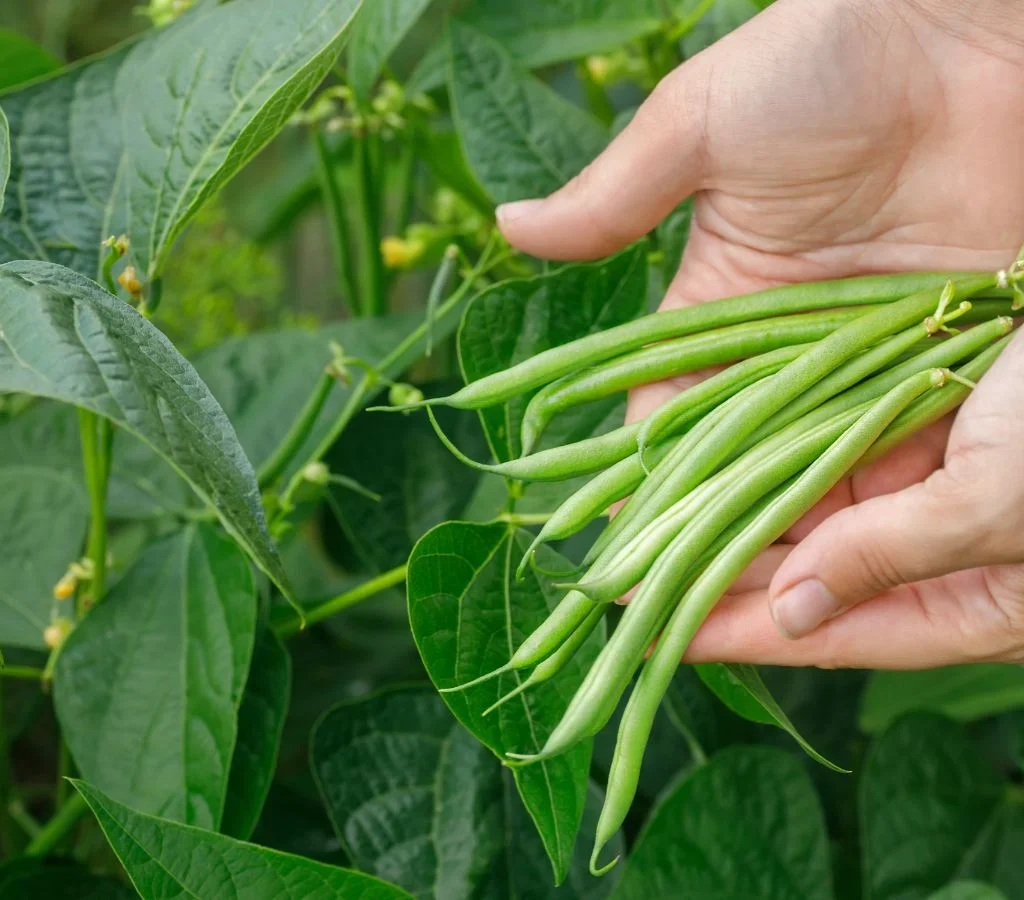
b) Swiss Chard and White Bean Soup
Simmer chopped Swiss chard with onions, garlic, carrots, and white beans in vegetable broth. Add a dash of olive oil and fresh herbs. It’s a comforting, high-fiber soup perfect for cold American winters.
c) Swiss Chard Salad
Mix raw baby Swiss chard leaves with apples, goat cheese, and walnuts. Drizzle with balsamic vinaigrette for a refreshing, antioxidant-packed salad.
d) Swiss Chard Smoothie
Blend a handful of Swiss chard with banana, pineapple, and coconut water for a nutrient-rich green smoothie. Its mild flavor blends well with fruits while delivering a vitamin boost.
e) Swiss Chard Frittata
Sauté Swiss chard with onions and peppers, then add beaten eggs and bake until golden. It’s a protein-packed breakfast or brunch that’s both colorful and nutritious.
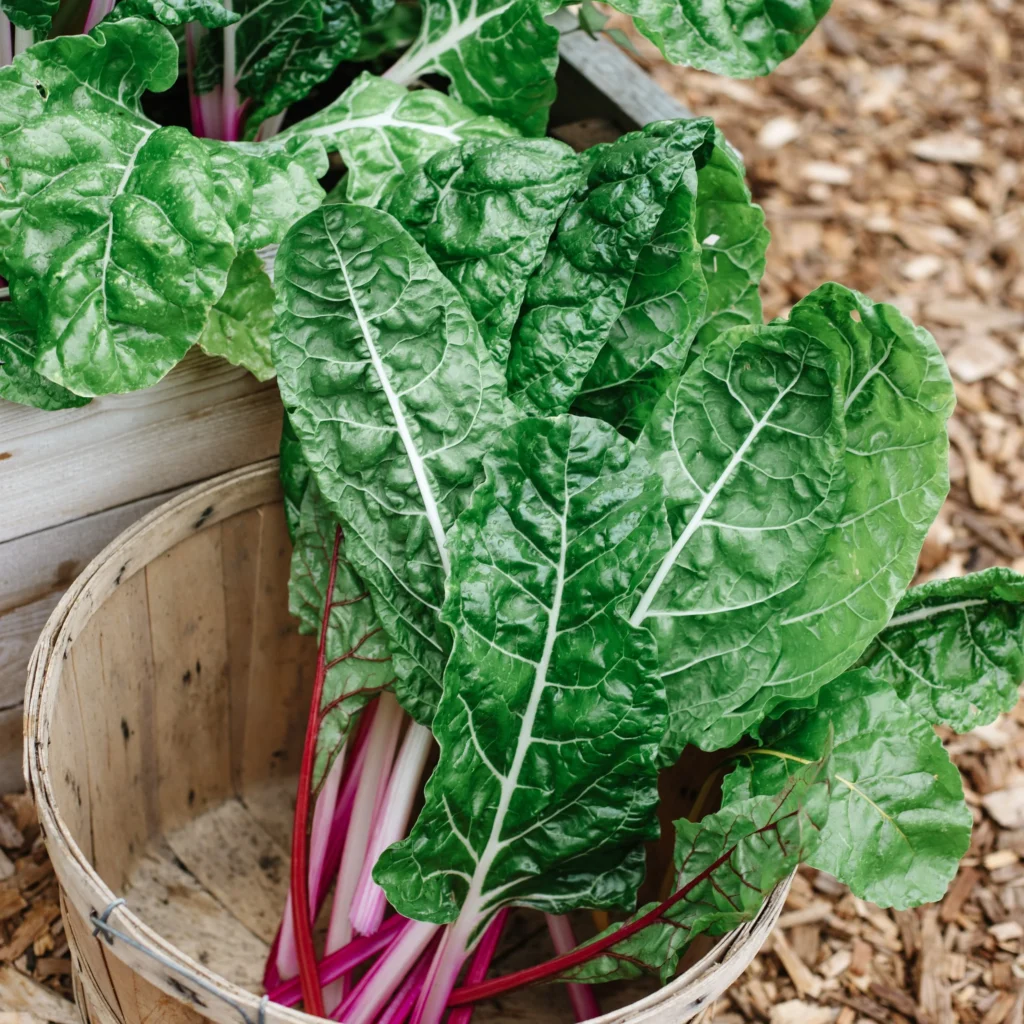
7. Tips for Buying and Storing Swiss Chard
To enjoy the best flavor and texture, choose fresh, vibrant bunches of Swiss chard.
When buying:
- Look for firm, glossy leaves with crisp, colorful stems.
- Avoid limp or yellowing leaves.
- Smaller leaves are more tender and have a milder flavor.
Storage tips:
- Wrap unwashed Swiss chard in a damp paper towel and place it in a plastic bag.
- Store in the refrigerator’s crisper drawer for up to 5 days.
- To freeze, blanch the leaves for 2 minutes, cool in ice water, and store in airtight bags.
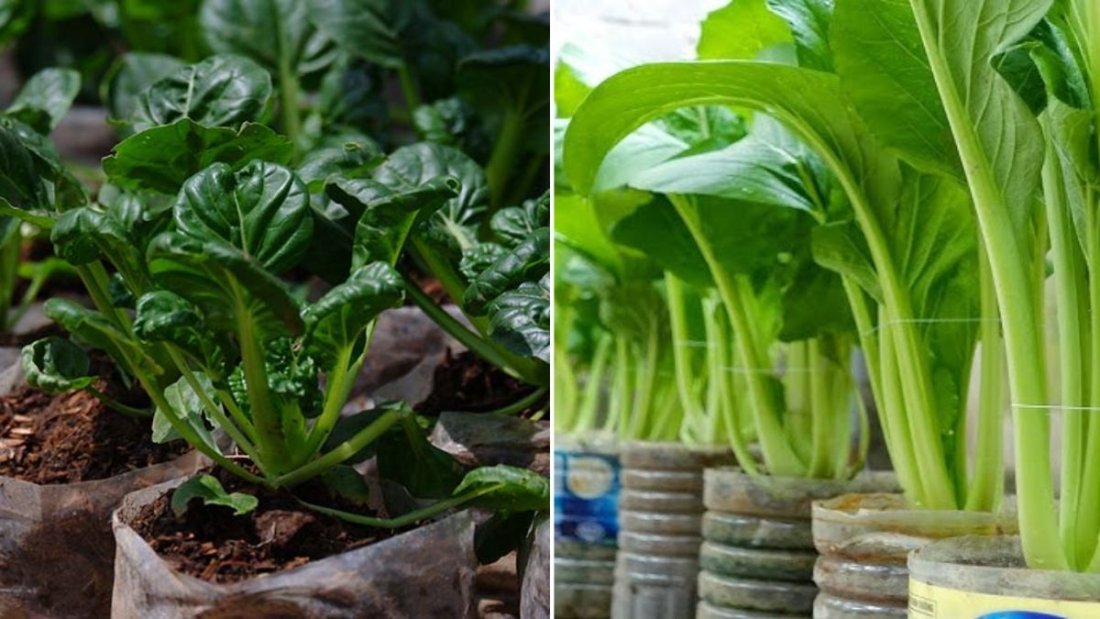
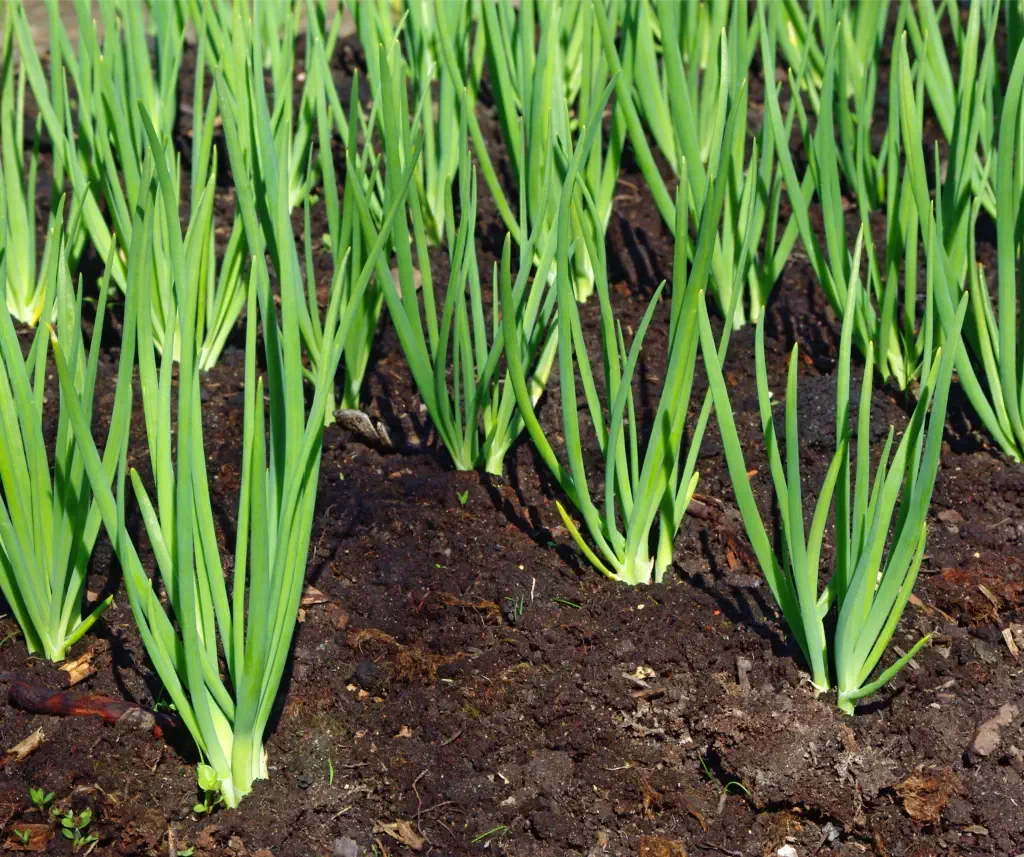
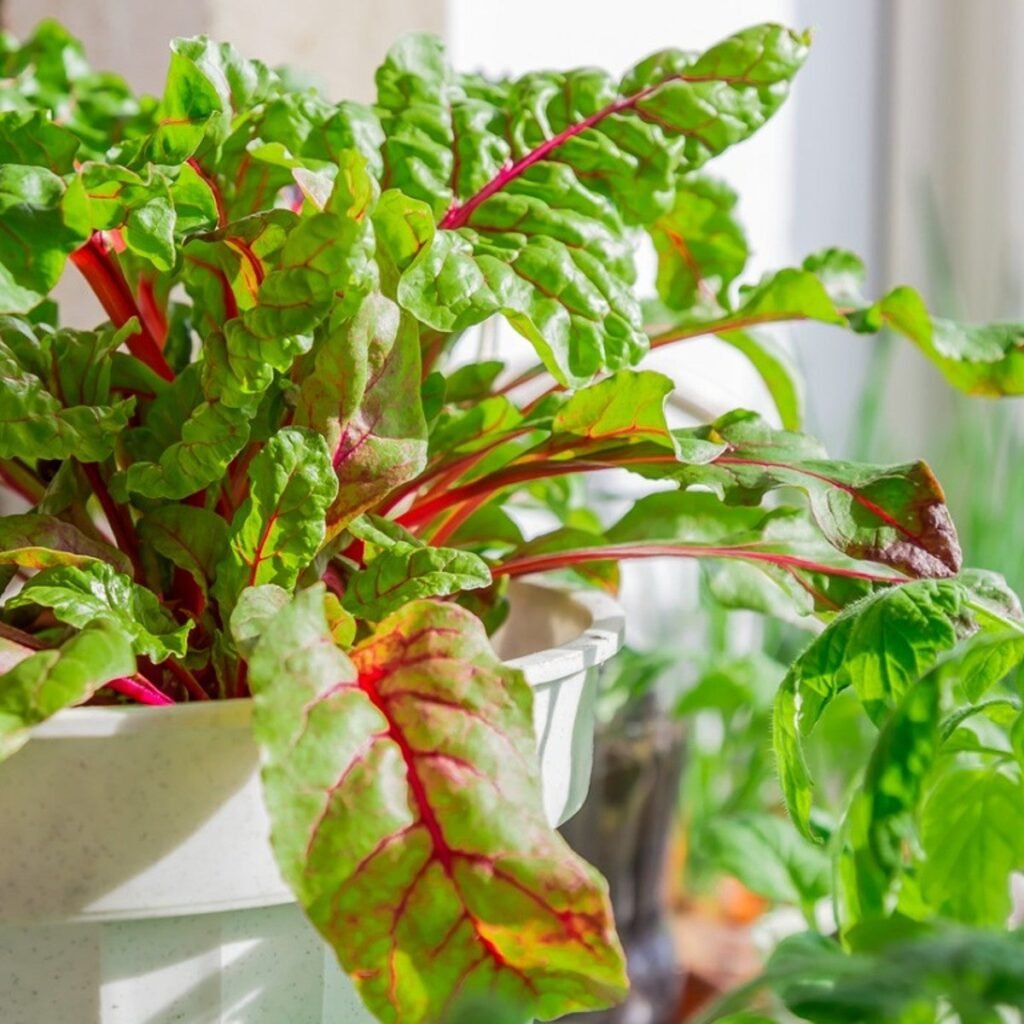
8. Growing Swiss Chard in America
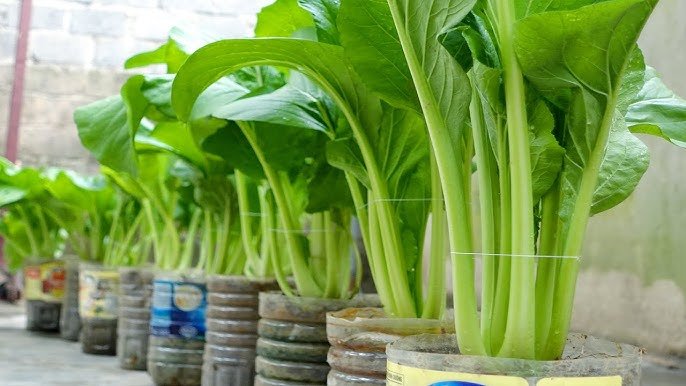
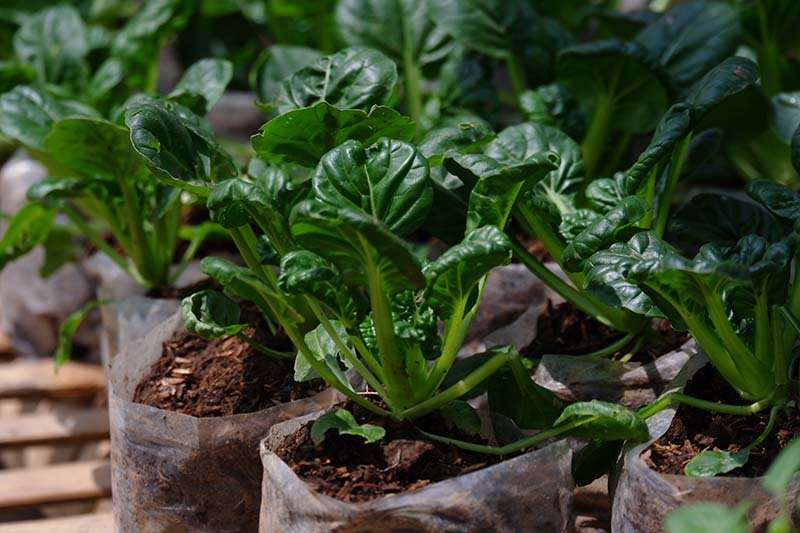
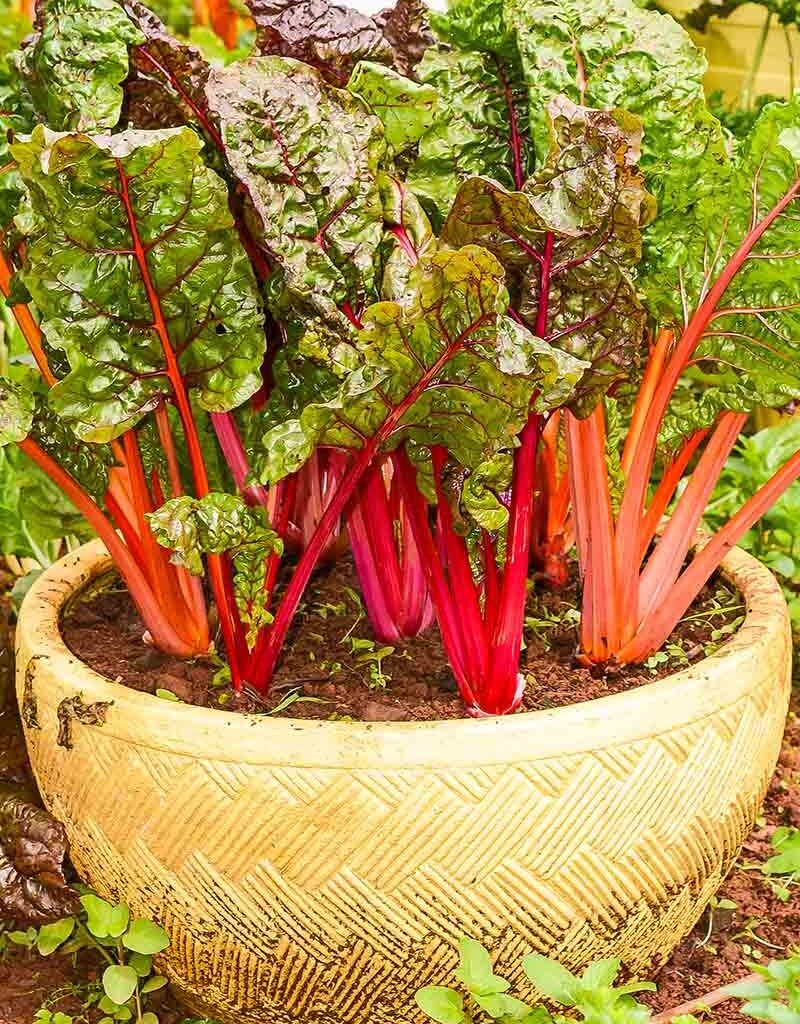
Swiss chard is a gardener’s dream — it’s hardy, fast-growing, and thrives in many U.S. climates.
How to grow:
- Planting time: Early spring or fall.
- Soil: Rich, well-drained soil with plenty of compost.
- Sunlight: Full sun to partial shade.
- Watering: Keep soil consistently moist.
- Harvest: Pick outer leaves once they’re 6–8 inches long, allowing new growth to continue.
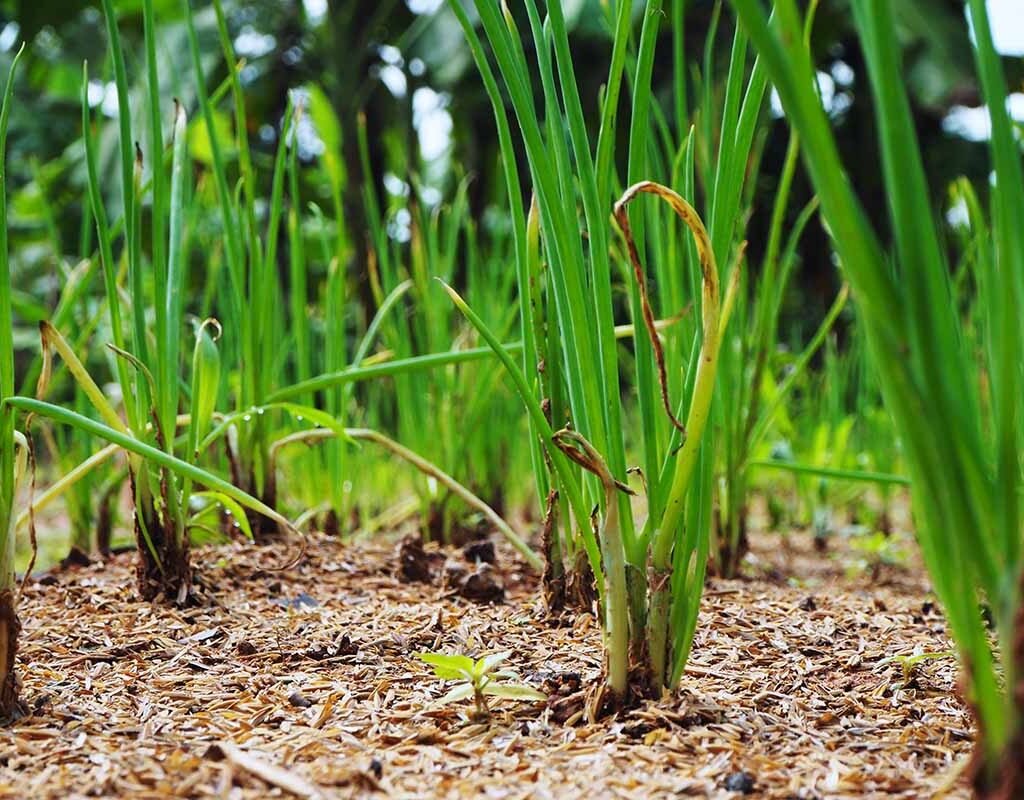
Swiss chard is so resilient that it can even tolerate light frost, making it one of the most dependable cool-season crops for home gardens.
9. Swiss Chard in Modern American Cuisine
Swiss chard has officially entered the mainstream American culinary scene. Chefs and food influencers across the country are reimagining this classic vegetable in creative ways:
- Farm-to-table restaurants feature it in grain bowls, pastas, and gourmet sides.
- Vegan chefs use it in wraps, smoothies, and sautés.
- Food bloggers celebrate its colors in “rainbow chard recipes” for social media.
- Home cooks love it as an easy, nutrient-dense substitute for spinach or kale.
Its stunning presentation and health benefits make Swiss chard a go-to ingredient for anyone embracing clean eating, plant-based diets, or Mediterranean-style cooking.
10. Why Swiss Chard Deserves a Place in Your Kitchen
Swiss chard is more than just a pretty vegetable — it’s a symbol of balance between flavor, nutrition, and beauty.
It delivers all the benefits of kale and spinach while offering a unique, mild taste that fits seamlessly into any recipe. From supporting bone and heart health to boosting your immune system and digestion, Swiss chard earns its place among the top American superfoods.
So, the next time you’re at your local farmers’ market or grocery store, grab a bunch of rainbow Swiss chard. Whether you toss it into a salad, sauté it with garlic, or add it to soups, you’ll enjoy vibrant flavor, stunning color, and a serious nutrition boost.
It’s time to bring this colorful green powerhouse from the garden to your plate — and make Swiss chard the star of your next healthy American meal.