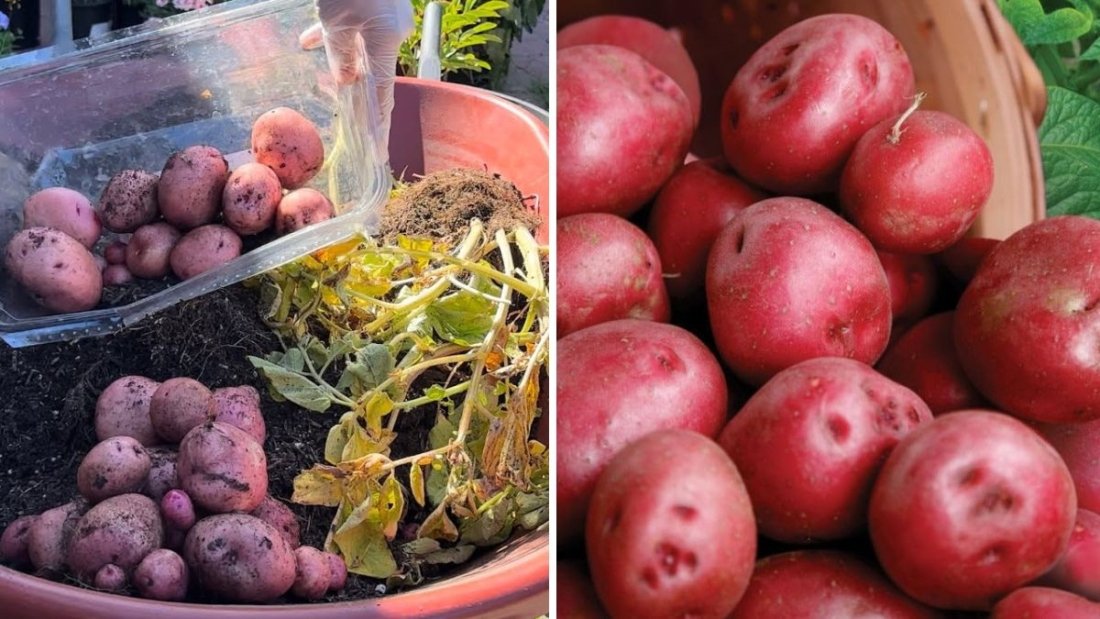
When it comes to versatile, nutrient-packed potatoes, few varieties rival the Desiree potato. With its vibrant red skin, creamy yellow flesh, and buttery flavor, Desiree potatoes have become a favorite for both home cooks and backyard gardeners across the United States.
Whether you’re looking for a classic baked potato, a hearty mash, or a colorful addition to salads and stews, Desiree potatoes deliver taste, nutrition, and visual appeal. Beyond the kitchen, they’re also a gardener-friendly crop, known for their consistent yield, resilience, and adaptability to American climates.
This comprehensive guide explores everything about Desiree potatoes — from nutritional benefits and health advantages to growing tips, storage secrets, and must-try American recipes.
What Are Desiree Potatoes?
Desiree potatoes are a red-skinned, waxy potato variety with creamy yellow flesh. Originally developed in Europe, they’ve gained popularity in the United States due to their versatility, flavor, and ease of cultivation.
Key characteristics include:
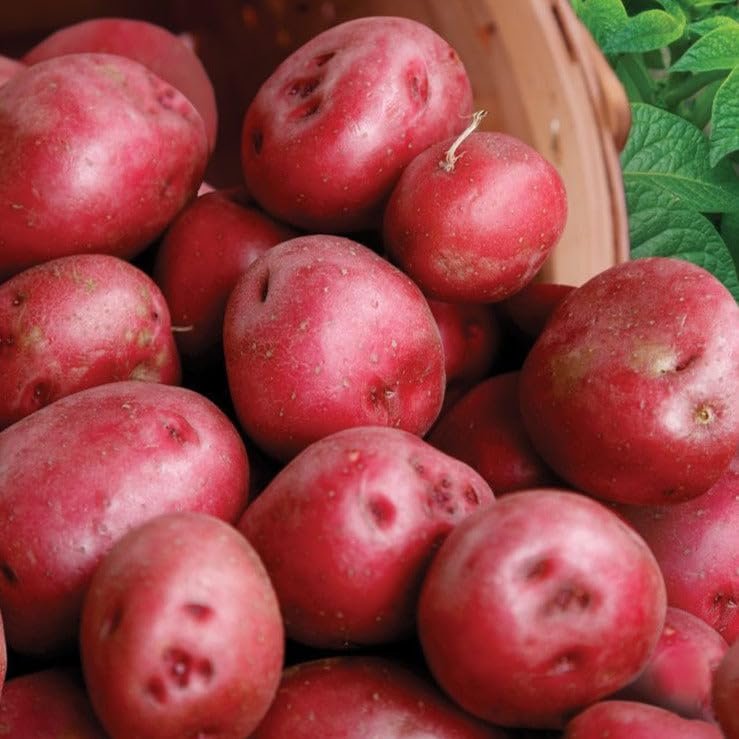
- Smooth, thin red skin that adds color to any dish
- Firm, creamy flesh that holds its shape when boiled or roasted
- Mild, buttery flavor perfect for a wide range of cooking methods
- Mid-season maturity: 90–110 days to harvest
Desiree potatoes thrive in temperate climates and are grown widely in states like Idaho, Washington, Oregon, Maine, and North Dakota.
Nutritional Profile: A Healthy Addition to Any American Diet
A medium-sized Desiree potato (150 grams) contains approximately:
- Calories: 120
- Carbohydrates: 27 grams
- Protein: 3 grams
- Fiber: 2–3 grams
- Vitamin C: 30% of daily value (DV)
- Potassium: 15–20% DV
- Vitamin B6: 15% DV
Desiree potatoes are naturally fat-free, gluten-free, and low in sodium, making them a heart-healthy and diet-friendly option.
Pro Tip: Keeping the skin on preserves nutrients and increases fiber intake.
Health Benefits of Desiree Potatoes
Desiree potatoes are not just delicious; they offer a range of health benefits when prepared without excessive fats or frying:
- Supports Heart Health
High in potassium and fiber, Desiree potatoes help regulate blood pressure and cholesterol levels. - Promotes Digestive Health
Resistant starch and fiber in Desiree potatoes feed beneficial gut bacteria, improving digestion and metabolic health. - Boosts Immunity
Vitamin C content supports immune function and promotes healthy skin and tissue repair. - Energy and Stamina
Complex carbohydrates in Desiree potatoes provide sustained energy, making them ideal for active lifestyles. - Weight Management
Low-calorie and filling, Desiree potatoes help keep you satisfied, supporting balanced meal plans.
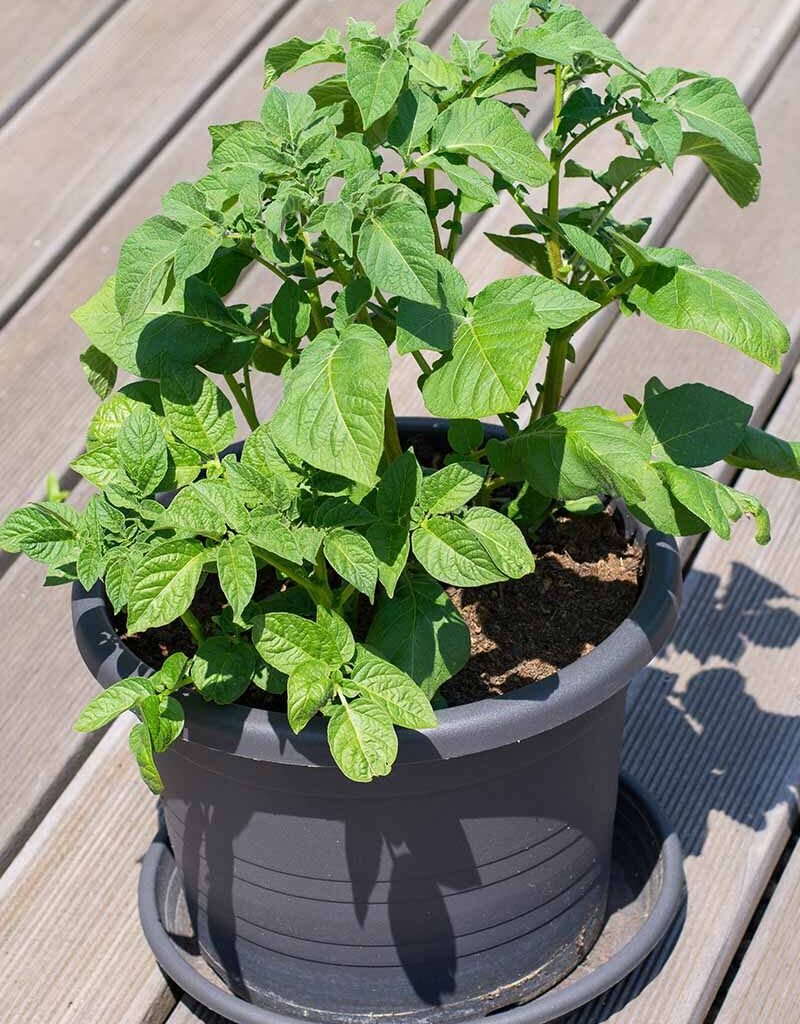
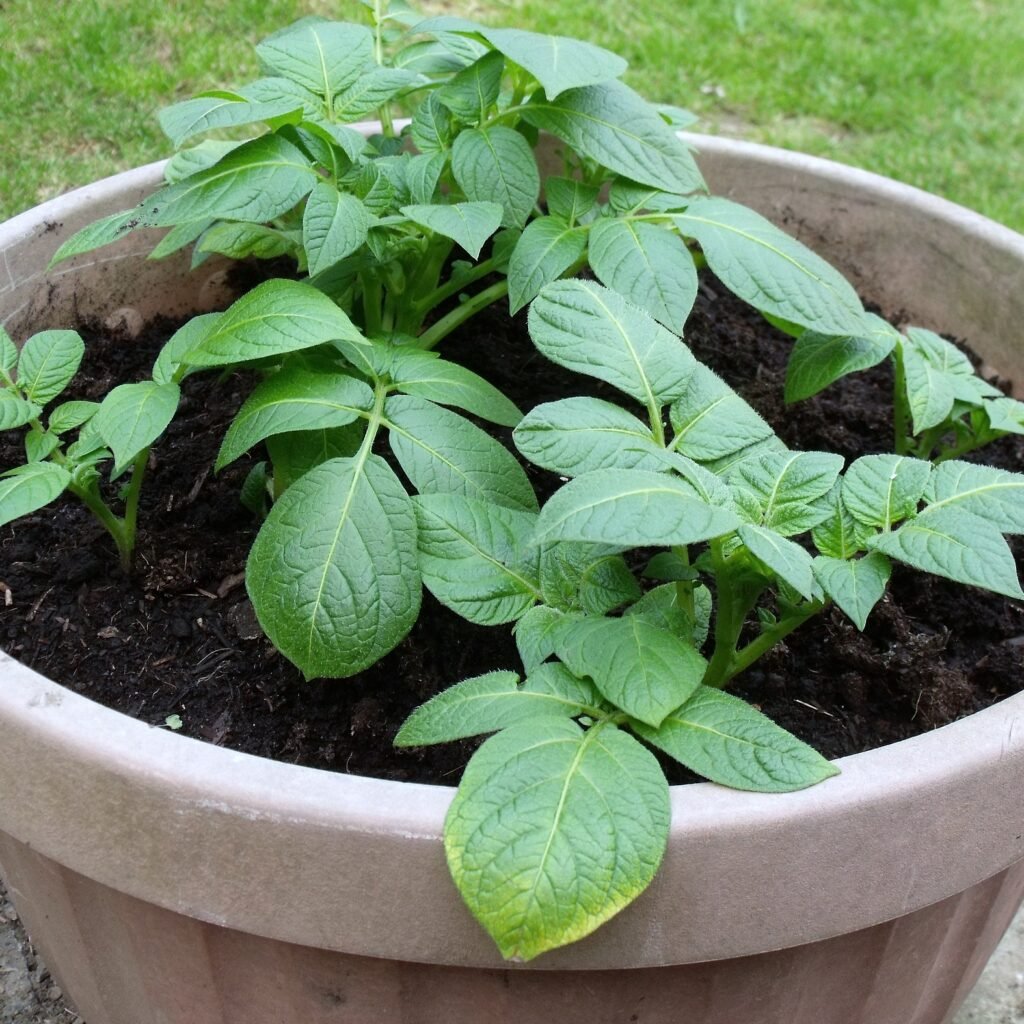
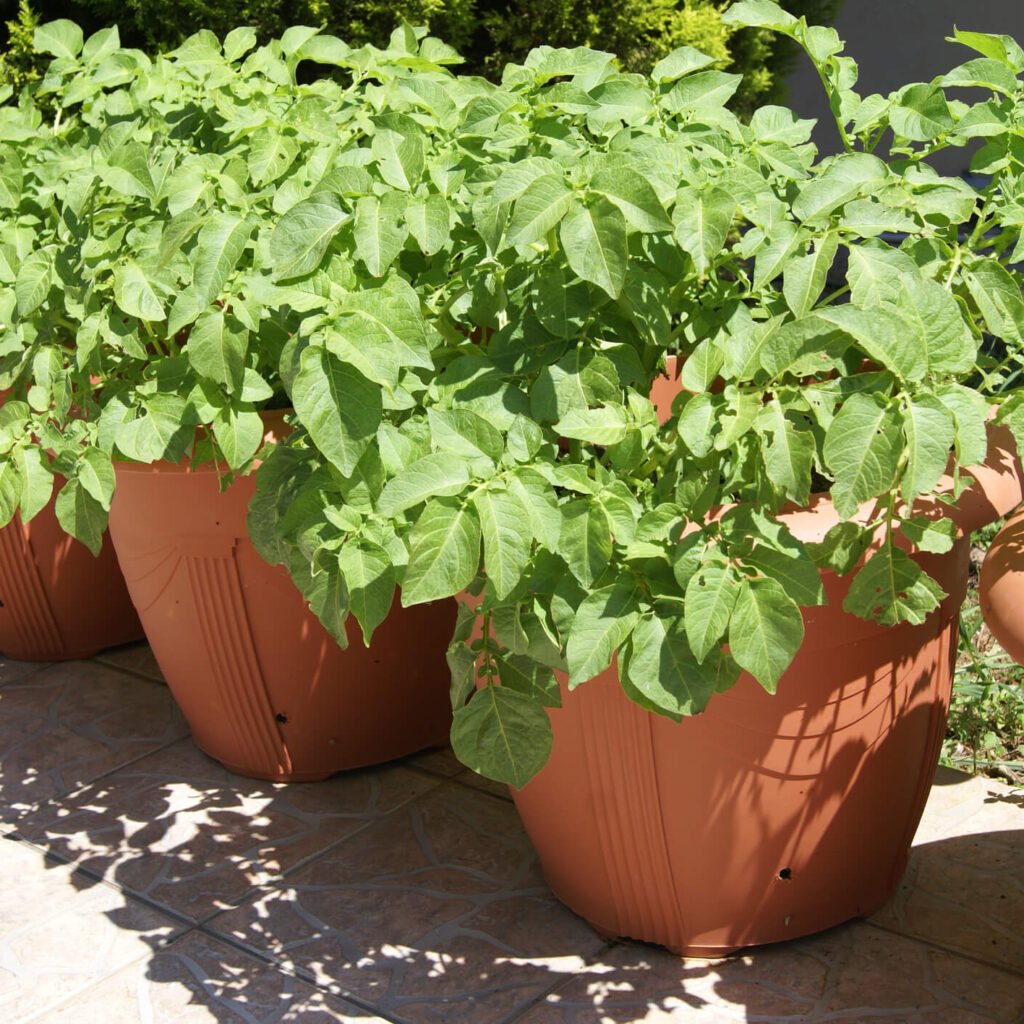
Growing Desiree Potatoes in the U.S.
Desiree potatoes are favored by American gardeners because they are resilient, productive, and adaptable.
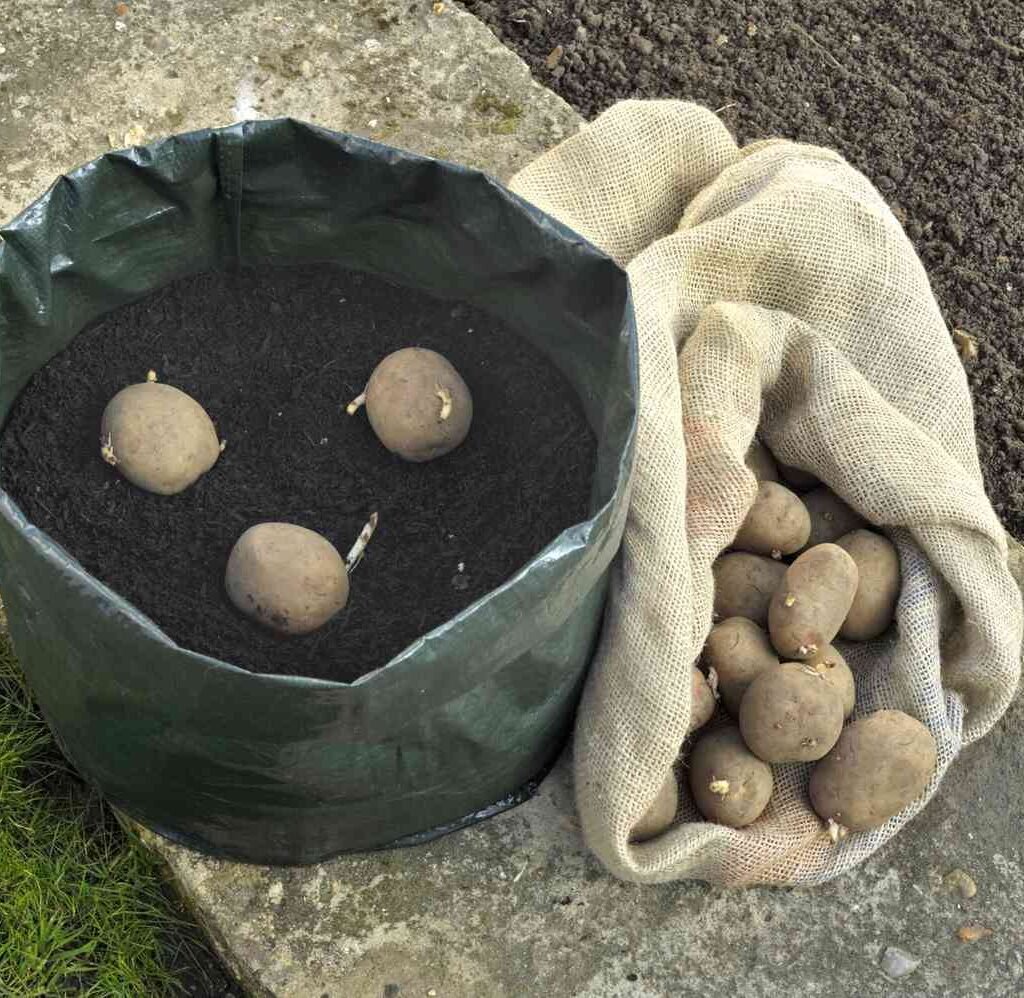
1. Choosing Seed Potatoes
- Purchase certified, disease-free seed potatoes.
- Avoid supermarket potatoes treated with sprout inhibitors.
2. Soil Preparation
- Use well-drained, loamy soil with a pH of 5.5–6.5.
- Enrich the soil with organic compost for optimal growth.
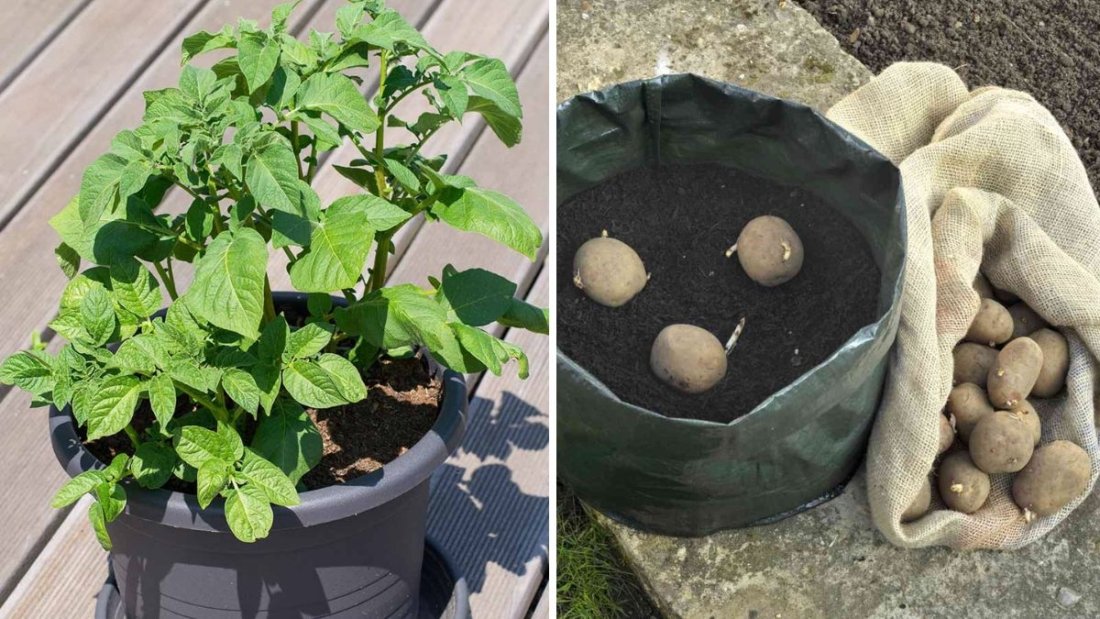
3. Planting Guidelines
- Plant after the last spring frost.
- Cut seed potatoes into pieces with at least one “eye” each.
- Plant 3–4 inches deep, 12 inches apart, with rows spaced 2–3 feet apart.
4. Care and Maintenance
- Hilling: Mound soil around stems to protect tubers from sunlight and encourage larger potatoes.
- Watering: Keep soil consistently moist, around 1–2 inches per week.
- Pest Control: Monitor for potato beetles, blight, and fungal issues. Organic solutions or companion planting are effective.
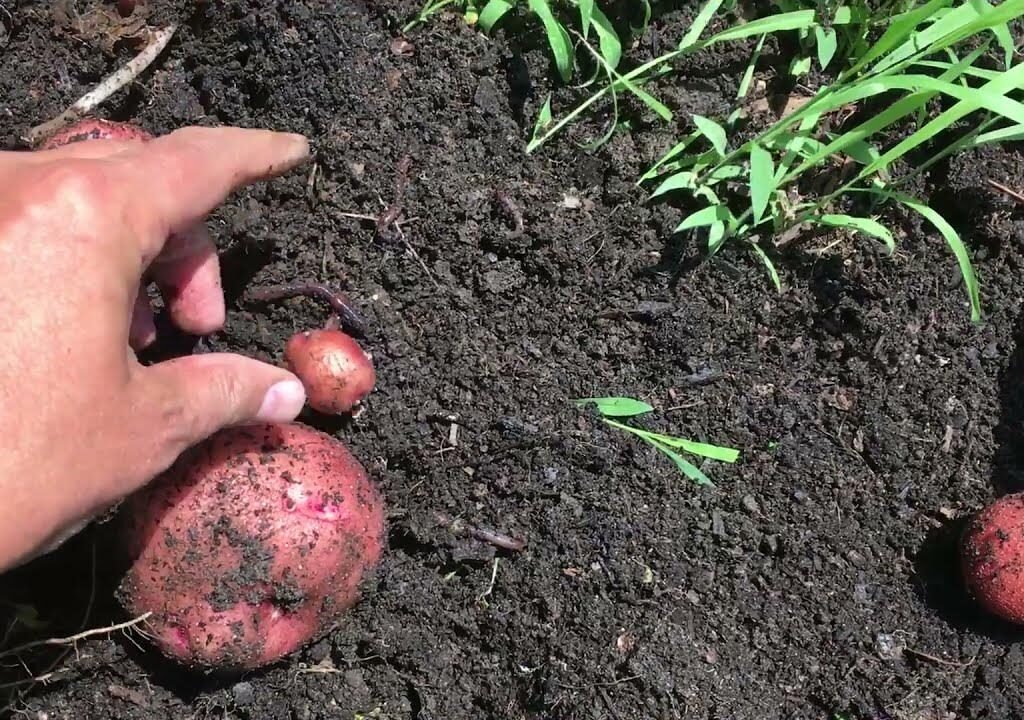
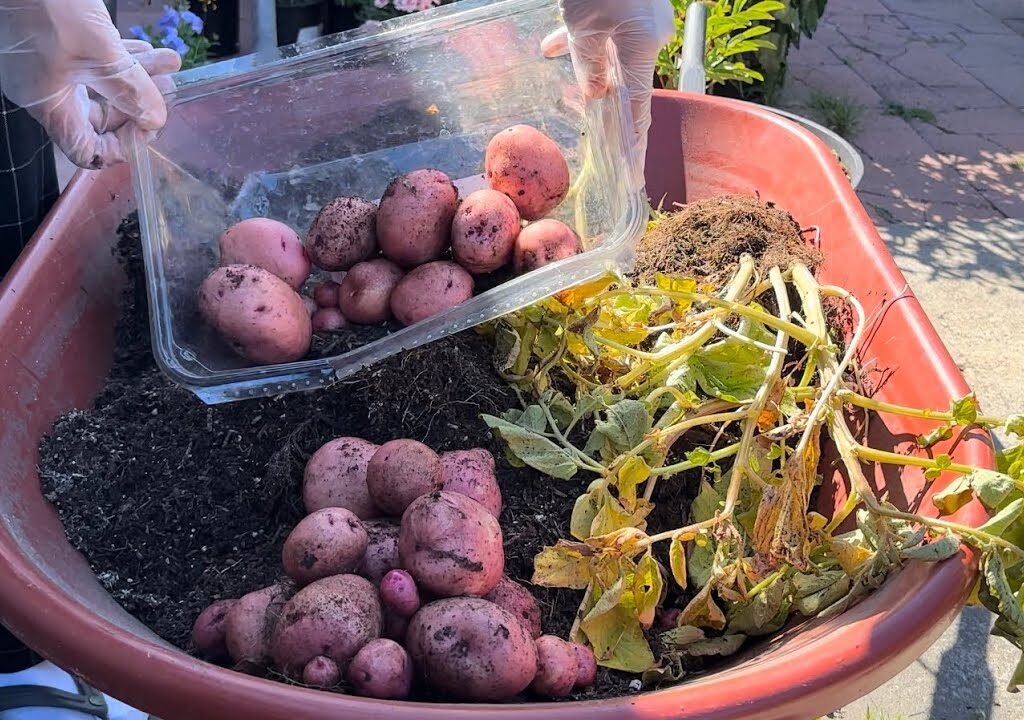
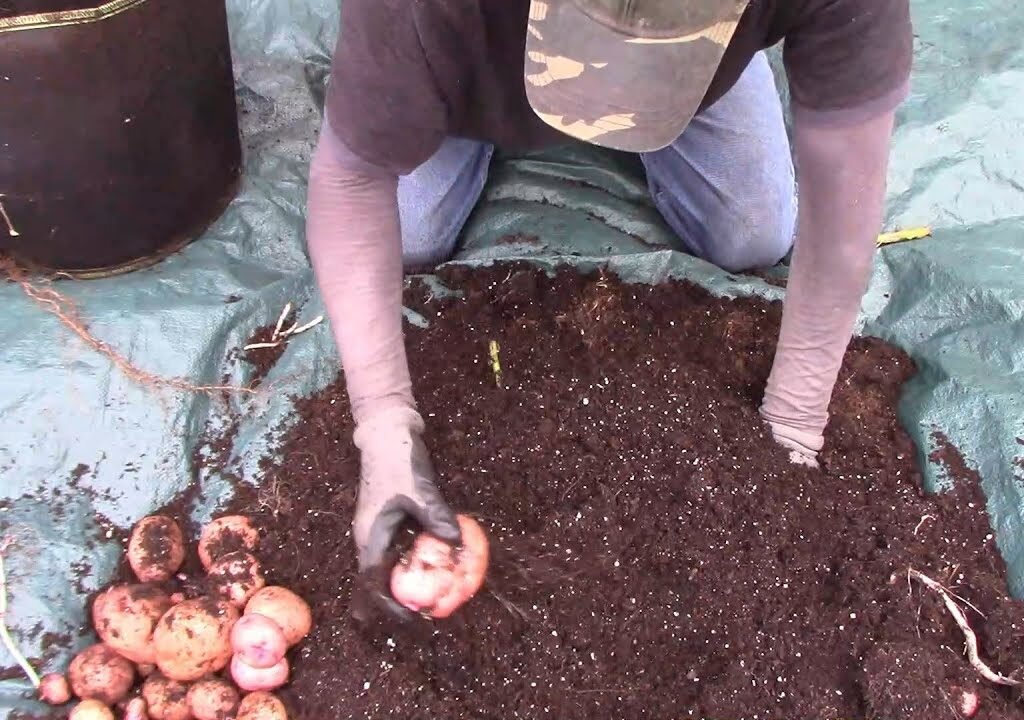
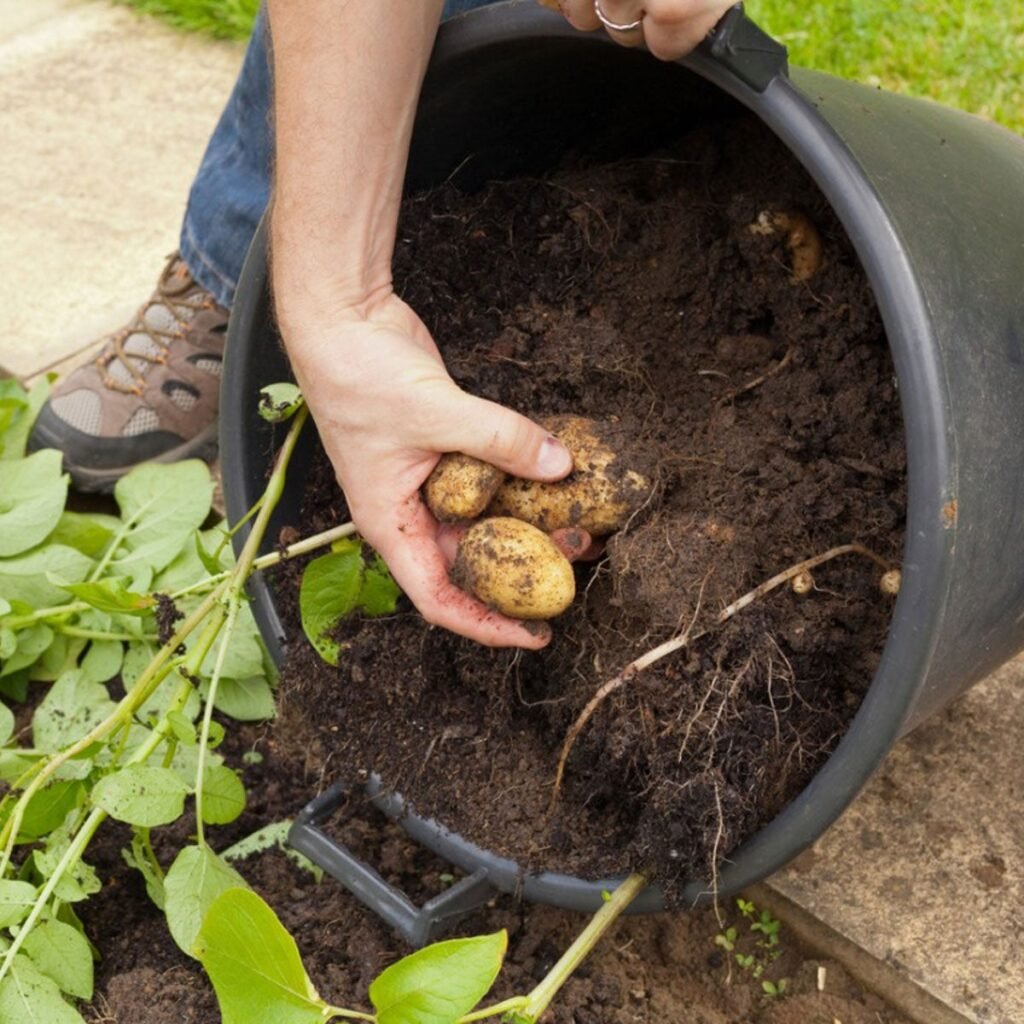
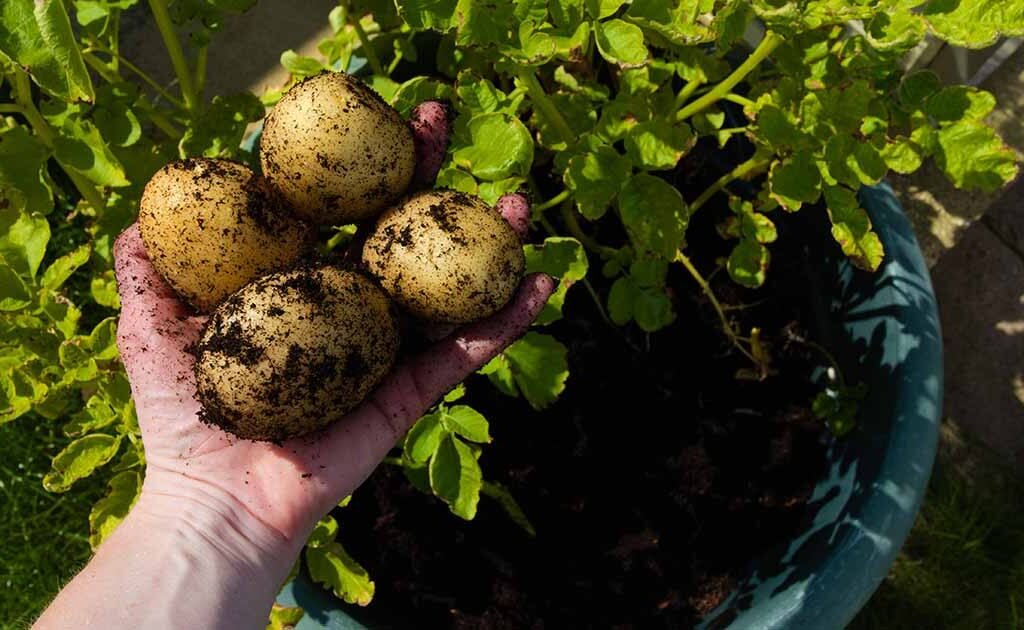
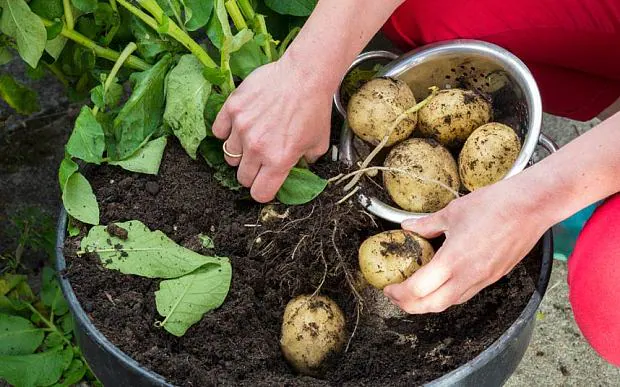
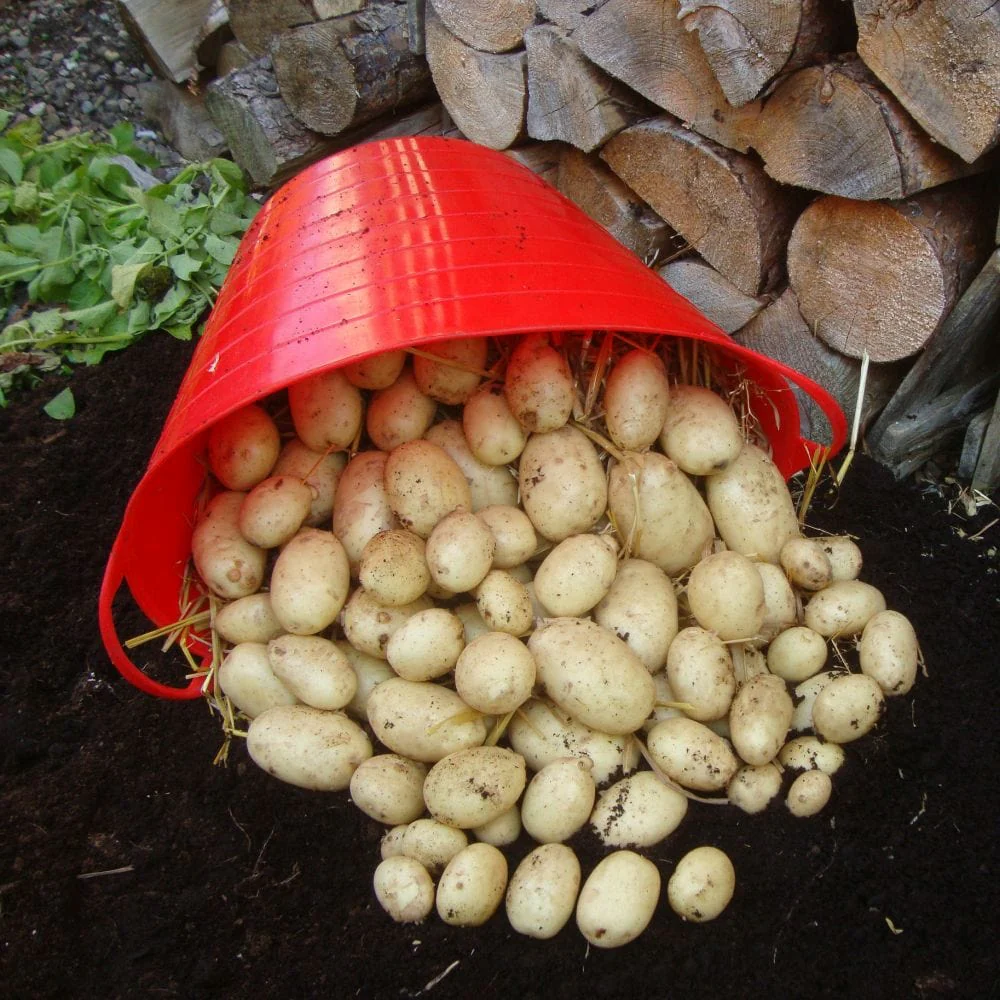
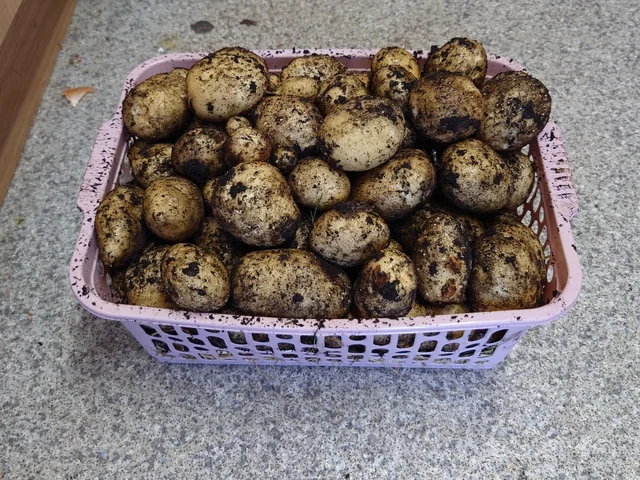
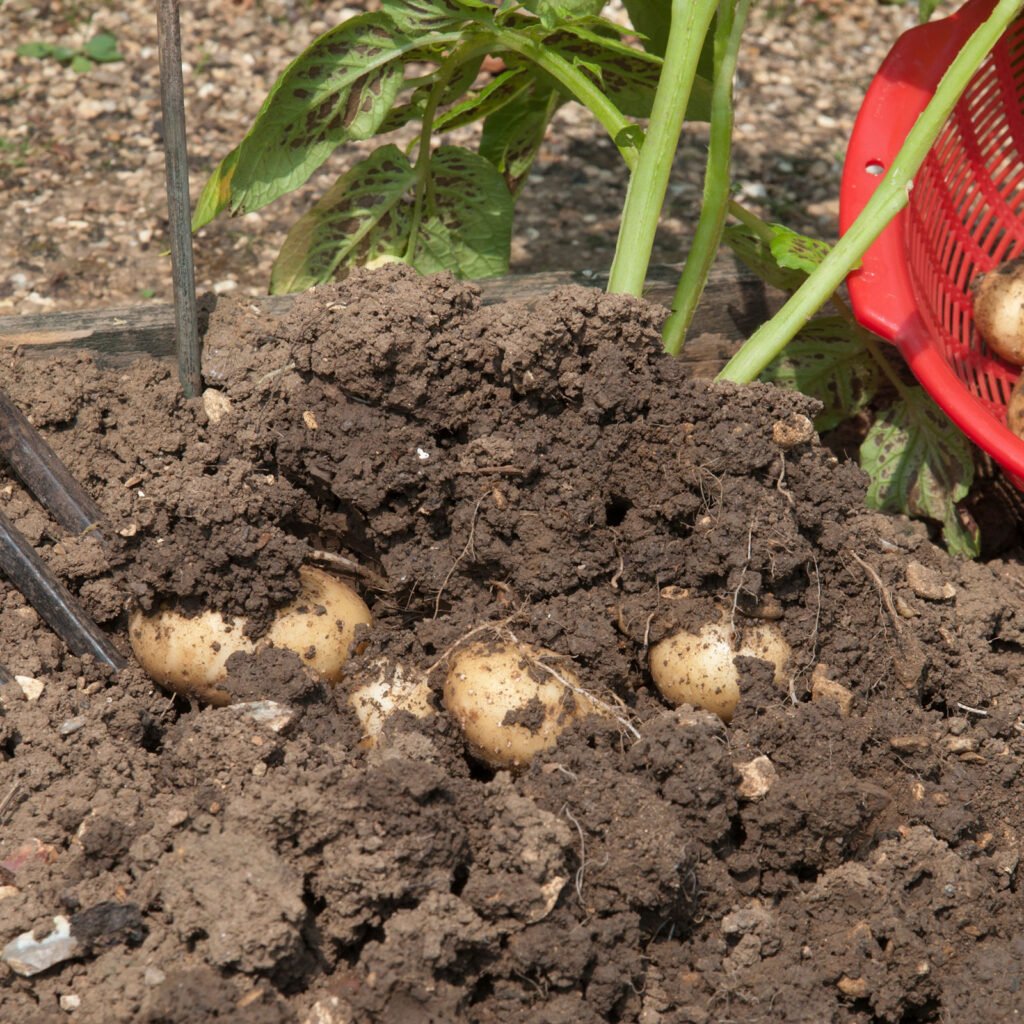
5. Harvesting
- New potatoes: Harvest after 60–70 days for small, tender tubers.
- Full-size potatoes: Harvest 90–110 days post-planting.
- Cure in a cool, dark location for 1–2 weeks before storage.
Storage Tips for Desiree Potatoes
- Store in a cool, dark, well-ventilated area (45–50°F).
- Avoid refrigeration — cold converts starch to sugar.
- Keep away from onions and fruits that emit ethylene gas.
- Inspect regularly and remove soft or sprouting potatoes.
Proper storage allows Desiree potatoes to last 2–3 months, making them a reliable pantry staple.
Cooking with Desiree Potatoes: American-Inspired Recipes
Desiree potatoes are highly versatile, making them perfect for traditional American recipes and modern, health-conscious dishes.
1. Roasted Desiree Potatoes
- Toss quartered potatoes with olive oil, rosemary, garlic, salt, and pepper.
- Roast at 425°F for 35–40 minutes until golden brown.
2. Creamy Mashed Desiree Potatoes
- Boil peeled potatoes until tender.
- Mash with butter, milk, or cream, and add garlic or herbs for flavor.
3. Classic American Potato Salad
- Boil until tender, then combine with mayonnaise, mustard, celery, and boiled eggs.
- Perfect for picnics, barbecues, and family gatherings.
4. Breakfast Home Fries
- Dice and sauté with onions, bell peppers, and paprika for crispy, golden breakfast potatoes.
5. Soups and Stews
- Hold their shape when cooked, making them ideal for hearty soups and stews.
Pro Tip: Leave the skin on for added nutrients, color, and texture.
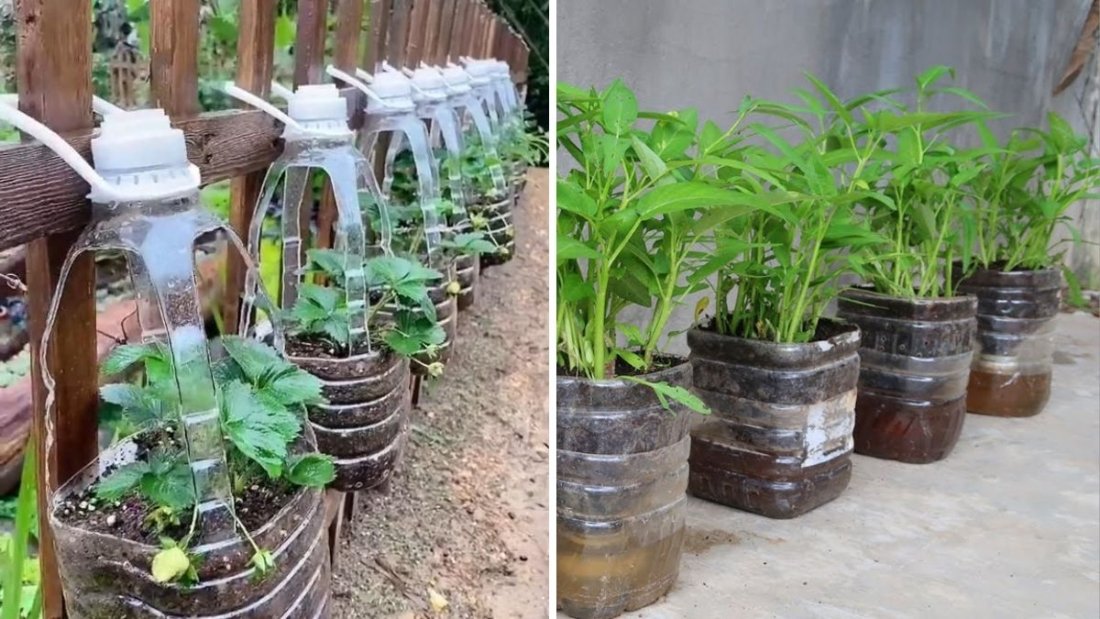
Why Desiree Potatoes Fit Into Sustainable Gardening
- Require moderate water and nutrients, reducing environmental impact.
- Ideal for home gardens, supporting local and seasonal eating.
- Long storage life reduces food waste, making them an eco-friendly choice.
Growing or sourcing Desiree potatoes locally aligns with sustainable American gardening and farming practices.
Fun Facts About Desiree Potatoes
- Mid-season variety: reliable harvest in most climates.
- Red skin adds visual appeal to dishes.
- Versatile enough to boil, roast, bake, or mash without losing creamy texture.
- Popular in the U.S. for both home cooking and professional kitchens.
Conclusion: Desiree Potatoes — The Red-Skinned Hero of American Kitchens
Desiree potatoes combine taste, nutrition, and ease of use, making them a top choice for American families, gardeners, and chefs. From classic mashed potatoes to roasted sides and potato salads, these red-skinned tubers provide flavor, texture, and nourishment in every meal.
Whether you plant them in your backyard or pick them up from a local farm, Desiree potatoes are more than just a potato — they’re a symbol of home cooking, sustainable gardening, and classic American comfort food.