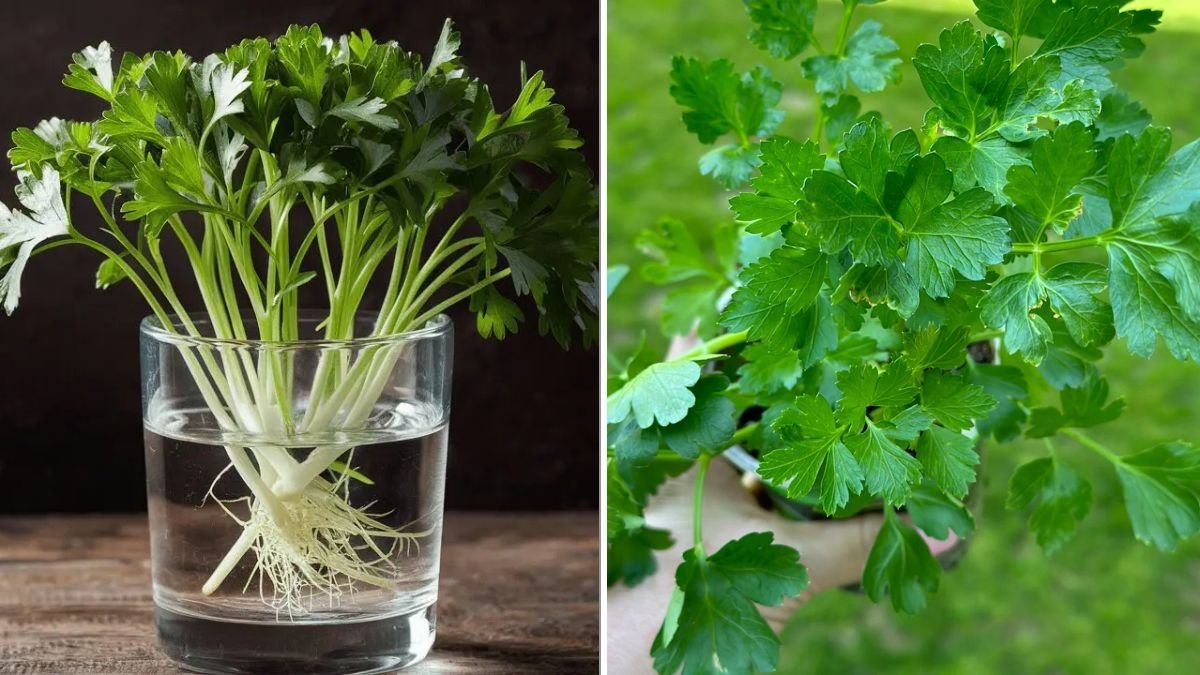
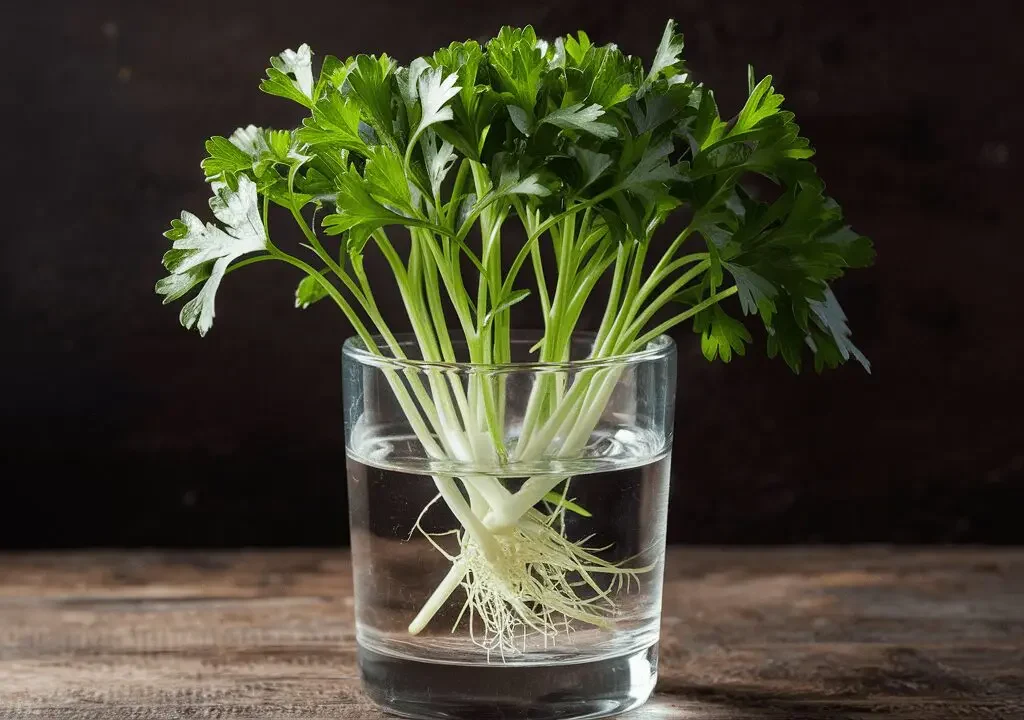
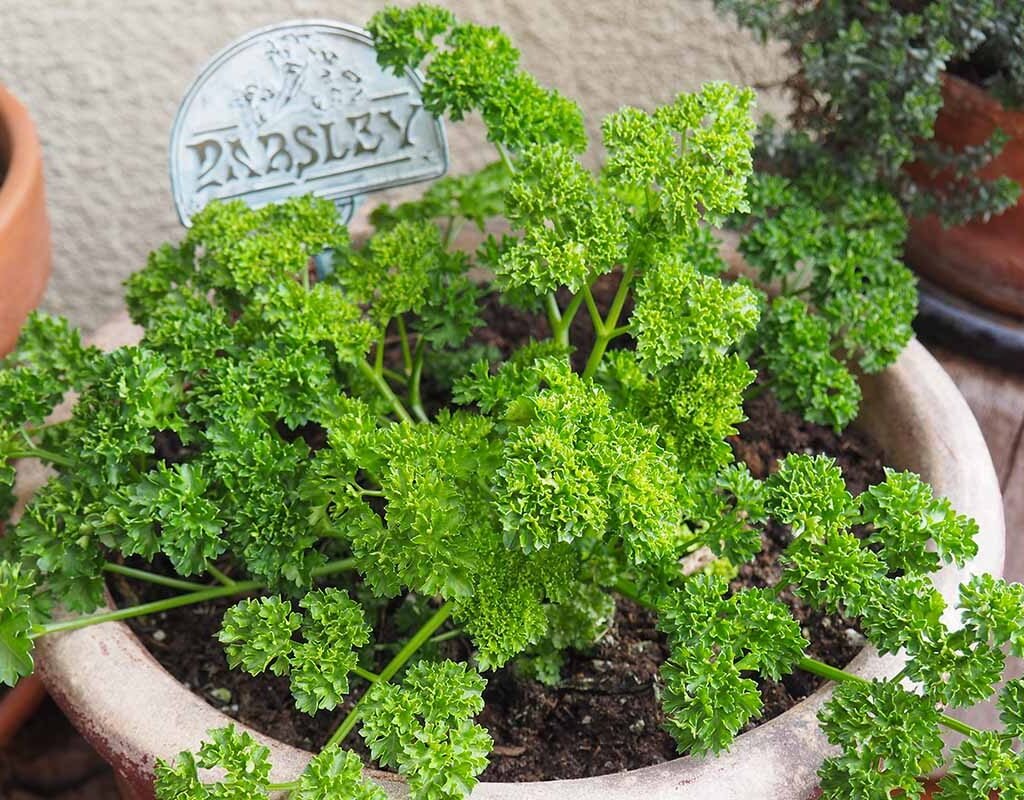
Fresh, vibrant parsley can transform any dish—from a comforting bowl of soup to a plate of pasta. But constantly buying bunches from the grocery store can get expensive (and they wilt fast!). The good news? Parsley is one of the easiest herbs to grow at home, and when started from seed, it can give you a steady, year-round supply of fragrant green leaves.
However, parsley has a bit of a reputation for being slow to sprout. The key to success is knowing its quirks—how to prepare the seeds, when to plant, and how to care for the plants so they keep producing for months. Whether you’re growing curly or flat-leaf parsley, this guide walks you through everything you need to know to grow it from seed like a pro.
Understanding Parsley: The Basics
Before planting, it helps to know what makes parsley tick.
Parsley (Petroselinum crispum) is a biennial herb, meaning it completes its life cycle in two years:
- Year 1: It grows lush green leaves—the part we eat.
- Year 2: It sends up a tall flower stalk, produces seeds, and then dies.
For culinary purposes, parsley is usually grown as an annual, replanted each year for tender, flavorful leaves.
Two main types:
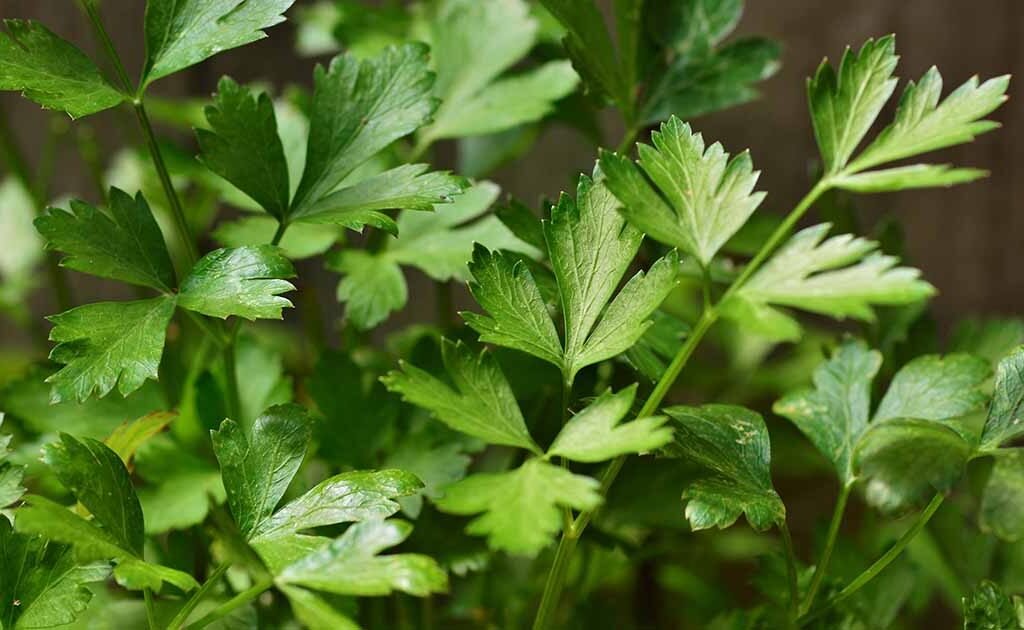
- Curly Parsley (Petroselinum crispum): Compact, ruffled leaves, often used for garnishing.
- Flat-Leaf Parsley (Petroselinum neapolitanum): Also called Italian parsley; stronger flavor, easier to chop, and preferred for cooking.
Both types grow beautifully from seed—so choose based on your cooking style and garden space.

Step 1: Choosing and Preparing Your Seeds
Parsley seeds are tiny and hard, which means they germinate slowly. They contain natural oils that inhibit water absorption, delaying sprouting for up to 3–4 weeks if planted dry.
Speed Up Germination with Soaking
To jumpstart the process:
- Soak seeds in warm water (not hot) for 12–24 hours before planting.
- Drain and spread them on a paper towel to dry slightly before sowing.
This softens the seed coat, allowing moisture to reach the embryo more easily.
Optional tip: Some gardeners mix seeds with a bit of damp sand and refrigerate for a few days (“cold stratification”) to mimic natural winter conditions—helping boost germination rates.
Step 2: When and Where to Plant
Parsley grows best in cool to mild temperatures, making it ideal for spring and fall gardens.
Outdoor planting times:
- In temperate climates: Start seeds outdoors 3–4 weeks before the last expected frost.
- In warm climates: You can grow parsley almost year-round; just protect it from extreme heat.
Indoor planting:
If you want a constant supply, start seeds indoors in small pots every few weeks to stagger your harvest. Place them on a sunny windowsill or under grow lights.
Ideal conditions:
- Light: 6–8 hours of sunlight per day (or 12 hours under grow lights).
- Temperature: 60–75°F (15–24°C).
- Soil: Loose, fertile, and well-draining with a neutral pH (6.0–7.0).
Step 3: Planting Parsley Seeds
In containers or seed trays:
- Fill pots or trays with seed-starting mix.
- Sow seeds about ¼ inch deep—just lightly covered with soil.
- Mist gently with water.
- Cover with plastic wrap or a humidity dome to retain moisture until germination.
Germination takes 14–28 days, so patience is key! Keep soil consistently damp (but never soggy) during this time.
Directly in the garden:
- Sow seeds thinly in rows or clusters.
- Space seeds 6–8 inches apart (or thin seedlings later).
- Water gently and keep soil moist until sprouts appear.
Pro tip: Parsley seedlings are delicate. Once they sprout, thin them to about 8–10 inches apart so each plant has room to grow a strong root system.
Step 4: Watering and Feeding
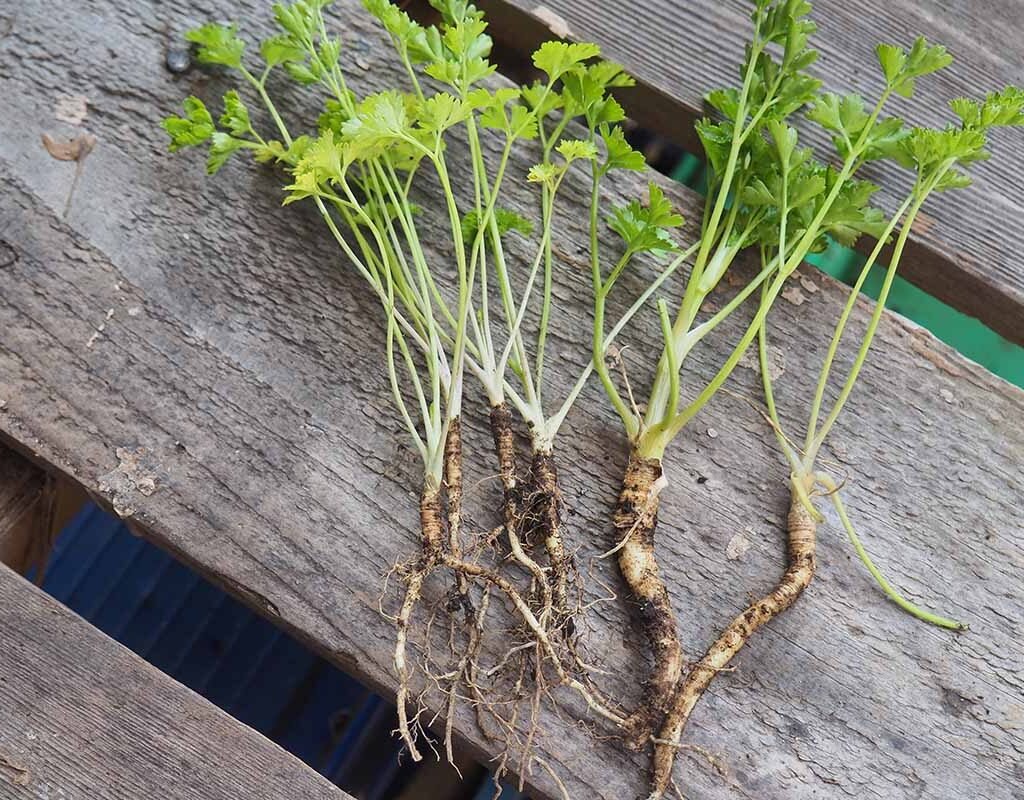
Parsley likes evenly moist soil. Because it develops a deep taproot, consistent watering helps it grow lush and healthy leaves.
Watering tips:
- Water 2–3 times a week, or whenever the top inch of soil feels dry.
- In hot weather, increase watering frequency—but avoid waterlogging.
- Mulch around plants to retain moisture and keep soil cool.
Feeding:
Parsley is a moderate feeder. Fertilize monthly with a balanced liquid fertilizer (such as 10-10-10) or compost tea to encourage leafy growth.
If growing in containers, nutrients wash out faster—so fertilize every 2–3 weeks.
Too much nitrogen will make the leaves lush but reduce flavor—keep feeding moderate.
Step 5: Sunlight and Temperature
Parsley thrives in full sun (6–8 hours daily) but tolerates partial shade, especially in hotter climates.
- In cooler regions: Full sun helps maximize growth.
- In warm climates: Afternoon shade prevents leaf scorch.
Keep parsley at 60–75°F (15–24°C) for best results. In very hot weather, provide shade cloth or move potted plants to a cooler spot.
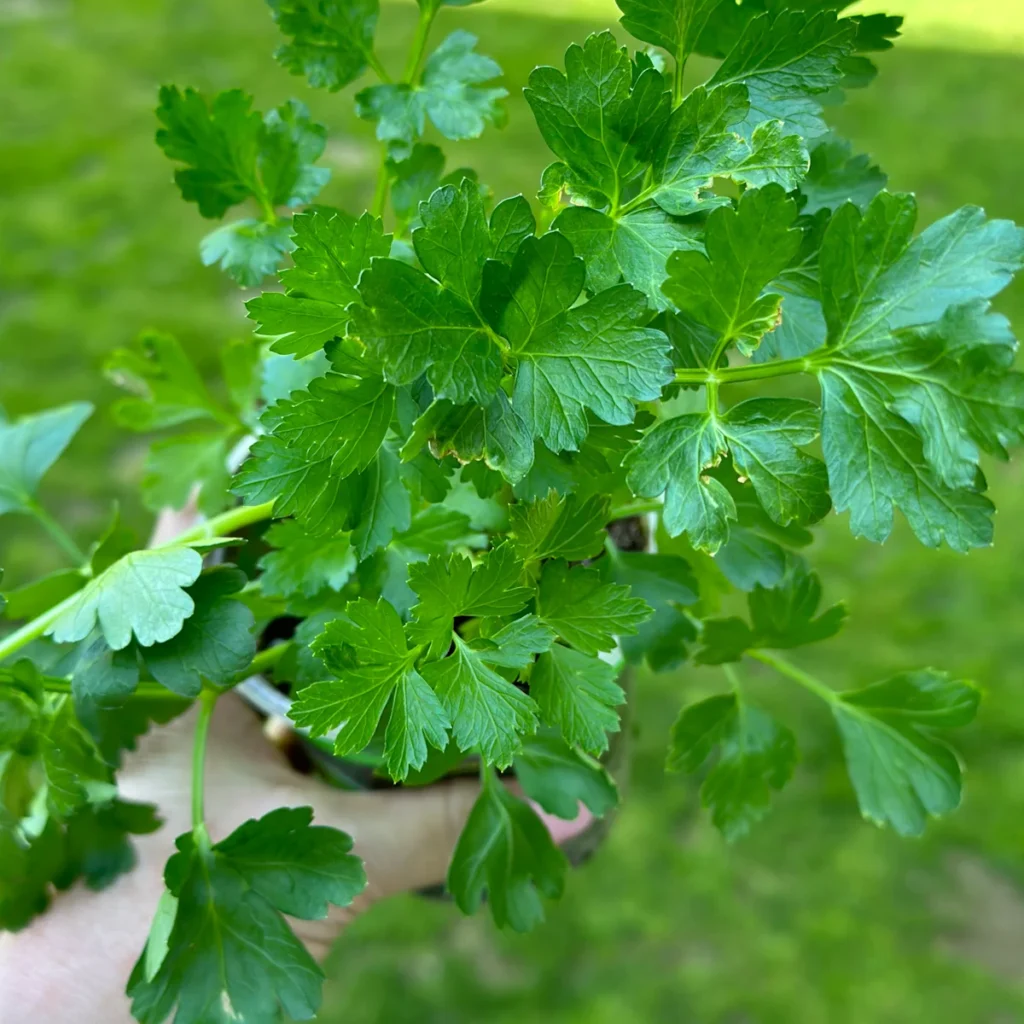
Step 6: Harvesting for Continuous Growth
This is where the magic happens—once parsley is established, you can harvest continuously for months!
When to start harvesting:
- Begin picking once plants are 6–8 inches tall and have several mature leaves.
How to harvest correctly:
- Always cut outer stems first, close to the base.
- Leave the inner stems and growing crown intact—they’ll keep producing.
- Never remove more than one-third of the plant at a time to allow recovery.
Regular harvesting encourages new, tender growth—so the more you pick (smartly), the more parsley you’ll get.
Pro tip: If your parsley starts to flower (bolt), pinch off the flower stalks immediately. Flowering signals the plant to stop leaf production, making leaves tough and bitter.
Step 7: Keeping a Constant Supply Year-Round
To ensure fresh parsley on hand all the time, succession plant every few weeks.
Here’s how:
- Start new seeds every 4–6 weeks, either indoors or outdoors.
- Keep older plants for harvesting while younger ones mature.
This overlapping schedule ensures you always have parsley ready to cut—no gaps between harvests.
In winter:
- Bring pots indoors or grow parsley under a grow light.
- Parsley tolerates light frost but not freezing temperatures.
A small indoor herb garden with parsley, basil, and thyme can keep your kitchen stocked with fresh greens all winter.
Step 8: Pests and Problems (And How to Fix Them)
Parsley is generally hardy but can attract a few common pests and diseases.
| Problem | Cause | Solution |
|---|---|---|
| Aphids | Small green insects sucking sap | Spray with mild soapy water or neem oil |
| Whiteflies | Tiny white bugs under leaves | Use yellow sticky traps; increase air circulation |
| Leaf spot (fungus) | Too much moisture on leaves | Water at soil level, not overhead |
| Yellowing leaves | Nutrient deficiency or water stress | Check drainage; add compost or balanced fertilizer |
Step 9: Saving Seeds for Next Season
If you let parsley flower in its second year, you can easily collect seeds for the next growing cycle.
- Allow flower heads to dry on the plant.
- Cut them off once seeds turn brown.
- Shake seeds free and store them in labeled paper envelopes.
- Keep in a cool, dry place—seeds remain viable for up to 3 years.
By saving your own seeds, you’ll always have a free, homegrown supply for future plantings.
Step 10: Using and Preserving Parsley
Fresh parsley adds brightness and balance to almost any meal. Use it in:
- Soups and stews
- Salads and dressings
- Pasta, rice, or roasted vegetables
- Homemade herb butter or sauces (like chimichurri or tabbouleh)
To store parsley for later use:
- Drying: Hang bunches upside down in a dark, airy spot; crumble leaves once dry.
- Freezing: Chop and freeze in ice cube trays with olive oil or water for easy use in cooking.
Frozen parsley keeps its color and flavor better than dried—perfect for quick recipes.
Final Thoughts
Growing parsley from seed isn’t just rewarding—it’s the best way to ensure a constant supply of fresh, flavorful greens for your kitchen. With a bit of patience at the start and consistent care, you’ll have an abundant harvest that keeps coming back week after week.
Start a few pots today, place them in a sunny window or your garden bed, and within a couple of months, you’ll have parsley so fresh and fragrant, you’ll never want to buy it again.
Leave A Comment